


4
Chapter 2 Setting up the Scanner
2.1 Space Requirements
The following space is required to set up the scanner:
Depth: 700mm
Width: 400mm
Height: 500mm
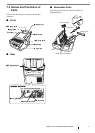
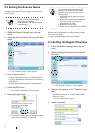
2.2 Installing the Scanner
1. Place the scanner at its installation site.
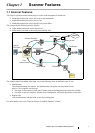
2. Attach the ADF paper chute.
Hold the ADF paper chute and insert its tabs into
the corresponding slots in the scanner as shown in
the following figure.
The side guides of the ADF paper chute should
face up.
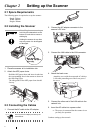
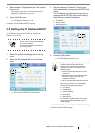
2.3 Connecting the Cables
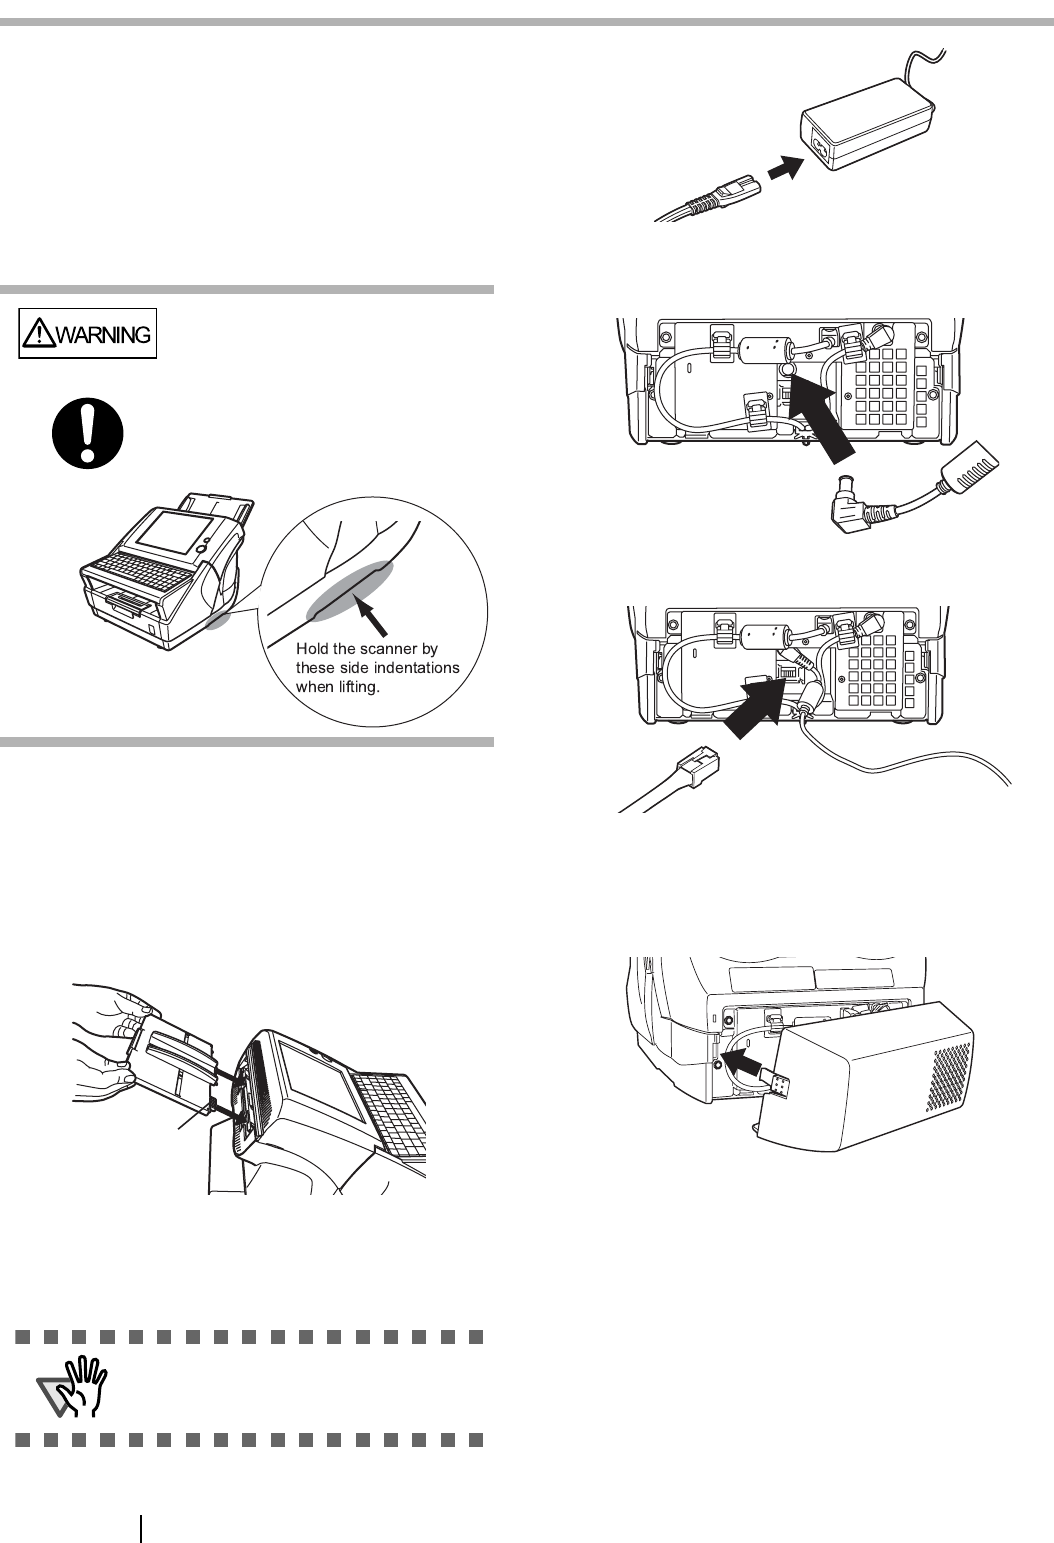
1. Connect the AC cable to the AC adapter.
2. Connect the AC adapter connector to the
scanner's DC inlet.
3. Connect the LAN cable to the LAN connector.
4. Attach the back cover.
Attach the cover with the connected AC cable or
LAN cable protruding out of the lower part of
the cover.
5. Connect the other end of the LAN cable to the
network hub.
6. Insert the AC cable into a power outlet.
⇒ The power is connected but the scanner is not
yet ready for operation.
Continue setting up the network.
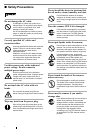
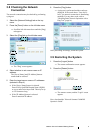
When lifting the scanner, always
hold it by the indentations on the
bottom of each side to ensure a
stable grip.
Holding the scanner in any other
way may cause it to be dropped
or damaged.
ATTENTION
Use only the AC adapter provided by the
manufacturer.
Tab