CHAPTER 4: Installing Components
44
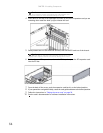
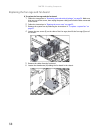
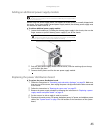
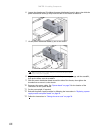
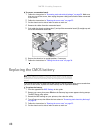
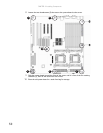
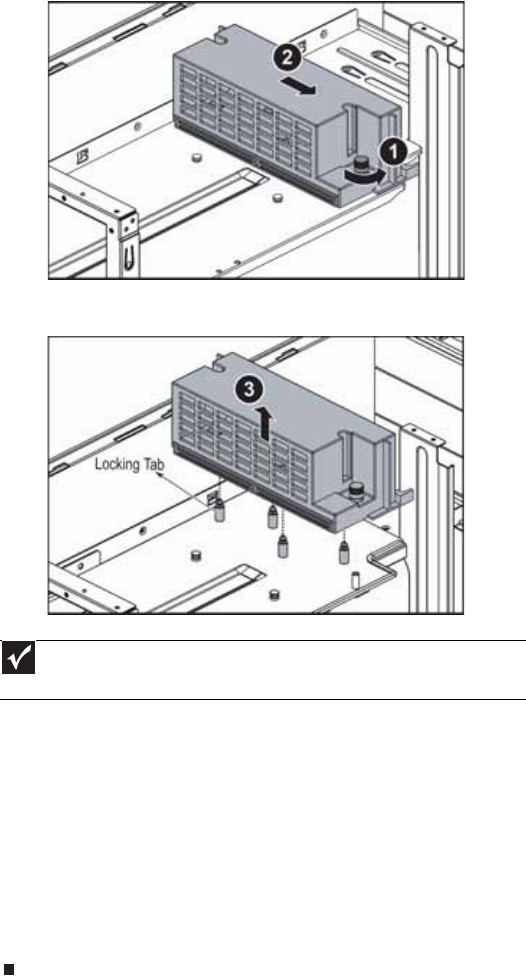
6 Loosen the thumbscrew (1) holding the power distribution board in place, then slide the
power distribution board (2) away from the side of the chassis to release it.
7 Lift the power distribution board (3) out of the chassis.
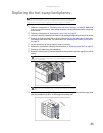
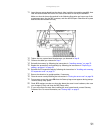
8 Align the new power distribution board with the power supply cage and the standoffs,
then push it down onto the standoffs.
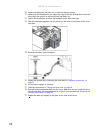
9 Slide the power distribution board toward the side of the chassis, then tighten the
thumbscrew to secure it to the chassis.
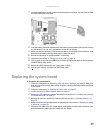
10 Reconnect the power cables. See “System board” on page 5 for the location of the
connectors on the system board.
11 Set the case upright, if required.
12 Reinstall the power supply modules by following the instructions in “Replacing a power
supply module and power board” on page 42.
13 Follow the instructions in “Closing the server case” on page 26.
Important
Make sure that the power supply cable box is connected to the power supply
connector(s) on the power supply(ies).


