www.gateway.com
43
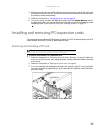
Adding an additional power supply module
Because only one power supply (which can support the whole server) is normally shipped with
the server, if you want to add a second power supply module, the dummy power supply must
be removed to make room for it.
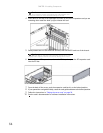
To add an additional power supply module:
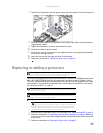
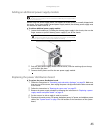
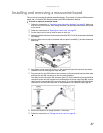
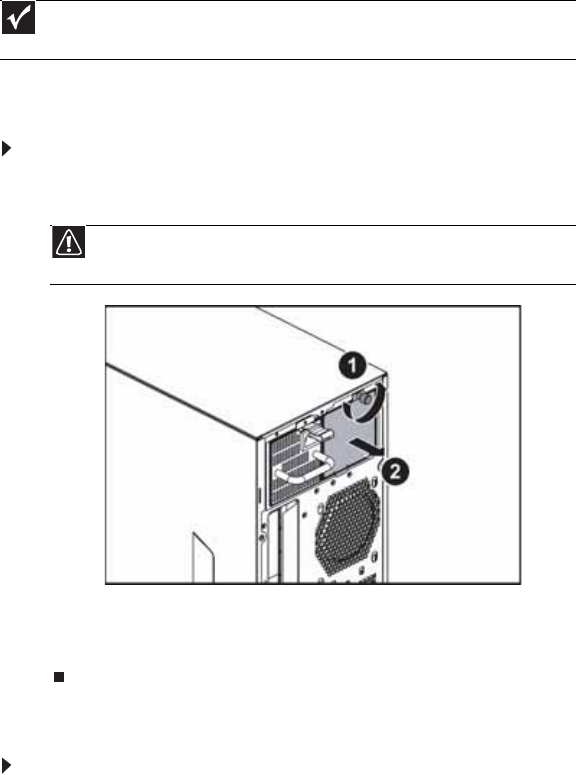
1 Loosen the thumbscrew (1) holding the dummy power supply in the chassis, then use the
finger recesses to pull the dummy power supply (2) out of the chassis.
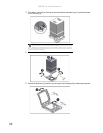
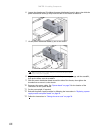
2 Push the new power supply module into the server, with the retaining clip on the top,
until it clicks into place.
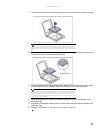
3 Connect the AC power cord for the new power supply module.
Replacing the power distribution board
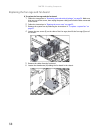
To replace the power distribution board:
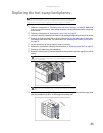
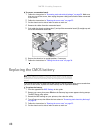
1 Follow the instructions in “Preventing static electricity discharge” on page 24. Make sure
that you turn off the server, then unplug the power cord(s) and all other cables connected
to the server.
2 Follow the instructions in “Opening the server case” on page 25.
3 Remove the power supply modules by following the instructions in “Replacing a power
supply module and power board” on page 42.
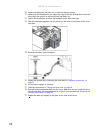
4 Set the case on its side to make it easier to work on.
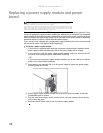
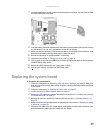
5 Disconnect the main power, CPU power, backplane power, I
2
C power, and midplane power
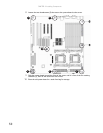
cables. See “System board” on page 5 for the location of the connectors on the system
board.
Important
The dummy power supply can be removed and the additional power supply installed
with the server turned on.
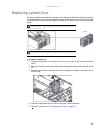
Caution
If you remove either of the power supplies for any reason, you must install
a dummy power supply to ensure proper airflow and cooling.


