


Installation
ORCA-IV Image Transfer Laminator Operation Manual
2-6
© GBC Pro-Tech 1998 October
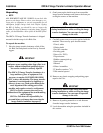
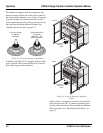
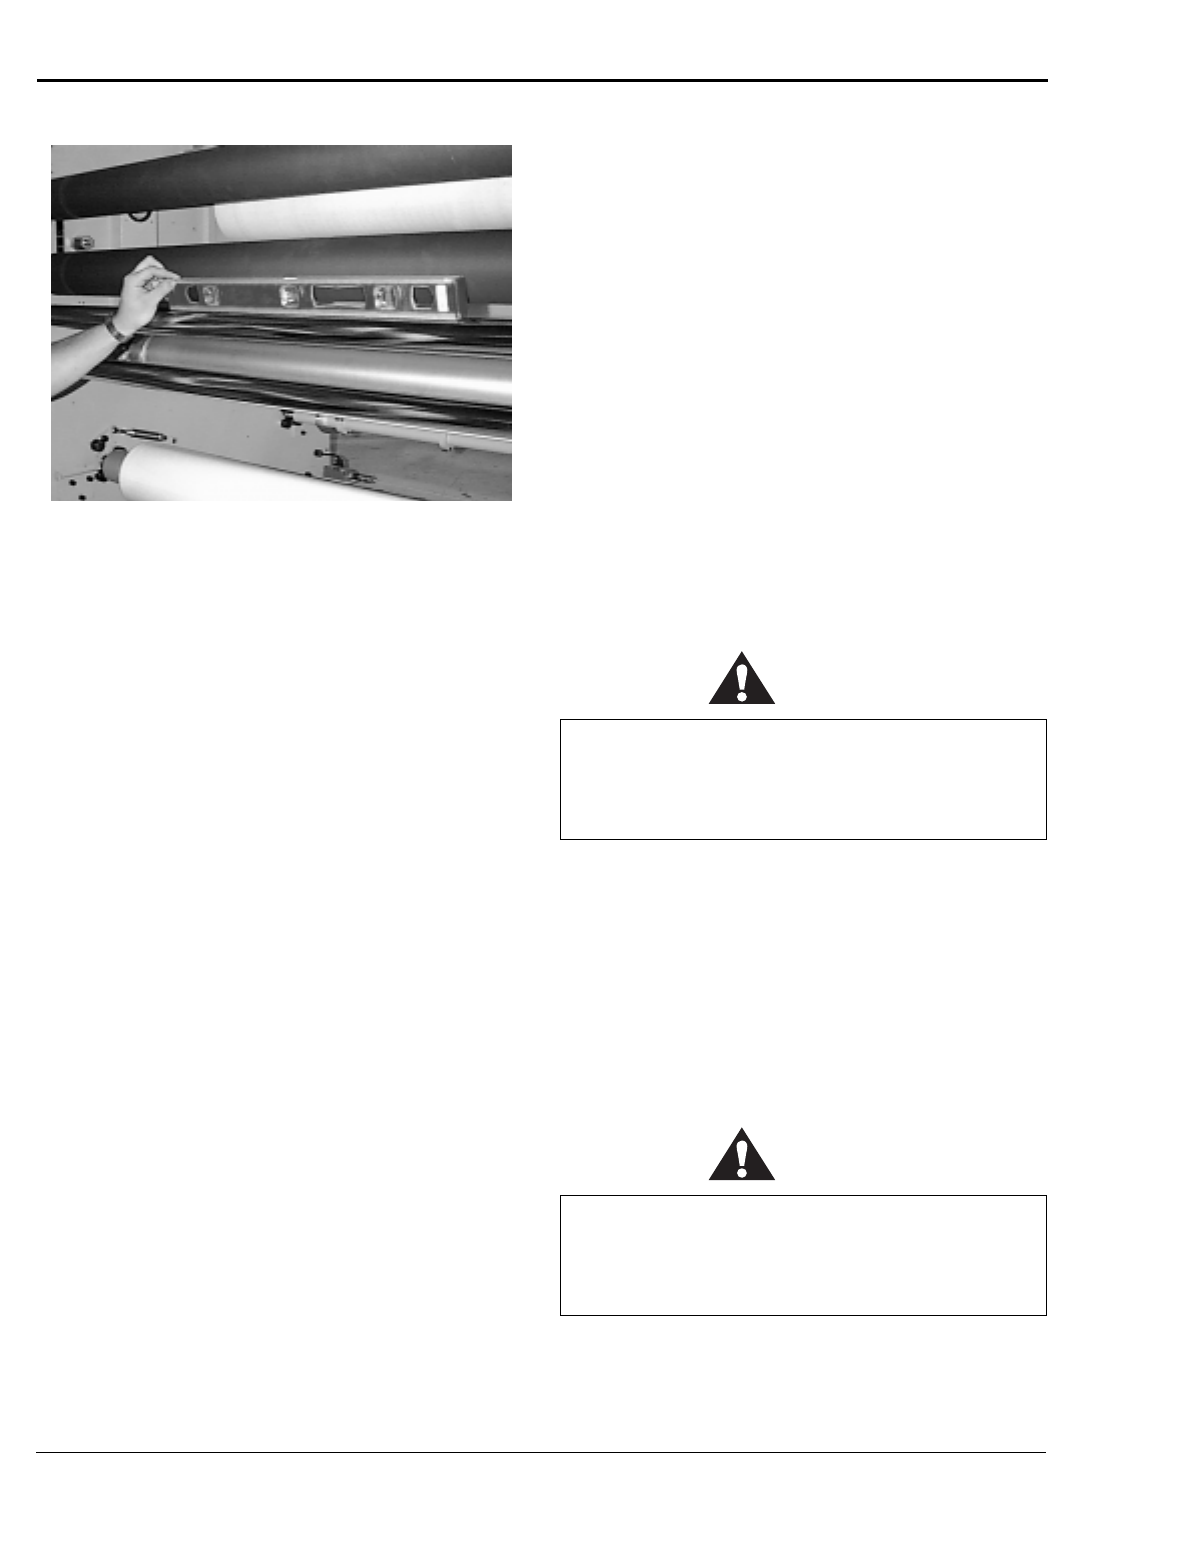
Figure 2-8: Leveling Side to Side
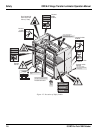
6. Place the level directly on the chrome tie bar in the
front of the machine and level the front of the
machine side to side.
7. Recheck the front to rear level condition to ensure
that it has not changed. If it has, repeat the leveling
procedure.
8. Remove the four metal casters after the machine is
leveled (casters provided for transportation only).
6WDUWXS
The first time the image transfer laminator is started
and every time it is serviced you should use the follow-
ing checklist to confirm that the unit is operating prop-
erly and that all safety mechanisms are functioning.
Startup Checklist
Start the image transfer laminator and go through the
following checklist.
❏ Are the emergency stop buttons working?
Push down on one of the emergency stop buttons.
The image transfer laminator should stop immedi-
ately. Reset the button by turning it clockwise until
it pops up. Press the reset button. See
Figure 1-4:
Machine Reset Button
to locate the main machine
reset button. Start the laminator. The machine
should resume operation. Always check all four
buttons.
IMPORTANT
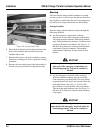
❏ Are the emergency stop kick cables working?
With the laminator running, step on or kick the
front emergency stop kick cable. The rolls should
stop turning and rise, if they are lowered. Reset the
kick cable button. See
Figure 1-3: Kick Cable
Reset Button
to locate the kick cable reset button.
Then reset the main machine reset. See
Figure 1-4:
Machine Reset Button
to locate the main machine
reset button.
IMPORTANT
Never operate the image transfer laminator
unless all of the emergency stop buttons are
functioning properly. You can be crushed or
burned.
Never operate the image transfer laminator
unless both of the emergency stop kick cables are
functioning properly. You can be crushed or
burned.