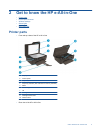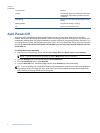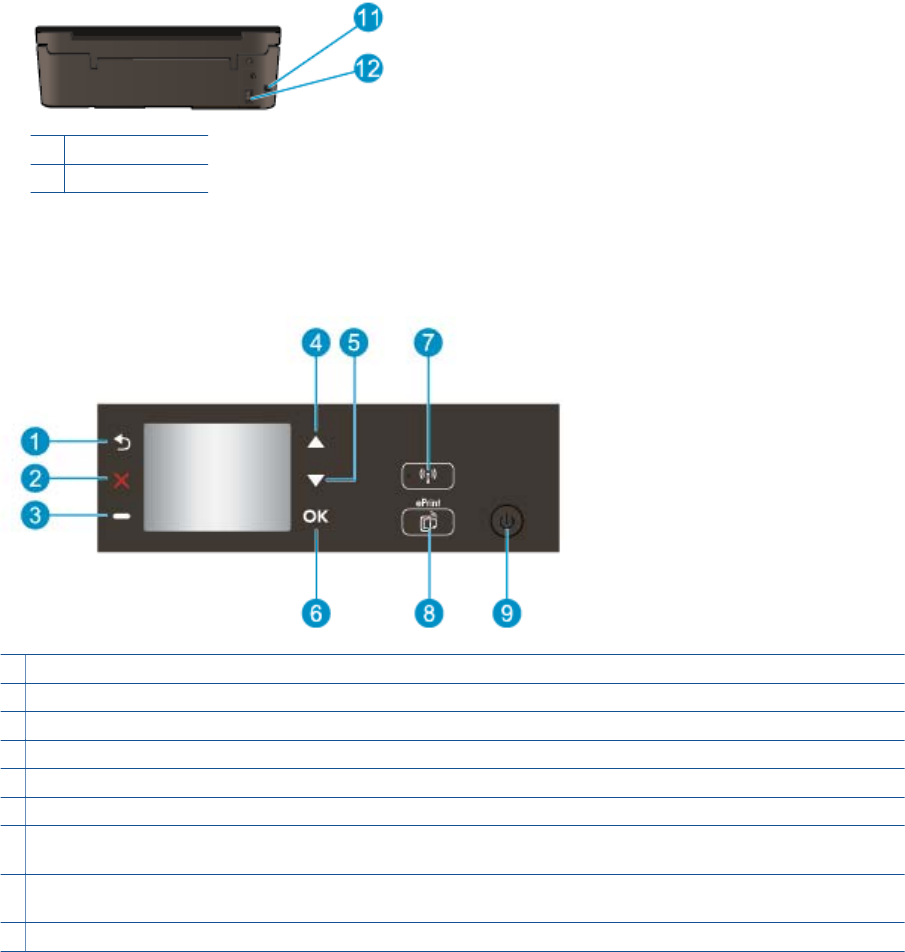
11 Rear USB port
12 Power connection
Control panel features
Control panel features
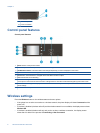
1 Back: Returns to the previous screen.
2 Cancel: Stops the current operation, restores default settings.
3 ATM/Selection button: Contextual button that changes depending on what is displayed on the screen.
4 Up button: Use this button to navigate menus and select number of copies.
5 Down button: Use this button to navigate menus and select number of copies.
6 OK: Confirms the current selecting.
7 Wireless status light and button: Blue light indicates wireless connection. Press the button to view wireless status and
menu options. Press and hold down the button until light blinks to start Wi-Fi Protected Setup (WPS) push button mode.
8 ePrint button: Pressing button displays the Web Services Menu where you can view printer's email address and make
ePrint settings.
9 On button: Turns the printer on or off.
Wireless settings
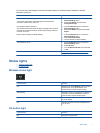
Press the Wireless button to view wireless status and menu options.
• If the printer has an active connection to a wireless network, the printer display will show Connected and the
printer’s IP.
• If wireless is disabled (wireless radio off) and the wireless network is not available, the display screen shows
Wireless Off.
• If wireless is enabled (wireless radio on) and you do not have a wireless connection , the display screen
shows that it is either in the process of Connecting or Not Connected.
Chapter 2
6 Get to know the HP e-All-in-One


