Schedule a fax to be sent later
Use the product control panel to schedule a fax to be sent automatically at a future time to one or more
people. When this procedure is completed, the product scans the document into memory and then
returns to the Ready state.
NOTE: If the product cannot transmit the fax at the scheduled time, that information is indicated on
the fax error report (if that option is turned on) or recorded in the fax activity log. The transmittal might
not be initiated because the fax-sending call is not answered, or because a busy signal stops the redial
attempts.
If a fax has been scheduled to be sent at a future time but it requires updating, send the additional
information as another job. All faxes that are scheduled to go to the same fax number at the same time
are delivered as individual faxes.
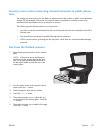
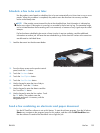
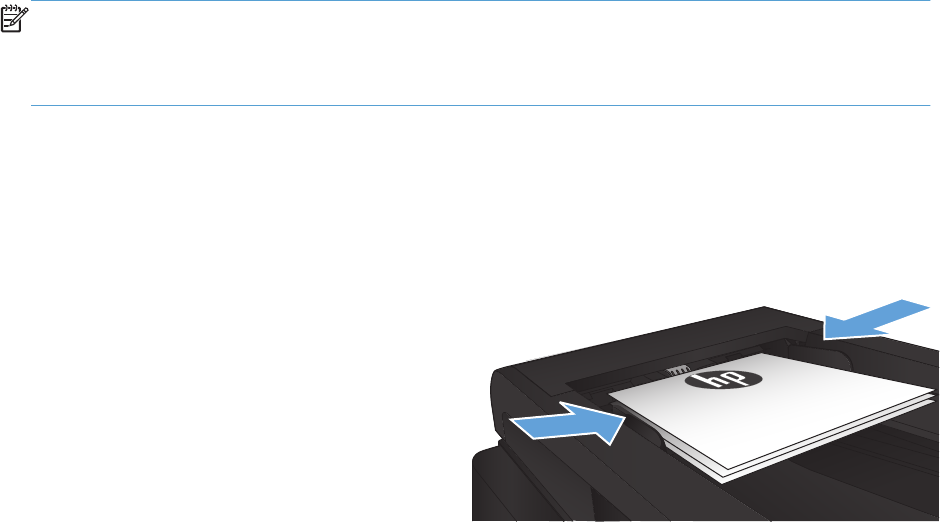
1. Load the document into the document feeder.
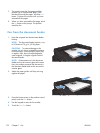
2. From the Home screen on the product control
panel, touch the Fax button.
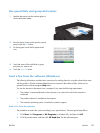
3. Touch the Fax Menu button.
4. Touch the Send Options button.
5. Touch the Send Fax Later button.
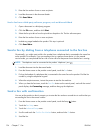
6. Use the keypad to enter the time of day to
send the fax. Touch the OK button.
7. Use the keypad to enter the date to send the
fax. Touch the OK button.
8. Use the keypad to enter the fax number. Touch
the OK button. The product scans the
document and saves it in memory until the
designated time.
Send a fax combining an electronic and paper document
Use the HP Send Fax software to set up this feature. To start the software program, from the Windows
Start menu, navigate to the program group for this product, and then click the HP Send Fax item.
Use the software to combine the documents into a single fax job.
ENWW
Use fax
135


