


C IP Addresses on a Corporate Network
Use this method if you have access to the corporate network and a DHCP server providing IP
addresses. In order to use this process, the iLOs must be set to DHCP enabled.
C.1 Cabling
1. Power off the enclosure.
2. Connect the RJ45 CAT5 patch cable from the OA1 interface port to port 24 of the GigE switch.
(Figure C-1) See Figure 1-3 (page 12) for the exact location of the interconnect switch. (Callout
2.)
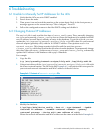
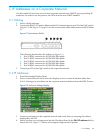
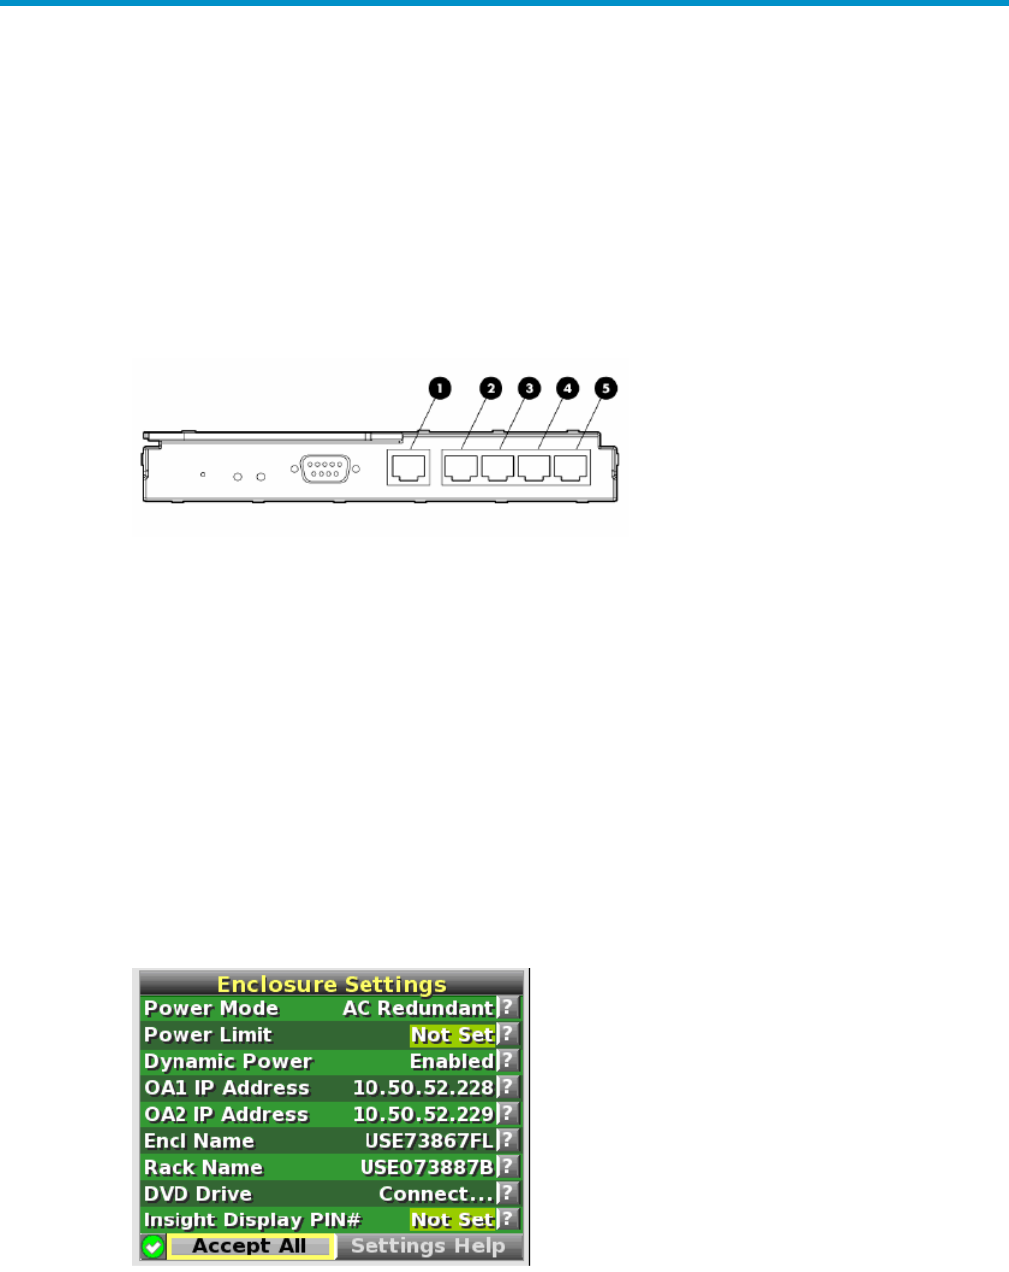
Figure C-1 Interconnect Switch
The following list describes the callouts in Figure C-1:
1. Port 20 RJ-45 connector for 10/100/1000 Mb uplink
2. Port 21 RJ-45 connector for 10/100/1000 Mb uplink
3. Port 22 RJ-45 connector for 10/100/1000 Mb uplink
4. Port 23 RJ-45 connector for 10/100/1000 Mb uplink
5. Port 24 RJ-45 connector for 10/100/1000 Mb uplink
3. Connect port 21 of the GigE switch to the corporate network.
C.2 IP Addresses
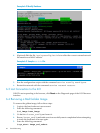
1. Extend the Insight Display Panel.
2. Power on the enclosure and wait for the display to show a network address other than
0.0.0.0. It changes to an address on the corporate network obtained from the DHCP server.
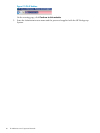
Figure C-2 Enclosure Settings Display
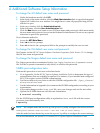
3. Connect your laptop to the corporate network and verify that you can ping the address
displayed by the OA.
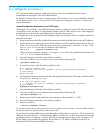
4. Start a browser on your laptop and use the IP address listed in the OA1 IP address field to
launch the OA. Figure C-3 shows and example using Internet Explorer:
C.1 Cabling 49