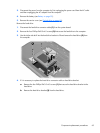
7.
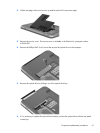
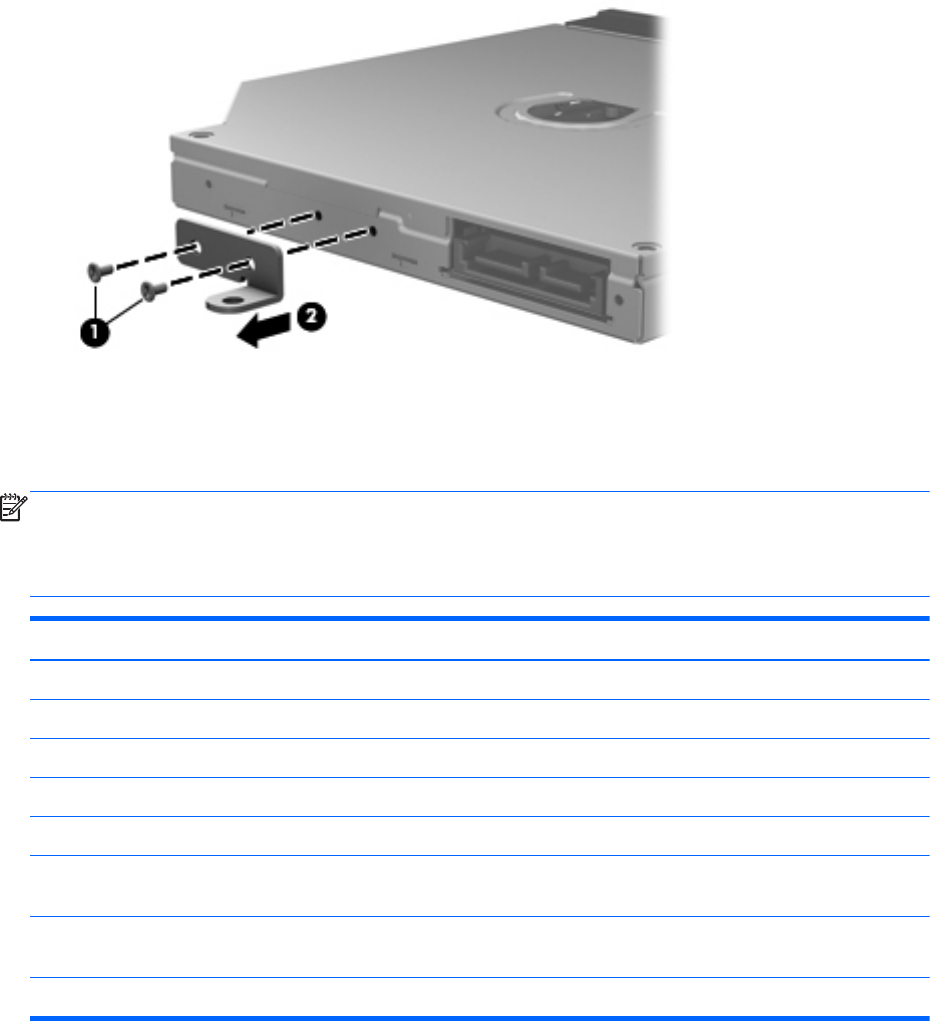
Remove the two Phillips PM2.0×4.0 screws (1) that secure the bracket to the optical drive.
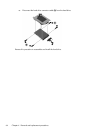
8.
Remove the optical drive bracket (2).
Reverse this procedure to reassemble and install the optical drive.
Hard drive
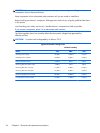
NOTE: The hard drive and solid-state drive spare part kit does not include the bracket, connector
cable, or screws. The bracket and screws are included in the Hard Drive Hardware Kit, spare part
number 640428-001. The connector cable is included in the Cable Kit, spare part number
640422-001.
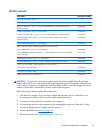
Description Spare part number
1-TB, 5400-rpm, 12.7 mm 638974-001
750-GB, 7200-rpm, 9.5 mm 633252-001
750-GB, 5400-rpm, 9.5 mm 634250-001
640-GB, 7200-rpm, 9.5 mm 621046-001
500-GB, 7200-rpm, 9.5 mm 608218-001
320-GB, 7200-rpm, 7.0 mm 641672-001 and
634862-001
250-GB, 7200-rpm, 7.0 mm 635225-001 and
634861-001
160-GB solid-state drive (for use only with computer models equipped with an Intel processor) 641825-001
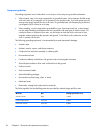
Before removing the hard drive, follow these steps:
1. Shut down the computer. If you are unsure whether the computer is off or in Hibernation, turn
the computer on, and then shut it down through the operating system.
2.
Disconnect all external devices connected to the computer.
62 Chapter 4 Removal and replacement procedures


