2-20 Removal and Replacement HP OmniBook 6000
Removing the Top Case
(HP Authorized Service Providers Only)
Required Equipment
• Small Phillips screwdriver.
Removal Procedure
1. Unplug the ac adapter, if present, and remove the battery. Remove the secondary battery if one is
installed.
2. Remove these additional assemblies:
• Power button panel (page 2-9).
• Keyboard (page 2-15).
• Heatsink (page 2-17).
• Display assembly (page 2-13).
• Plug-in module (page 2-5).
• Hard disk drive (page 2-7).
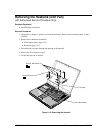
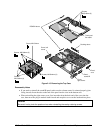
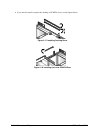
3. From the bottom of the computer, remove the screws holding the left and right corner covers, then
remove the covers.
Hint
The right corner cover may come off more easily if you slide the plug-in module latch forward.
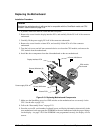
4. Remove the four retaining screws from the bottom case.
5. Remove the two retaining screws located just inside the hard disk drive compartment.
6. Remove the single screw inside the battery compartment.
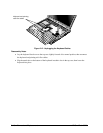
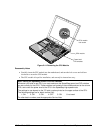
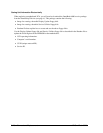
7. From the top of the computer, disconnect the speaker wires and the touch pad flex cable.
8. Remove both retaining screws: one to the left of the right speaker, and one to the right of the touch
pad flex cable.
9. Remove the screw from the tab near the upper click buttons.
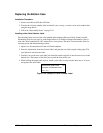
10. Raise the back of the top case, then lift it off the computer.


