


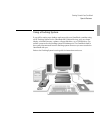

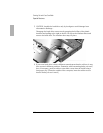


Starting Out with Your OmniBook
Special Features
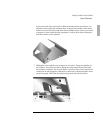
1-24
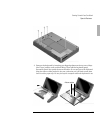
Replacing the Hard-Disk Drive
You normally don’t remove drive C, the main internal disk (also called the “hard-
disk drive”). The two main reasons to replace drive C are for upgrade and for repair.
CAUTION
Back up your files before replacing the drive.
Take precautions against damage from static electricity. Gather all the parts
you need so you can complete the installation in one sitting. Don't remove the
drive from its packaging until you're ready to insert it.
When you remove the drive from its packaging, hold it only by its edges.
Turn off the computer, unplug the ac adapter, and remove the battery before
removing the hard drive. Otherwise, the OmniBook or the hard drive may be
damaged.
1. Back up all the files on your current drive C. You can back up the files to a tape
drive, a network drive, a PC card, or a floppy disk. In Windows95, use the
Backup utility (Start, Programs, Accessories, System Tools, Backup, Backup
tab). In Windows for Workgroups, you must back up individual files (File
Manager) or use a commercial back-up program.
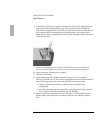
2. Important: Turn off the unit, unplug the adapter, and remove the battery.
3. Close the cover and turn your computer over. Using a Torx-T6 screwdriver,
remove the five screws holding the hard drive and the keyboard in place (the
exact locations vary with the type of hard drive).