16 - 6
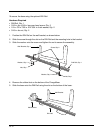
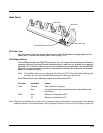
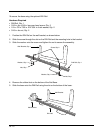
2. Plug the CAT-5 Ethernet cable into one of the RJ45 connectors on the back of the Net Base.
3. Plug the Ethernet cable into the network.
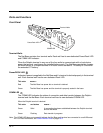
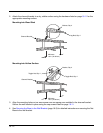
4. Insert the Dolphin into one of the terminal wells. The DOCK LED for the well changes from red to
green and the connection icon on the Dolphin’s title bar changes from to .
5. By default, the DHCP server assigns a unique IP address to each of the Dolphin terminals docked in
the Net Base. This IP address can be used by any application on the Dolphin terminal.
Note: Instead of using the default for DHCP assigned IP addresses, the Dolphin terminal can use a statically
assigned IP address. See standard Microsoft Windows Mobile documentation for how to assign a static IP
address to a network adapter. In this case, set a static IP address for the adapter named "SMC95001 USB2.0
FAST Ethernet Drive".
Displaying the Net Base Terminal Well and Dolphin IP Address
Once the Dolphin terminal establishes communication, it uses the unique IP address assigned to the ter-
minal well it is docked in on the Net Base. If four Dolphin terminals are successfully connected, then four
different IP addresses are assigned to the adapter associated with the Dolphin terminal.
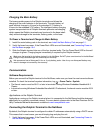
1. Tap
> Power Tools > Network Utilities > IPConfig.
2. Change the Adapter to SMC95001.
3. On the Input tab, tap the Display full configuration button.
4. The Dolphin terminal retrieves and displays the IP configuration for the entire Dolphin terminal and
the Net Base terminal well where the Dolphin is docked.
5. Locate the IpAddress
field in the IP configuration list.
Mounting the Net Base
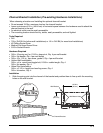
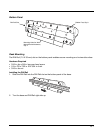
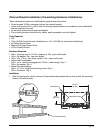
Set the Net Base on a dry, stable surface, such as a desktop or workbench near an electrical outlet. Be
sure to provide enough workspace with good lighting for the user to view and operate the Dolphin termi-
nal while it is in the Net Base. When choosing a location, bear in mind that the mounting location must
allow users easy access to the terminal wells, the Ethernet ports, and the power jack.
x


