17 - 3
Supplying Power
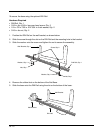
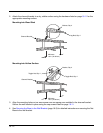
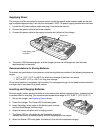
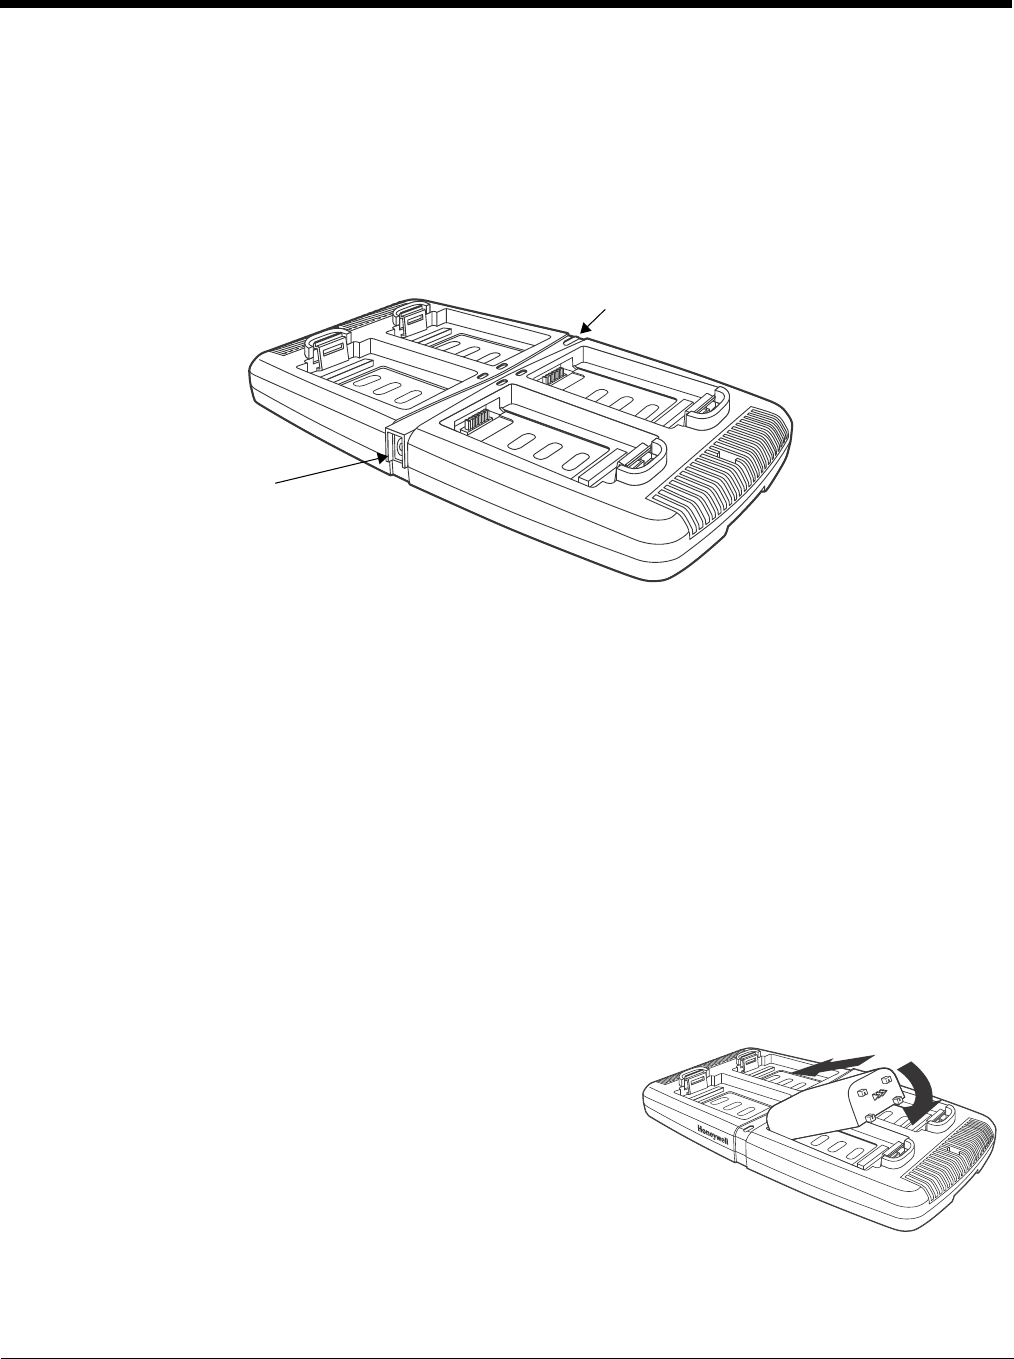
The charger must be connected to a power source via the Honeywell power adapter cable so that volt-
age is adjusted appropriately. Use only the Honeywell 12VDC, 3A power supply provided with the base.
1. Locate the AC power adapter cable and plug it into the power source.
2. Connect the power cable to the power adapter.
3. Connect the power cable to the supply connector on the back of the charger.
4. The power LED illuminates green, and the charger performs a self-diagnostic test that lasts
approximately five seconds.
Recommendations for Storing Batteries
To maintain top performance from batteries, avoid storing batteries outside of the following temperature
ranges:
• 14°F to 113°F (-10°C to +45°C) for short term storage of less than one month
• 32°F to 86°F (-0°C to +30°C) for long term storage
Do not store batteries in extremely high humidity. For prolonged storage, do not keep batteries stored in
a charger that is connected to a power source.
Inserting and Charging Batteries
For best results, battery packs should be at room temperature before recharging them; temperature has
a marked effect on charging. The recommended temperature range is 50°F to 95° F (10°C to 35° C).
1. Set up the charger, see Supplying Power above.
2. Power the charger. The Power LED illuminates green.
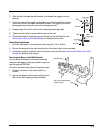
3. Insert the battery at an angle so the battery pack contacts
and the QuadCharger contacts align.
4. Snap the battery into place with a hinging motion.
5. The Status LED for that particular slot illuminates orange to
indicate the battery is seated properly and the charging cycle has begun.
6. When the Status LED turns green, the battery in the slot has completed charging.
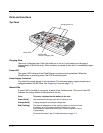
Power Supply
Connector
Power LED


