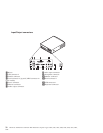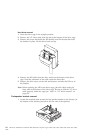
Hard drive removal
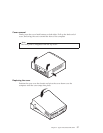
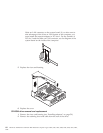
1. Latch the drive cage in the upright position.
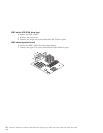
2. Remove the 3.5″ drive cable from the tab at the bottom of the drive cage.
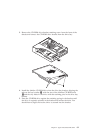
3. Remove the screw that holds the HD bracket, and lift the tabs that hold
the bracket in place. Lift the drive back and up.
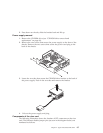
4. Remove the HD cable from the drive and from the bottom of the drive
cage. Note the placement of the cable under the three tabs.
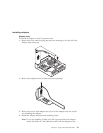
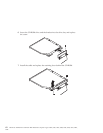
5. Remove the four screws on the side and bottom, and take the HD out of
the bracket.
Note: When replacing the HD in the drive cage, place the cable under the
three tabs at the bottom of the drive cage. Be sure to fold the 3.5″ drive
cable properly under the cage (see ″Note″ in “3.5″ drive removal” on
page 63).
Fan/speaker bracket removal
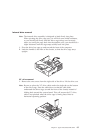
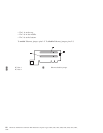
1. Locate the metal tab that secures the fan/speaker bracket to the chassis (on
the bottom of the bracket, just below the rear end of the speaker).
64 Hardware Maintenance Manual: IBM NetVista Computer Types 6058, 6059, 6269, 6568, 6569, 6578, 6579, 6648,
6649


