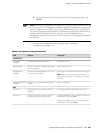
■ To cancel your entries and return to the Quick Configuration page, click
Cancel.
NOTE: After initial configuration is complete, the Services Router stops functioning
as a DHCP server. If you change the IP address of ge-0/0/0 and have the management
device configured to use DHCP, you lose your DHCP lease and your connection to
the router through the J-Web interface. To reestablish a connection, either set the IP
address on the management device manually, or connect ge-0/0/0 to the
management network and access the router another way—for example, through the
console port.
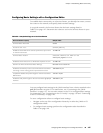
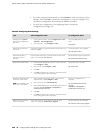
5. To check the configuration, see Displaying Basic Connectivity
Configurations on page 150.
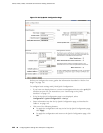
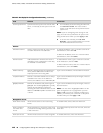
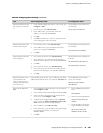
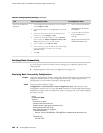
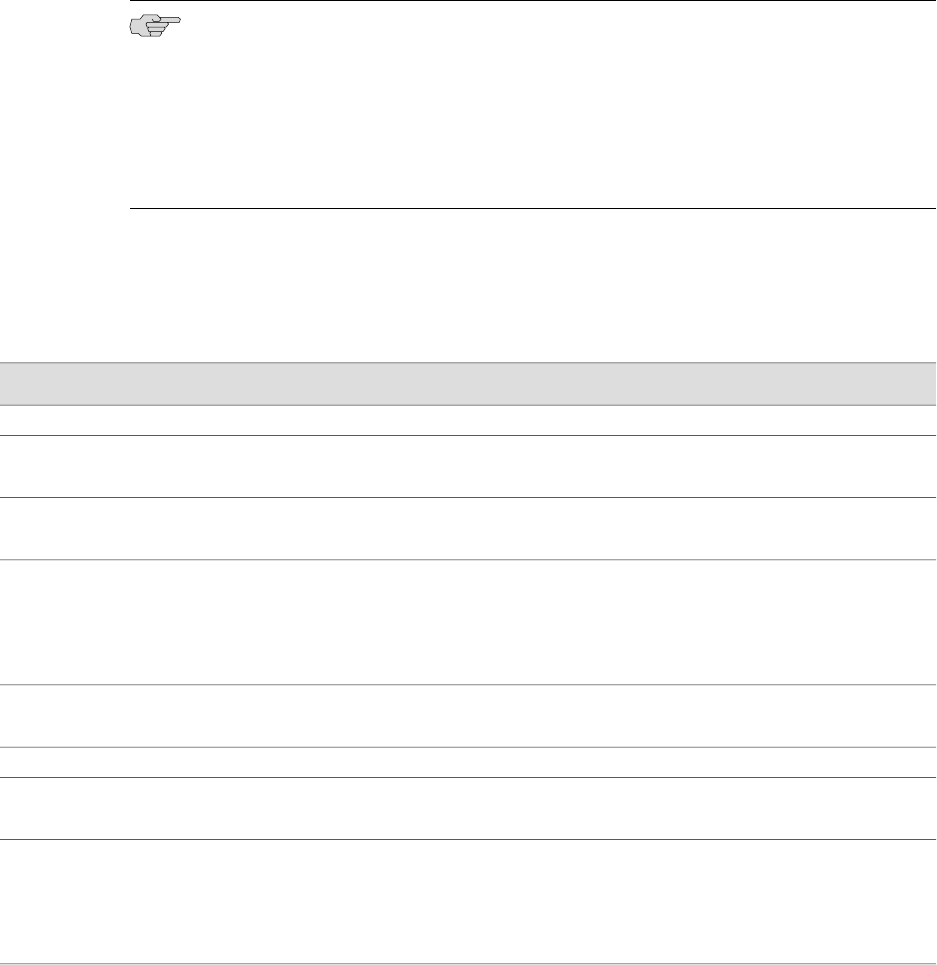
Table 61: Set Up Quick Configuration Summary
Your ActionFunctionField
Identification
Type the hostname.Defines the hostname of the router.Host Name
(required)
Type the domain name.Defines the network or subnetwork that the
machine belongs to.
Domain Name
Type a plain-text password that the system encrypts.
NOTE: After a root password has been defined, it is
required when you log in to the J-Web user interface
or the CLI.
Sets the root password that user “root” can
use to log in to the router.
Root Password
(required)
Retype the password.Verifies the root password has been typed
correctly.
Verify Root Password
(required)
Time
From the list, select the appropriate time zone.Identifies the time zone that the router is
located in.
Time Zone
To add an IP address, type it in the box to the left of
the Add button, then click Add.
To delete an IP address, click on it in the box above
the Add button, then click Delete.
Specify an NTP server that the router can
reach to synchronize the system time.
NTP Servers
Configuring Basic Settings with J-Web Quick Configuration ■ 145
Chapter 7: Establishing Basic Connectivity


