Using Configuration Utilities
Part No. 6B4389 June 1999 3-21
Depending on the system, this entry might be called bootps
instead of boot’.
To enable BOOTP, use an editor to delete the # sign. If the # sign
does not appear, BOOTP is enabled.
Edit the BOOTP configuration file (usually /etc/bootptab) to enter
the name, network type (1 for Ethernet), Ethernet address (found
on the label on the NIC box), and IP address, subnet mask and
gateway of the NIC.
NOTE: Refer to your system documentation to determine how to
enter this information.
Some BOOTP host software implementations will not respond to
BOOtP requests if you have not included a download filename in
the configuration file. If necessary, create a null file on the host
and specify the name of this file and its path in the configuration
file.
The NIC will load its IP address from the BOOTP server when the
printer is powered on.
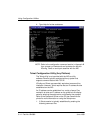
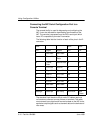
If you do not have subnets, use one of the following default
subnet masks:
255.255.255.0 for class C networks
255.255.0.0 for class B networks
255.0.0.0 for class A networks
NOTE: The type of network you have can be identified by the
leftmost group of digits in your IP address. The value of this
group ranges from 192 through 255 for Class C networks,
128 through 191 for Class B networks, and 1 through 127
for Class A networks.
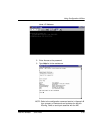
3. Enter the address of the gateway with the command SET IP
ROUTER. The router address is the desired IP address of the
gateway you wish to assign to the NIC. For example:
Local> SET IP ROUTER 192.198.207.1
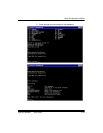
4. Enter SHOW IP to verify that you have entered the IP
information correctly.
5. Press CTRL-D to end the remote console session.


