


. . . . . . . . . . . . . . . . . . . . . . . . . . . . .
5-6 Using the KODAK Driver for Adobe Photoshop (Macintosh)
Operating the KODAK Driver
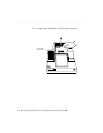
Follow the steps in this section to use the controls on the KODAK Driver
window.
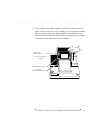
NOTE: As you use the Scanner, the settings you have in effect each time you
leave the KODAK Driver are retained and will be in effect the next time you use
the driver.
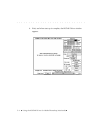
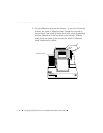
Set the Film Type
1. Set the film type to match your film by choosing the film type from the
large number of choices on the F
ILM popup menu.
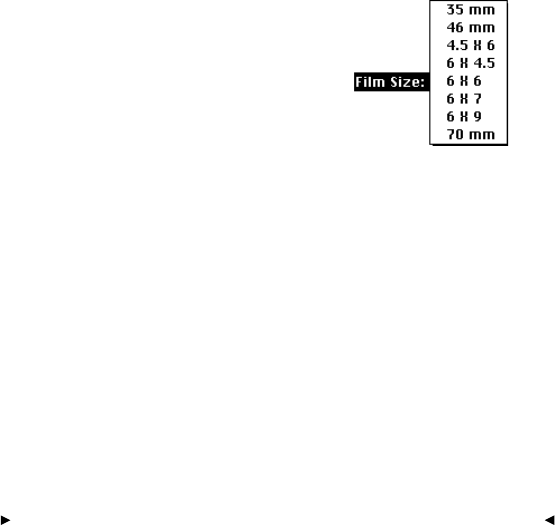
Set the Film Size
2. If the FILM SIZE does not match the film you will scan, choose the
correct size from the F
ILM SIZE popup menu.
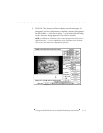
PreScan the Image (and Calibrate the Scanner)
3. Click PRESCAN. When you have completed parts A through E of this
step, a color image of the photo currently in position will appear in
the KODAK Driver window. You can use this image to determine
whether additional adjustments are needed before final scanning. If
B & W is on (see below), the prescan appears in black-and-white.