


31
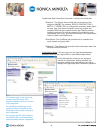
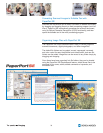
Electronic Documentation
Several useful manuals are included on the magicolor 2480MF Utilities
& Documentation and magicolor 2490MF Drivers & Documentation
CD-ROMs:
Installation Guide
This short, heavily illustrated manual describes how to unpack
and set up the magicolor 2480MF or 2490MF and then install the
drivers and utilities.
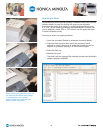
User’s Guide
This manual provides complete information about printing,
copying, scanning, and maintaining the magicolor 2480MF or
2490MF.
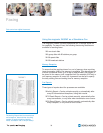
Facsimile User’s Guide (magicolor 2490MF)
This manual provides complete information about using the
magicolor 2490MF as a standalone fax machine.
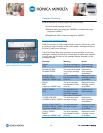
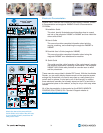
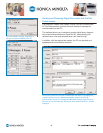
Quick Guide
This guide provides a brief overview of the control panel, copying
and scanning documents, replacing consumables. The magicolor
2490MF Quick Guide also provides an overview scan to email
and fax procedures.
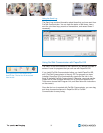
These manuals are provided in Adobe PDF format. With the free Adobe
Reader, you can easily display these manuals on the computer screen,
enlarge any illustrations you need to see close up, easily search for a
certain word or phrase, or print part or all of the manuals. In addition,
these electronic manuals can be easily stored on the PC’s hard disk or
in a convenient place on the network, so they’re only a click away when
needed.
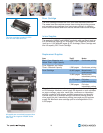
All of the documentation is also posted on the KONICA MINOLTA
PRINTING SOLUTIONS U.S.A. Service & Support website at
printer.konicaminolt
a.com/support
- 1 -
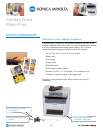
magicolor
®
2490MF
Quick Guide
1760563-001A
4556-9623-00
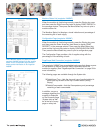
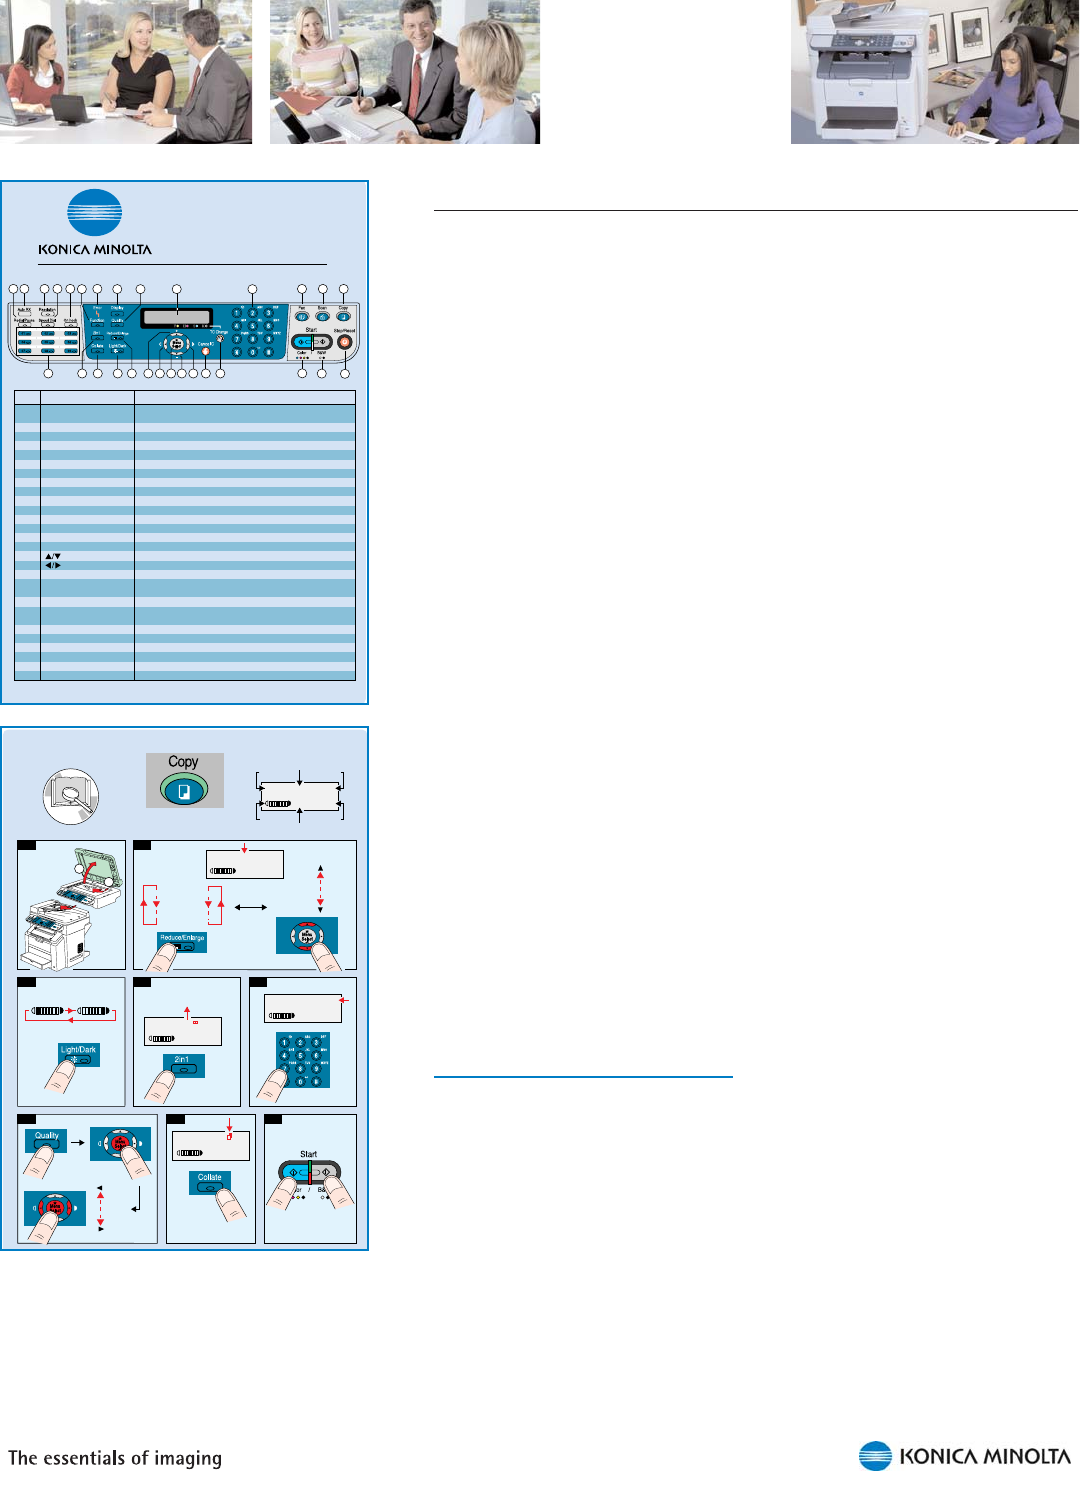
Item Name Function
1
2
3
4
5
6
7
8
9
10
11
12
13
14
15
16
17
18
19
20
21
22
23
24
25
26
27
Redial/Pause key
Auto RX indicator
Resolution key
Speed Dial key
On hook key
One-touch dial keys
Function key
Error indicator
Display key
Quality key
2in1 key
Collate key
Light/Dark key
Reduce/Enlarge key
Message Window
keys
keys
Menu Select key
Cancel/C key
TC Change key
Keypad
Fax key/LED
Scan key/LED
Copy key/LED
Start (Color) key/LED
Start (B/W) key/LED
Stop/Reset key
Recalls the last number dialed
Inserts a pause when a number is dialed
Lights up when the automatic reception function is selected
Adjusts the image quality of the fax documents
Recalls a speed dial number
Sends and receives transmissions with the receiver on the hook
Registers and recalls one-touch dial numbers
Specify tray, duplex, IC card copy, and fax settings
Indicates an error condition
Use to check the machine status and settings
Select type of document to be copied and the copy resolution
Specify that two originals be copied onto one page
Sort multiple copies into sets
Adjust the brightness of the copy
Set the size of the copy
Displays settings, menus, and messages
Move up and down through menus, options, or choices
Move left and right through menus, options, or choices
Enter configuration mode or select a setting
Clears the specified number of copies
Switches to the first screen of a menu item or to the main screen
Prepare the printer for toner replacement
Use to specify the desired number of copies
Use to type in fax numbers, email addresses, and names of recipients
Enter fax mode
Enter scan mode (only network)
Enter copy mode
Start a color copy
Start a monochrome copy or fax
Returns the settings to their defaults and stops functions
832 541
97
10 15
21
24
11 126 13 14
27
25
26
19 201716 1718 16
2322
2
1
MIX x1.00 1
1
XX Status
Document
type
Copies
Density
Paper tray/
Paper size
Status
messages
Zoom
ratio
3
(-3) (+3)
5
MIX x1.00 1
1
XX Status
2 digits
2
Metric
(millimeter)
0.50
0.70
0.81
1.00
1.15
1.41
2.00
Inch
0.50
0.64
0.78
1.00
1.29
1.54
2.00
For ADF only
2 in 1 copying and
collated copying
cannot be combined.
4
MIX x-.-- 1
1
XX Status
USA and Canada: Zoom = 0.64
Other countries: Zoom = 0.70
+
-
...
X.Y
1
X.Y2
X.Y3
...
8
7
MIX x1.00 1
1
XX Status
6
MIX
TEXT
PHOTO
MIX x1.00 1
1
XX Status
2 in 1 copying and collated
copying cannot be combined.
K
O
N
I
C
A
M
I
N
O
L
T
A
m
a
g
i
c
o
l
o
r
2
4
9
0
M
F
D
r
i
v
e
r
s
&
D
o
c
u
m
e
n
t
a
t
i
o
n
C
D
-
R
O
M
Pr
inter/Copier/Scanner
User
’
s Guide
Chapter
6
max.
50 sheets
60-128 g/m
2
(16-34 lb)
1 sheet
1
2
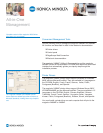
Attach the sleeve that comes with the
Quick Guides to the side of the all-in-one,
so an overview of basic procedures will
always be at hand.