


1.4. Setting Up and Interfacing
1-14
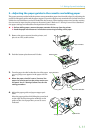
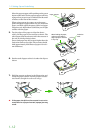
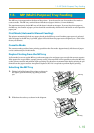
8—Connect the printer to the computer
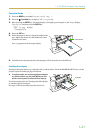
The printer has two computer cable connectors and a slot for installing an option interface. The one marked
" " is for a parallel (Centronics standard) interface. The one marked "IOIOI" is for a serial (RS-232C/
RS-422A) interface. You may use whichever is convenient for your computer, with the option interface, if
you have already have one installed. All interface connectors can be used simultaneously with different com-
puters.
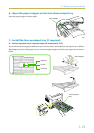
☛ Only connect or disconnect cables to the connectors while the printer and computer power are
switched off.
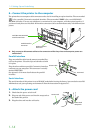
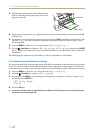
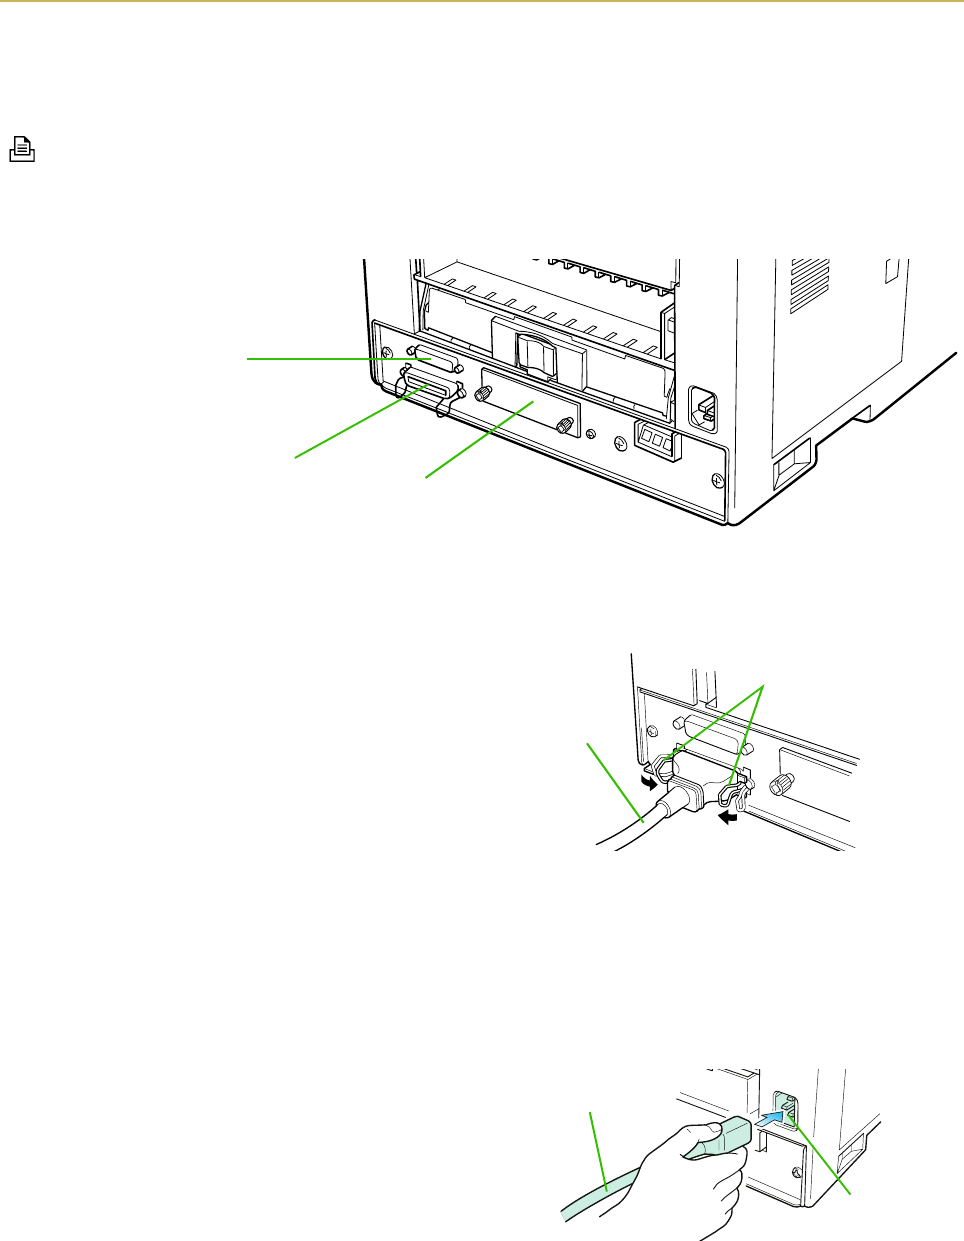
Parallel interface
Plug one end of the cable into the connector marked Par-
allel on the printer. Close the clips on both sides to hold
it in place.
Plug the other end into a parallel (Centronics) interface
connector on your computer. This connector is usually
marked PRINTER.
See Appendix C for more details about the parallel
interface.
Serial interface
The serial interface of this printer is set to RS-232C mode before leaving the factory, but can also be set to RS-
422A mode to suit your operating environment. Follow the instructions in Appendix C.
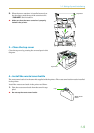
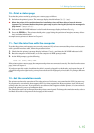
9—Attach the power cord
1.
Check that the power switch is off.
2.
Plug one end of the power cord into the receptacle at
the back of the printer.
3.
Plug the other end into the wall outlet.
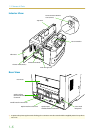
Serial (RS-232C/RS-422A)
Interface Connector
Parallel Interface
Connector
Option Interface
Slot Cover
Printer Cable
Clips
Rear Panel
Power Cord
Receptacle
Power Cord