Using the ETS
ETS Installation Guide 23
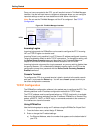
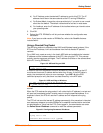
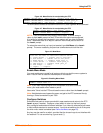
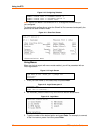
4. To return to the menu from your Linux session, press the configured Local Switch
key. In this case, the Local Switch is Ctrl-X (see Figure 4-10).
Note: Switch keys only work within sessions. They do not work from the menu
screen - you must enter a menu number to go to a session from the menu screen.
Serial Tunnel Example
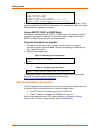
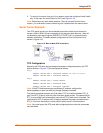
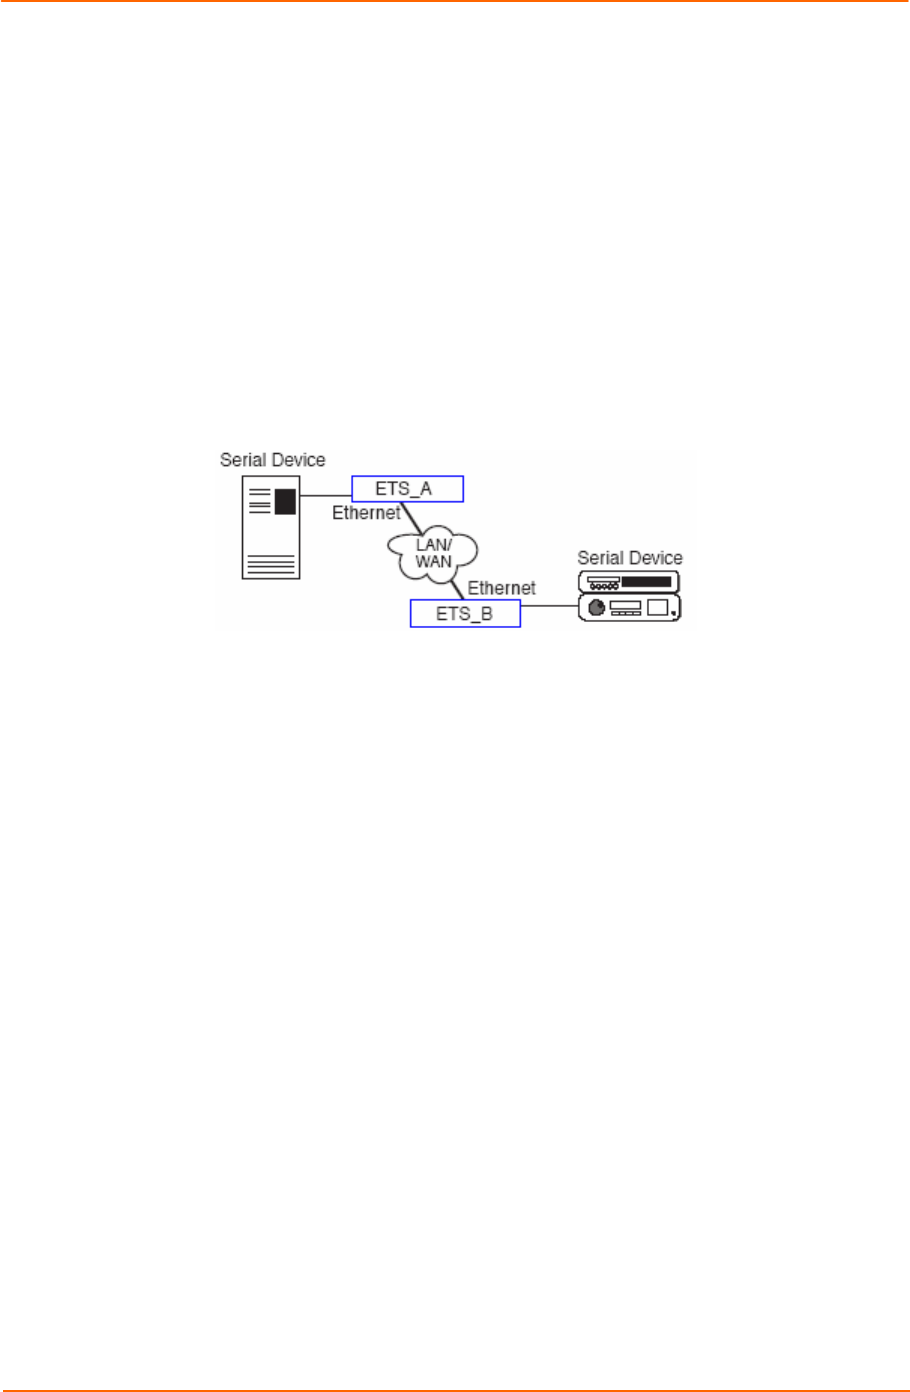
Two ETS device servers can be connected to emulate a direct serial connection
across a LAN or WAN. Servers connected in this way can pass data only—they will
not be able to pass status signals (DSR/DTR, CTS/RTS, etc.) or preserve timing
between characters. The basic network configuration for this virtual serial line is
shown in Figure 4-15.
Figure 4-15. Back-to-Back ETS Connections
TCP Configuration
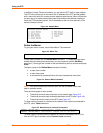
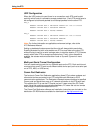
Assuming the ETS serial port parameters have been configured properly, the ETS
device servers in Figure 4-15 are configured as follows:
ETS_A
Local>> DEFINE PORT 2 DEDICATED TELNET 192.168.5.10:3001T
Local>> DEFINE PORT 2 AUTOSTART ENABLED
ETS_B
Local>> DEFINE PORT 3 ACCESS REMOTE
Local>> DEFINE PORT 3 DEDICATED NONE
Local>> DEFINE PORT 3 AUTOSTART DISABLED
Note: If the ETS device servers are on different IP subnets, configure the
default gateway on each unit with the Change Gateway command.
The above commands create a raw (8-bit clean) TCP connection between ETS_A
port 2 and ETS_B port 3 once the units have been power-cycled. The commands for
ETS_A ensure that it will automatically connect to ETS_B each time it is booted. The
commands for ETS_B ensure that it is always available to accept connections from
ETS_A. Once this connection is made, data is able to travel in both directions.
Note: You must log out the ETS ports after configuring them so that the commands
can take effect.


