


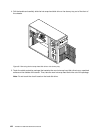

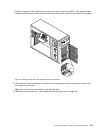
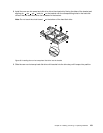
10. Align the top edge of the EMI-protective panel with the top side of the hard disk drive cage and then
pivot the EMI-protective panel down until it snaps into position.
Figure65. Installing the EMI-protective panel
11. Disconnect the SATA cable for the removed non-hot-swap hard disk drive from the system board and
save the cable for future use.
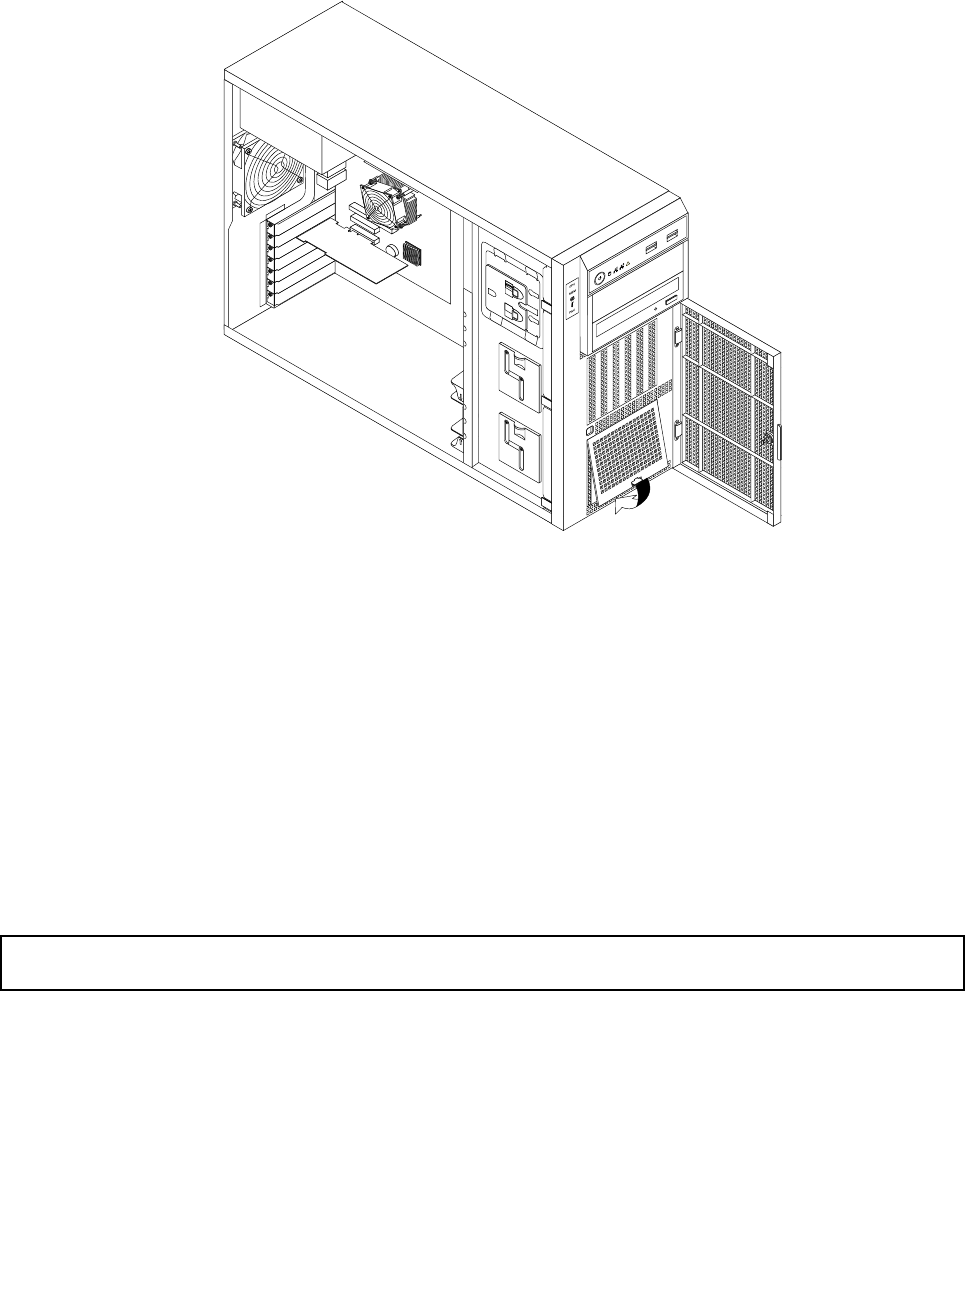
12. Close and lock the front door.
13. If you are instructed to return the old non-hot-swap hard disk drive, follow all packaging instructions and
use any packaging materials that are supplied to you for shipping.
What to do next:
• To work with another piece of hardware, go to the appropriate section.
• To complete the removal procedure, go to “Completing the parts replacement” on page 168
. Then, you
might need to recongure RAID for your server. See “Conguring RAID” on page 71.
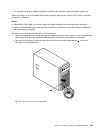
Installing a non-hot-swap hard disk drive
Attention: Do not open your server or attempt any repair before reading and understanding the “Safety information”
on page iii and “Guidelines” on page 83.
This topic provides instructions on how to install a non-hot-swap hard disk drive.
Before you begin, consider the following hard disk drive installation rules:
• Follow the order of the hard disk drive bays when installing a hard disk drive. See “Server components”
on page 25
to locate the hard disk drive bays in your server.
• For RAID conguration, the hard disk drives must be the same type with the same capacity if they are
within a single RAID array. For more information, see “Conguring RAID” on page 71.
128 ThinkServer Hardware Maintenance Manual