


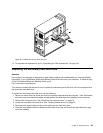

Note: Not all computers have the front fan assembly.
To replace the front fan assembly, do the following:
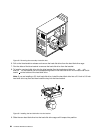
1. Remove all media from the drives and turn off all attached devices and the computer. Then, disconnect
all power cords from electrical outlets and disconnect all cables that are connected to the computer.
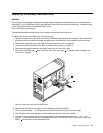
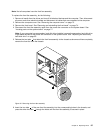
2. Remove the computer cover. See “Removing the computer cover” on page 73.
3. Remove the front bezel. See “Removing and reinstalling the front bezel” on page 74.
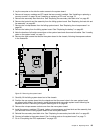
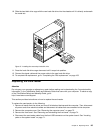
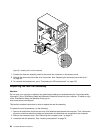
4. Disconnect the front fan assembly cable from the power fan connector on the system board. See
“Locating parts on the system board” on page 71.
Note: If your computer has a secondary hard disk drive installed, remove the secondary hard disk drive
to get easier access to the power fan connector on the system board. See “Replacing the secondary
hard disk drive” on page 93
.
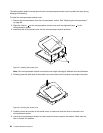
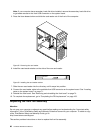
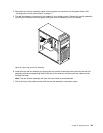
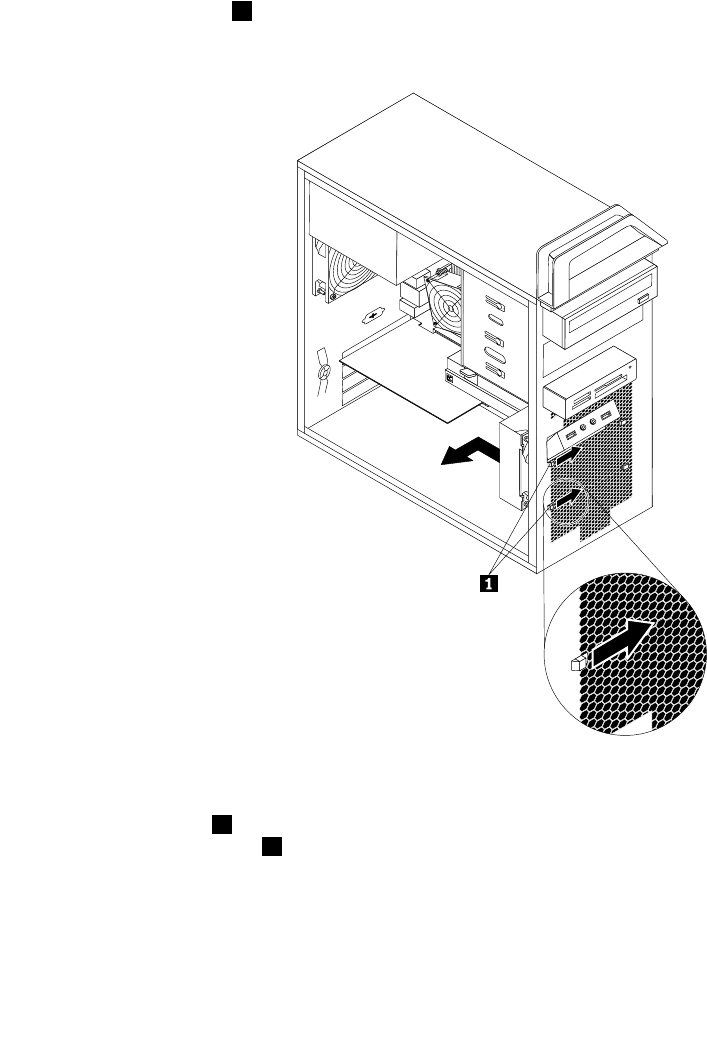
5. Release the two tabs 1 that attach the front fan assembly to the chassis as shown and then completely
remove the front fan from the chassis.
Figure 34. Removing the front fan assembly
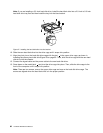
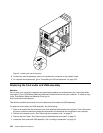
6. Insert the two tabs 2 of the new front fan assembly into the corresponding holes in the chassis, and
press the other two tabs 1 through the holes until the front fan assembly is secured in place.
Chapter 9. Replacing FRUs 97