


CAUTION:
The heat sink and microprocessor might be very hot. Turn off the computer and wait
three to ve minutes to let the computer cool before removing the computer cover.
To replace the microprocessor, do the following:
1. Remove all media from the drives and turn off all attached devices and the computer. Then, disconnect
all power cords from electrical outlets and disconnect all cables that are connected to the computer.
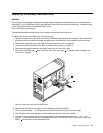
2. Remove the computer cover. See “Removing the computer cover” on page 73.
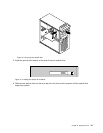
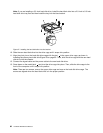
3. Lay the computer on its side to get easier access to the system board.
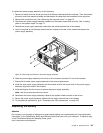
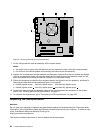
4. Remove the heat sink and fan assembly from the system board. See “Replacing the heat sink and
fan assembly” on page 85.
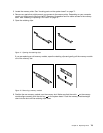
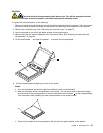
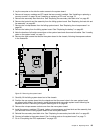
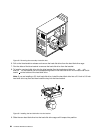
5. Lift the small handle 1 and open the retainer 2 to access the microprocessor 3 .
6. Lift the microprocessor straight up and out of the socket.
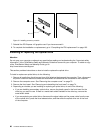
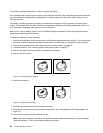
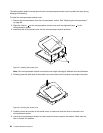
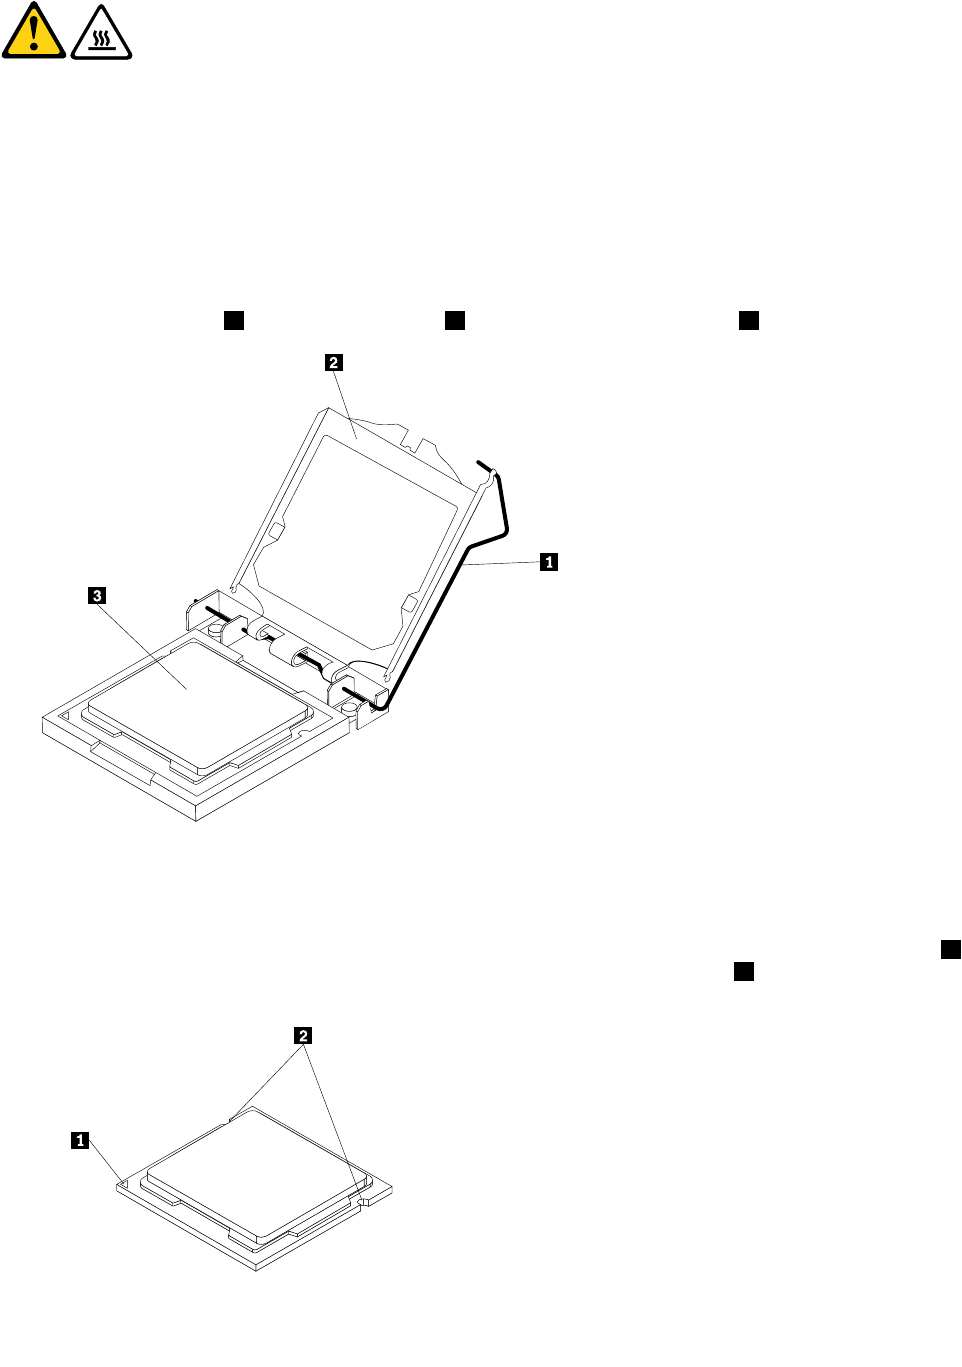
Notes:
a. Your microprocessor and socket might look different from the one illustrated.
b. Note the orientation of the microprocessor in the socket. You can either look for the small triangle 1
on one corner of the microprocessor or note the orientation of the notches 2 on the microprocessor.
This is important when installing the new microprocessor on the system board.
c. Touch only the sides of the microprocessor. Do not touch the gold contacts on the bottom.
Chapter 9. Replacing FRUs 87