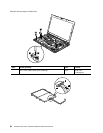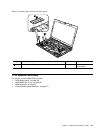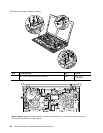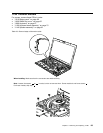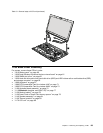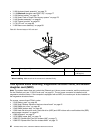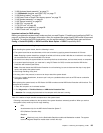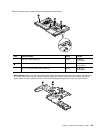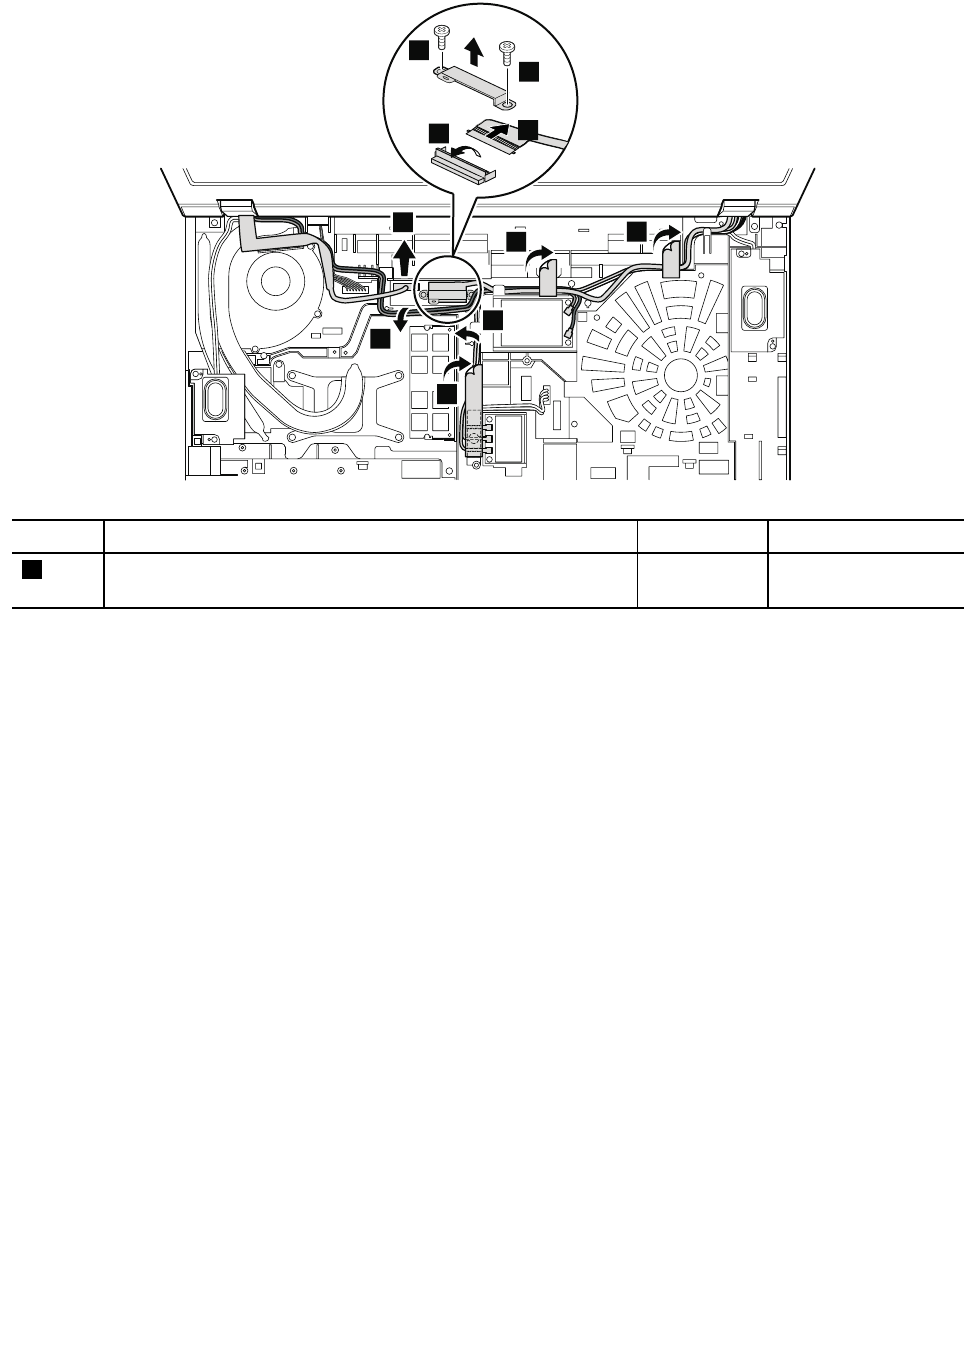
Table 31. Removal steps of LCD unit (continued)
4
4
4
5
5
6
8
7
7
9
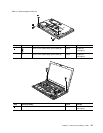
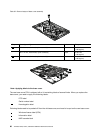
Step Screw (quantity) Color
Torque
7
M2 × 4 mm, wafer-head, nylon-coated (2)
Black 0.181 Nm
(1.85 kgfcm)
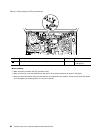
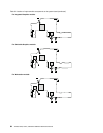
When installing:
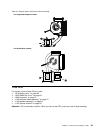
• Make sure that you attach the LCD connector rmly.
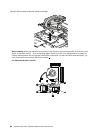
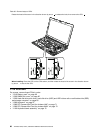
• Make sure that you route the cables rmly and tape up in the proper positions as shown in this gure.
• When you route the cables, make sure that they are not subjected to any tension. Tension could cause the cables
to be damaged by the cable guides, or a wire to be broken.
88 ThinkPad T520, T520i, and W520 Hardware Maintenance Manual


