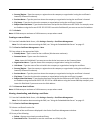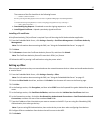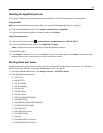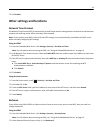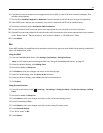
6 If you want to receive responses to messages sent from the MFP (in case of failed or bounced messages), then
provide a Reply Address.
7 Set Use SSL to Disabled, Negotiate or Required to specify whether e-mail will be sent using an encrypted link.
8 If the SMTP server requires user credentials, then select a method for SMTP Server Authentication.
9 Set Device‑Initiated E‑mail to Use Device SMTP Credentials.
10 For User‑Initiated E‑mail, select the option most appropriate for your network or server environment.
11 If the MFP must provide credentials in order to send e-mail, then enter the information appropriate for your network
in the “Device Userid,” “Device password,” and “Kerberos 5 Realm” or “NTLM Domain” fields.
12 Touch Submit.
Fax
If your MFP includes fax capabilities and is attached to a phone line, then you must disable fax forwarding, enable held
faxes, and disable driver to fax.
Using the EWS
1
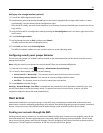
From the Embedded Web Server, click Settings > Fax Settings > Analog Fax Setup.
Note: For information about accessing the EWS, see “Using the Embedded Web Server” on page 15.
2 Under Fax Receive Settings, click Holding Faxes.
3 Set Held Fax Mode to Always On.
4 Click Submit to save your changes and return to the Settings page.
5 Under Fax Send Settings, clear the Driver to fax check box.
6 Under Fax Receive Settings, select Print from the Fax Forwarding list.
7 Click Submit.
Using the touch screen
1
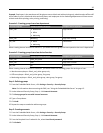
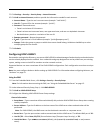
From the home screen, touch > Settings > Fax Settings > Analog Fax Setup > Fax Receive Settings > Holding
Faxes.
2 Set Held Fax Mode to Always On.
3 Touch Submit to save your changes and return to the Fax Receive Settings screen.
4 Set Fax Forwarding to Print.
5 Touch Submit to save your changes and return to the Analog Fax Setup screen.
6 Touch Fax Send Settings.
7 Set “Driver to fax” to No.
8 Touch Submit.
24


