4 Press until Lighter/Darker appears.
5 Press the arrow buttons to adjust the slider, and then press to save your setting.
Note: Pressing the left arrow button makes the copy lighter, and pressing the right arrow button makes the copy
darker.
6 Press .
Collating copies using the printer control panel
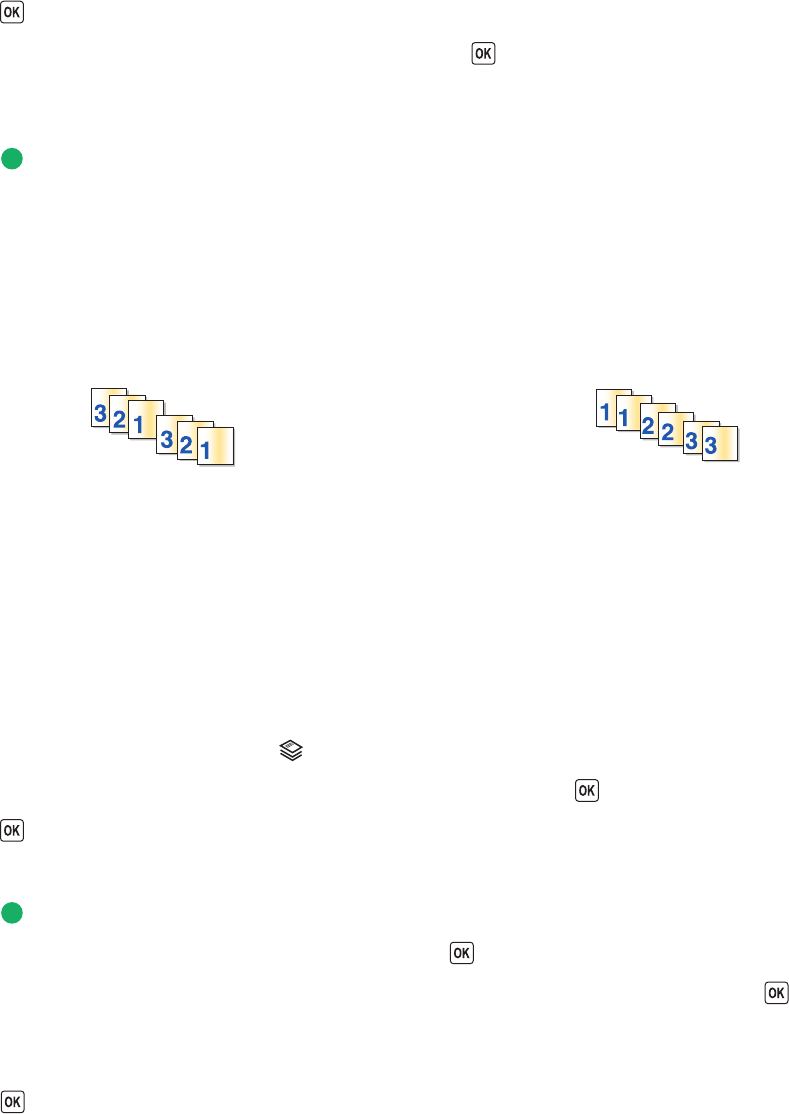
If you print multiple copies of a document, then you can choose to print each copy as a set (collated) or to print the
copies as groups of pages (not collated).
Collated Not collated
1 Load paper.
2 Load an original document faceup into the Automatic Document Feeder (ADF) or facedown on the scanner glass.
Notes:
• Do not load postcards, photos, small items, transparencies, photo paper, or thin media (such as magazine
clippings) into the ADF. Place these items on the scanner glass.
• Adjust the paper guide on the ADF tray to the width of the original document.
• When using the scanner glass, close the top cover to avoid dark edges on the scanned image.
3 From the printer control panel, press .
4 Press the arrow buttons to select the number of copies, and then press .
5 Press until Collate appears.
6 Press the arrow buttons until On appears.
7 Press to save the image of the page to the printer memory.
8 When prompted if you want to scan another page, press .
9 Load the next page of the original document facedown on the scanner glass, and then press .
10 Repeat steps 8 and 9 until all the pages that you want to copy have been saved to the printer memory.
11 When prompted if you want to scan another page, press the arrow buttons until No appears, and then
press
to start printing the copies.
Copying
100


