


87 86
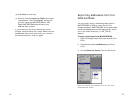
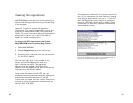
When you select a UPS Air or Ground service, the
Transport Mode will change. Fill in the necessary
information and click Next to continue.
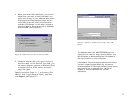
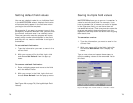
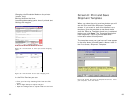
Screen 4: Proper Shipping
Name
When you arrive at the Proper Shipping Name
(PSN) screen, you are ready to select the group
of materials you plan to ship with this template.
You can put up to three materials on one UPS
hazmat shipping paper. See Screen 6 for
instructions on adding more than one material to a
single shipping paper.
Click the button with the magnifying glass icon to
look up materials in the table. (See Figure 31.)
Figure 31: Click the magnifying glass button on the Proper
Shipping Name screen to select a material to ship.
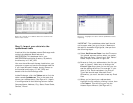
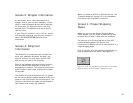
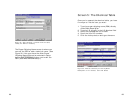
Screen 2: Shipper Information
In this screen, enter information about the
shipper; that is, you and your company. A field
name in bold indicates that the field is required.
On this screen the Signature field is the only
optional field. The signature can be written in
later by hand.
If your account number is not in the list, cancel
this template and enter your account number in
Setup. See MASTERFORM Setup for more
information.
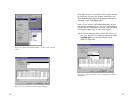
Screen 3: Shipment
Information
The Shipment Information screen is where you
enter your package reference, the date, the
receiver’s name, city and state, and the UPS
service you will use for this shipment.
Enter in the package reference field information
that will identify this shipment in case of an
emergency or problem. This could be a purchase
order number, vendor code, or shipment number,
for example.
The receiver’s name and location will not appear
on the hazmat shipping paper because there is no
place for that information on that document. The
receiver information will appear on the Shipper’s
Certification end-of-day log, however.