


29
High Performance Wireless-N Router
Linksys E3000 Chapter 3: Advanced Configuration
Click Save Settings to apply your changes, or click Cancel
Changes to clear your changes. Click Close to exit the
screen.
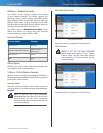
Delete To delete a shared folder, click this option.
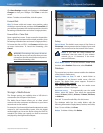
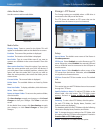
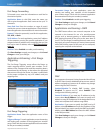
Format Disk
Disk To format a disk and create a new partition, select
the disk you want to format, and then click Format Disk. (If
your disk was formatted with multiple partitions, then the
formatting will delete them and create a single partition.
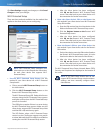
Format Disk > Claim Disk
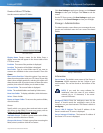
Enter a partition’s name Create a name for the partition.
(If your disk was formatted with multiple partitions, then
formatting will delete them and create a single partition.)
To format the disk as FAT32, click Format and follow the
on-screen instructions. To cancel the formatting, click
Cancel.
WARNING: Formatting a disk erases all data on
the disk. Be sure to save any files that you want
to keep from the disk onto another computer or
drive before formatting a disk.
Format Disk
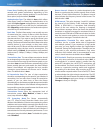
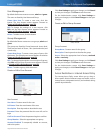
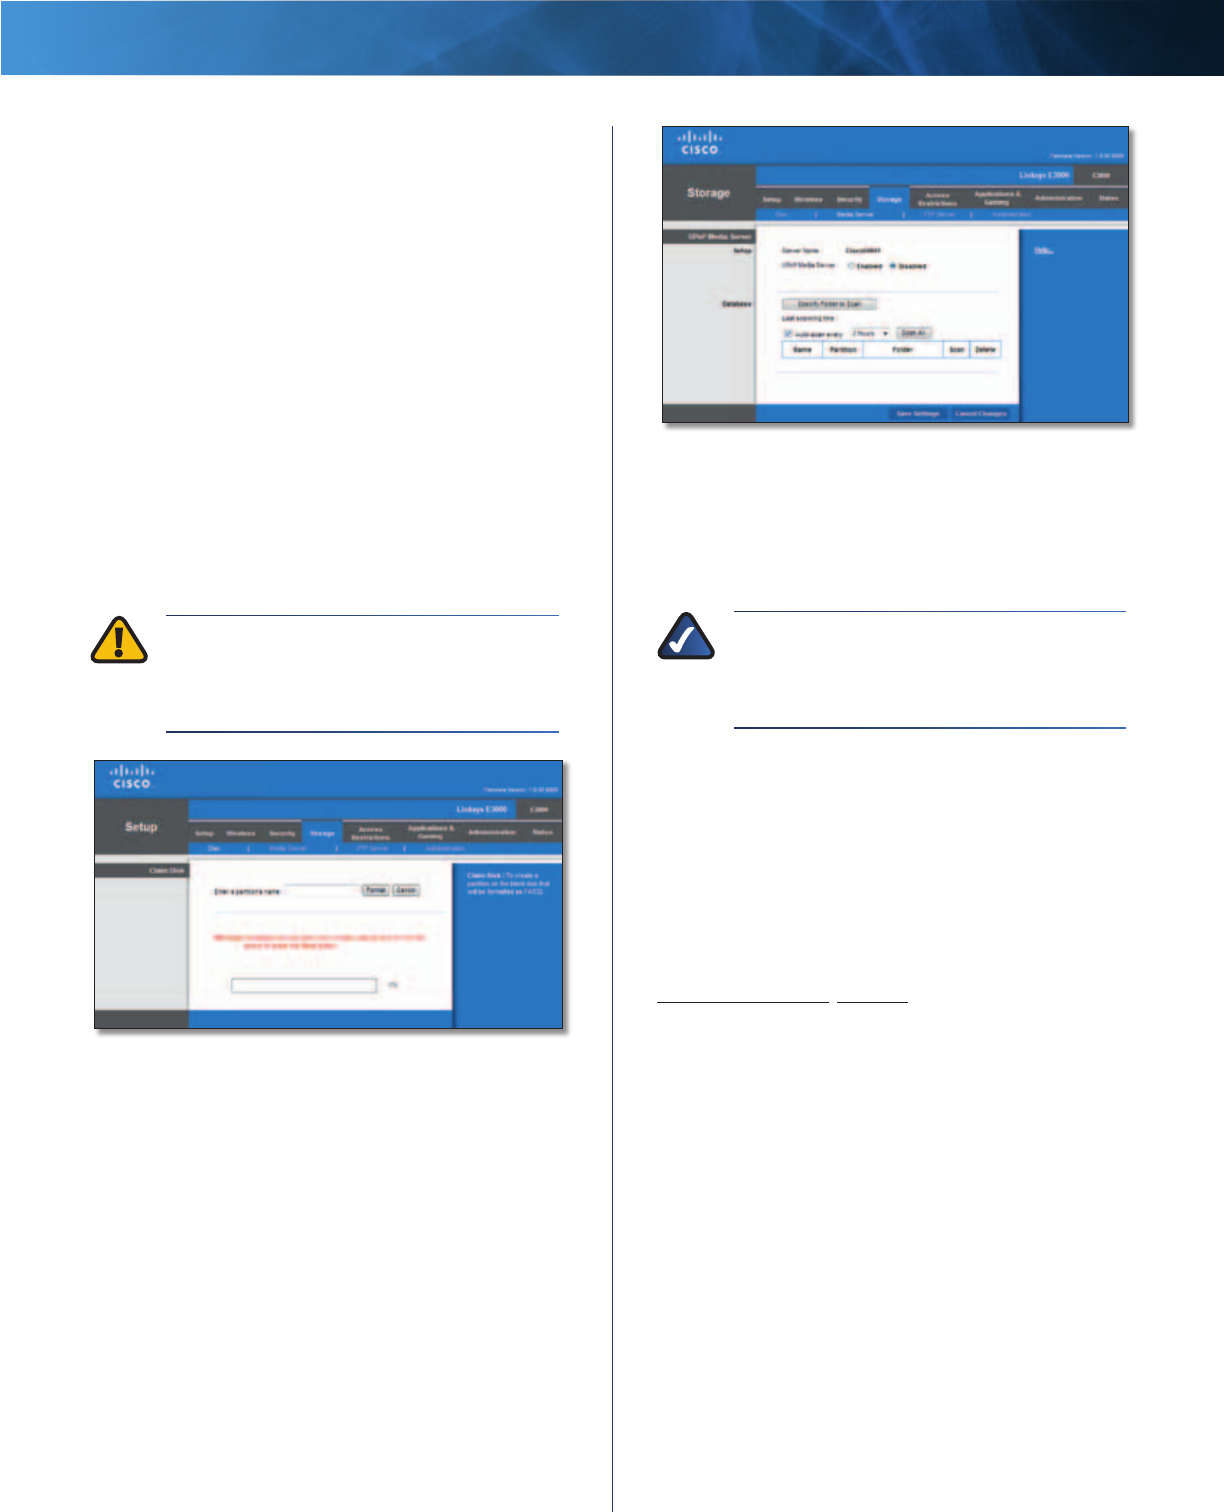
Storage > Media Server
The Storage options are available when a USB drive is
connected to the USB port of the Router.
The Media Server feature allows you to share stored
content with other computers and devices on your home
network and on the Internet.
For example, if you have a digital media adapter that sends
content to your entertainment system, then the digital
media adapter can locate the Router using the UPnP AV
standard. The folders you specify can then be accessed
and played by the digital media adapter.
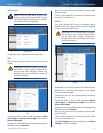
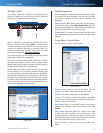
Storage > Media Server
Setup
Server Name The default server name of the Router is
Ciscoxxxxx. xxxxx represents the last 5 digits of your serial
number. This can be found on the bottom of the router.
NOTE: If you used the setup software for
installation, then the name of your wireless
network (up to 15 characters) is the server
name of the Router.
UPnP Media Server To use the Router’s media server
function, select Enabled. Otherwise, select Disabled.
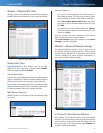
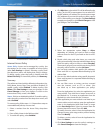
Database
This section lets you select content to add to the database
of the Router’s media server.
Specify Folder to Scan To add a media folder to
the database of the Router’s media server, click this
button. The Media Folder screen appears. Proceed to
Add a Media Folder, page 30.
Last scanning time The last time the media server
scanned for content is displayed.
Auto-scan every __ To automatically scan the media
folders, select this option. Then select the appropriate
interval: 2 Hours (default), 6 Hours, 12 Hours, 24 Hours,
or 48 Hours.
Scan All To scan all media files, click this button.
The database table lists the media folders with the
following information: Display Name, Partition, and Folder.
Scan To scan a folder, click Scan.
Delete To delete a folder, click Delete.