


March 10, 2009 Dolphin Interconnect Solutions 25
www.dolphinics.com
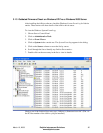
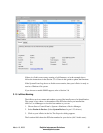
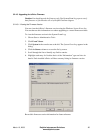
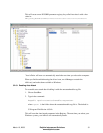
5. Locate and right-click the ioDrive in the list of storage devices on the right. (If the
ioDrive does not appear in the list, choose Rescan Disks from the Action menu.
You may also need to restart your computer to display the ioDrive in the list.)
6. Click Initialize Disk.
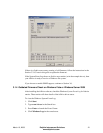
You can now use the Disk Management Utility to add a file system to your ioDrive.
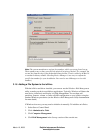
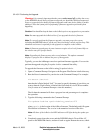
3.1.7 Creating a RAID Configuration
You can use your ioDrive as part of a RAID configuration. To do so, you must format
your ioDrive as a dynamic volume. In turn, you can then use this dynamic volume to
create multi-disk RAID configurations (spanned, striped, mirrored, or RAID 5).
Note: Windows XP Professional does not support software RAID or mirroring. It does
support spanning and striping.
For specific steps to perform a RAID configuration, see the Windows Disk Management
Utility documentation for details.
Note: If you are using RAID1/Mirroring, and one device fails, be sure to run a fio-
format on the replacement device (not the remaining good device) before rebuilding the
RAID.
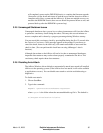
3.2 ioDrive Maintenance
The ioDrive includes both software utilities for maintaining the device as well as
external LED indicators to display its status.
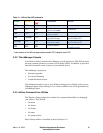
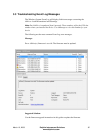
3.2.1 ioDrive LED Indicators
Each ioDrive slot includes three LEDs showing drive activity or error conditions. The
LEDs for one slot is shown in Figure 3–1. The behavior of the LEDs are described in
Table 3–1.
Figure 3–1 ioDrive Slot LEDs