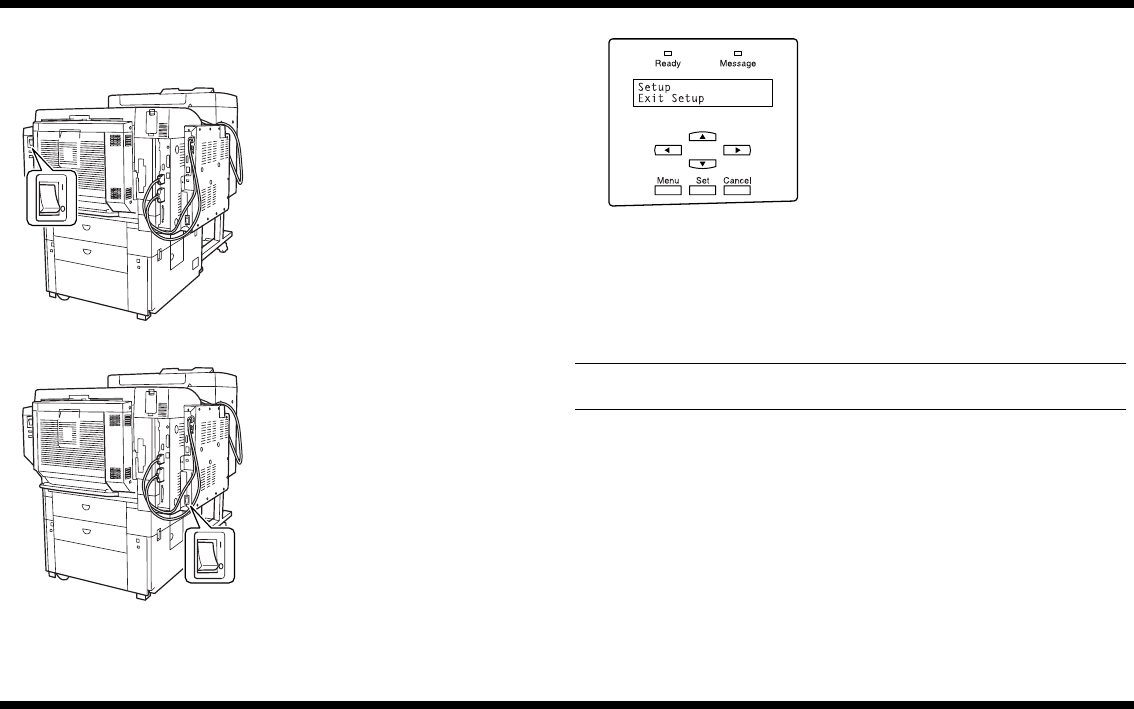
Printer Panel 1
– 41 –
4581-7777-01
14. Specifying the Printer Controller Settings
From the printer, specify the necessary settings for using the controller.
3. After several minutes, a printer panel for selecting the language appears. Select the
desired language.
4. Select the appropriate Market Region setting.
8. Specify settings for the following.
IP address : Controller IP address
Subnet Mask : Subnet mask for the connected network
Default Gateway : IP address of the default gateway
NOTE
First, check with your network administrator for the settings that should be entered.
9. After selecting the necessary settings, select “Exit TCP/IP Setup”, “Exit Protocol
Setup”, then “Exit Network Setup”. Display “Save Changes”, and then press the [Set]
key.
10. Press
▲
or
▼
until “Printer Setup” appears, and then press the [Set] key.
11. Press the [Menu] key in the printer panel. When “Save Changes” appears, select
“Ye s ”, and then press the [Set] key.
12. When “Exit Setup” appears, press the [Set] key to restart the printer controller.
1. Turn on the printer.
C4581O014AA
2. Turn on the printer controller.
C4581O015AA
5. Display the Setup Mode screen in the printer
panel, press
▲
or
▼
until “Server Setup”
appears, and then press the [Set] key.
6. Press the [Menu] key in the printer panel.
When “Save Changes” appears, select
“Yes ”, and then press the [Set] key.
7. In the same way, select “Network Setup”,
and then press the [Set] key. Select “Proto-
col Setup”, “TCP/IP Setup”, then “Ethernet
Setup”, and then set “TCP/IP-Ethernet” to
“Yes ” and “Enable AutoIP Config” to “No”.
C4581U031AA


