Tests and Adjustments Confidential 9820/9830/9835 Service Manual
July 1998 TC9830SM Rev. B 7/98 Confidential 25
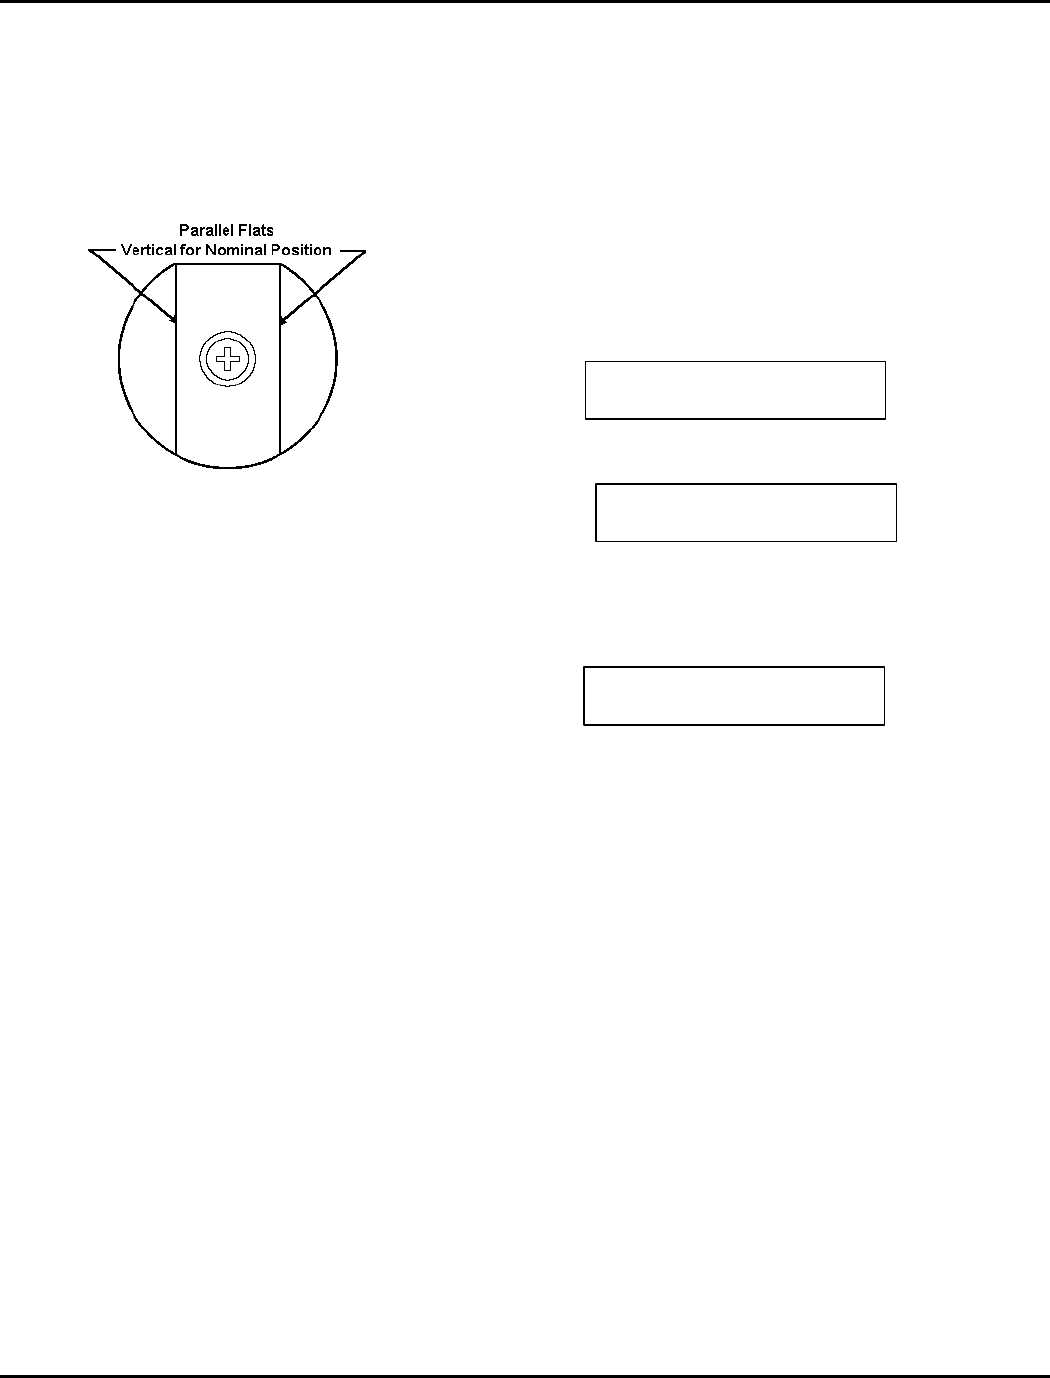
1. Ensure printer is in Normal Mode with the
printhead Wide/Narrow detents set to Wide.
2. Loosen locking screw and set eccentric at the
nominal position (vertical for take-up roller,
horizontal for supply roller). See Figure 5-3.
3. Tighten both locking screws.
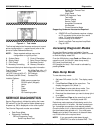
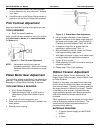
Figure 5- 3. Eccentric And Locking Screw
4. Press Feed several times until the supply roller
serrations are visible across the ribbon width.
5. Turn supply eccentric clockwise until serrations
are the same across the ribbon width.
6. Hold eccentric and tighten locking screw to secure
the adjustment.
7. Press Feed several times until the serrations of
the take-up roller are visible across the ribbon
width.
8. Turn take-up eccentric clockwise until serrations
are the same across ribbon width.
9. Hold eccentric and tighten locking screw.
10. Press Feed and Pause (to get test labels) several
times and watch for ribbon wrinkle.
11. If wrinkles occur, re-check step 8 to ensure take-
up roller is properly adjusted. If wrinkles occur,
repeat adjustment.
12. Re-check that printhead Wide/Narrow detents are
set to Wide (button locked down).
13. Press Feed several times and observe the
smoothness of the ribbon as it enters the
printhead platen roller area. Readjust the supply
roller eccentric as required.
14. If wrinkles occur, loosen the take-up eccentric
screw with the printer running, and rotate the
eccentric to eliminate wrinkle.
15. Hold eccentric and tighten the screw.
CHECKING SUPPLY QUALITY
The printer continuously stores data from the most
recent 16 supplies printed. This checks the reflectivity
of the sensor marks on the supply. Before you check
your supply quality, print a batch of supplies or test
labels. Use Sendfile version 2.19 to check your
supply quality. This test can also be performed using
the optional 917 Keypad.
To check your supply quality from the optional
keypad:
1. From the Diagnostics menu, press L or R until
you see
2. Press E. You will be at the User Diagnostics
menu. Press L or R until you see
3. Press E. If you have not printed any labels,
the message “No data! Press Enter” appears.
If you have printed labels since turning on the printer,
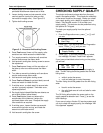
you will see
The Len listing is the length of the loaded supply in
dots. The Min listing should be greater than the Max
listing when
• white is under the sensor.
• a die cut label gap is under the sensor.
The Max listing should be greater than the Min listing
when
• black is under the sensor.
• the solid black area of a die cut label is under
the sensor.
The OK listing tells whether the sense mark on the
supply passed a detection test. Press R to see the
other readings.
If you are not using a Version 5.2 sensing system and
you try to check the supply quality, the message “HW
not supported” appears.
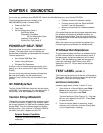
DIAGNOSTICS
l User Diag. r
USER DIAG
Supply Quality r
Len Min Max OK
l 1568 034 124 Y r


