


5-16 I/O Board Installation
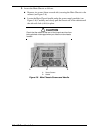
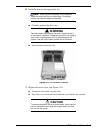
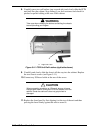
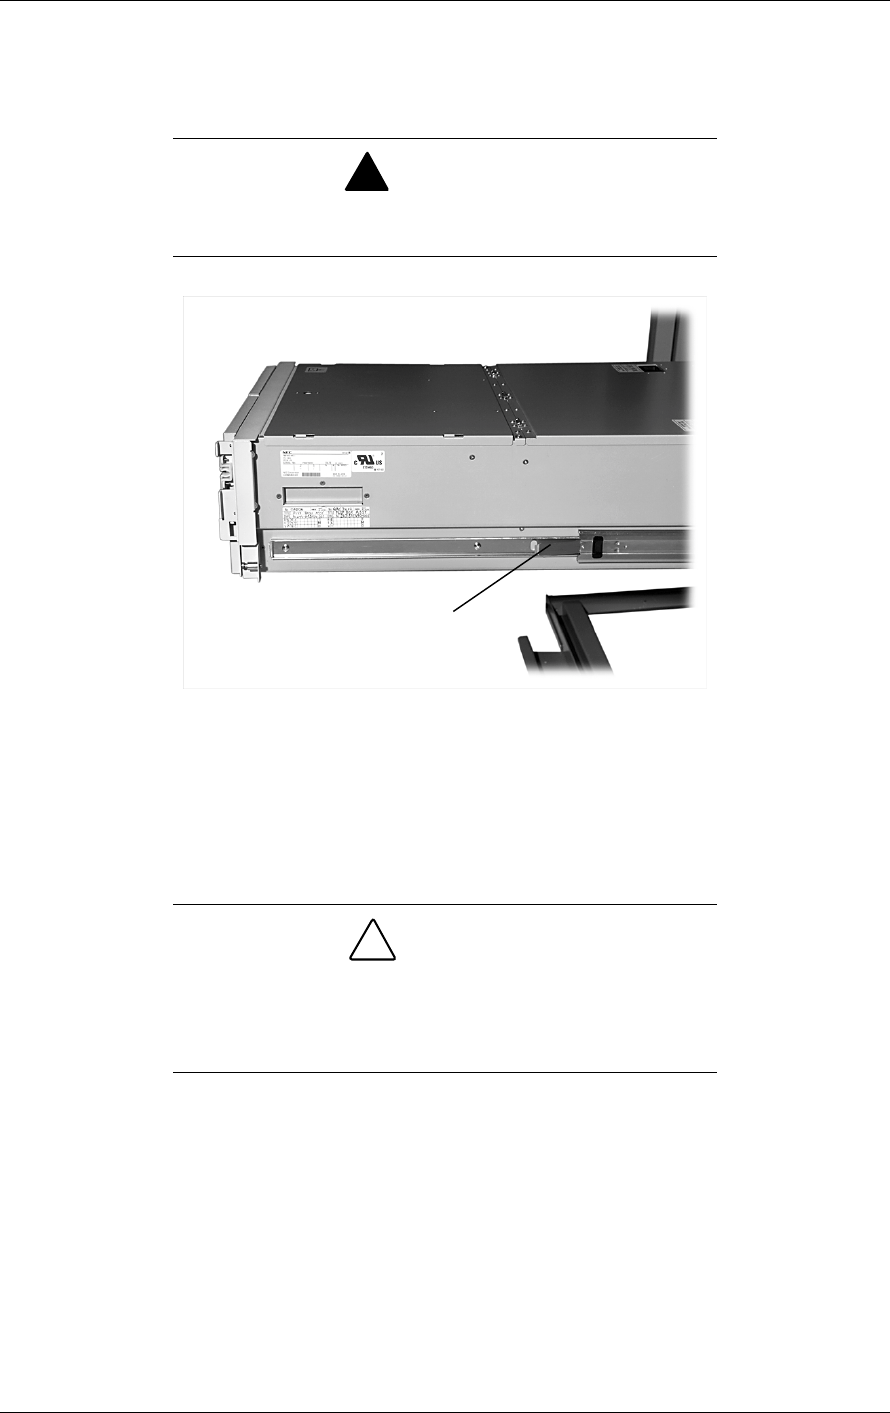
8. Carefully press two rail latches (one on each side) and slowly slide the PCIX
unit back into the cabinet. Stop sliding if you feel resistance and check for
pinched or pulled cabling at the rear of the cabinet.
!
WARNING
Take care when releasing the latches and sliding the chassis
to avoid pinching your fingers.
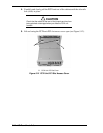
A Right Rail Latch
Figure 5-14 PCIX Unit Rail Latches (right side shown)
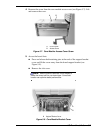
9. Carefully and slowly slide the chassis all the way into the cabinet. Replace
the two chassis screws (see Figure 5-11).
10. Connect any I/O board cable at the rear of the server.
!
CAUTION
When connecting a cable to an I/O board, be sure to leave
enough cable free for sliding the PCIX unit chassis out of the
cabinet. Route the cable so it does not get pinched or
damaged.
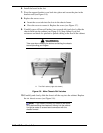
11. Replace the front bezel by first aligning it at the top of the unit and then
pressing the bezel firmly against the unit to secure it.
A