


E-33
Operation
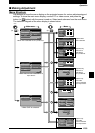
■ Making Adjustment
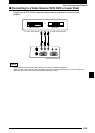
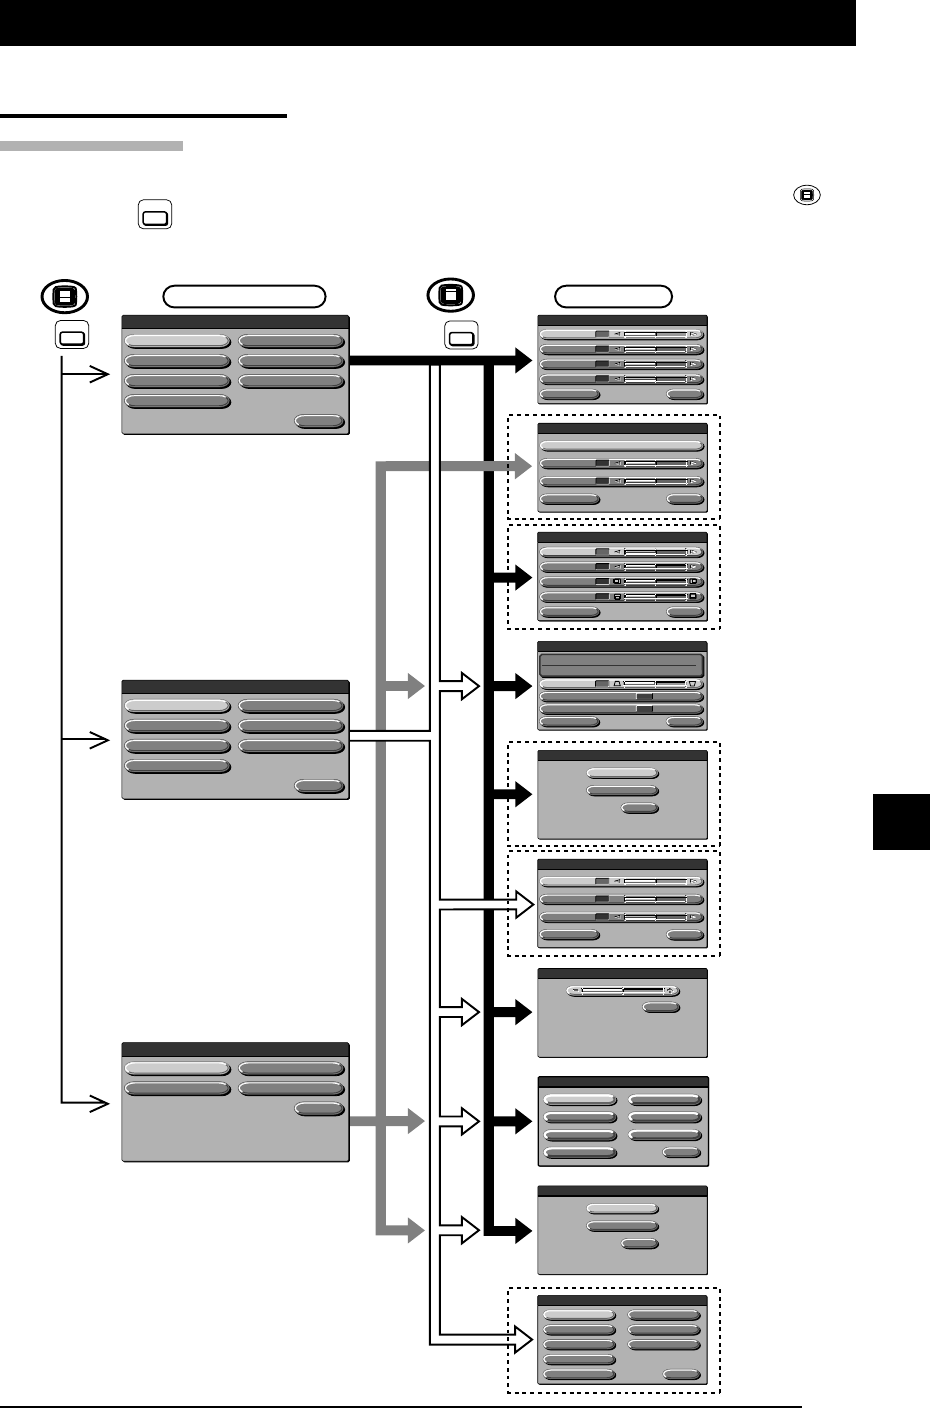
Menu Structure
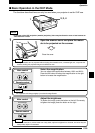
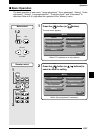
Use buttons to show the menu display on the projected screen for various adjustments and
settings. To show the main menu display, connect PC or video source, and press the
MENU
button (or
MENU
button) with the power turned on. Select each submenu from the main menu.
The transition diagram of the menu display is shown below.
Sharpness
Quit
Video adjustment
0
Color
0
Tint
0
R
R
R
G
G
G
Save
Load
Quit
Memory
Quit
Setting
Auto power off
ON OFF
/
Keystone
0
Start up screen
ON OFF
/
Input signal
Lamp usage time
1024 X 768 60Hz48.2KHz
0H
Standard
Standard
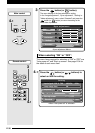
MENU
MENU
MENU
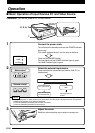
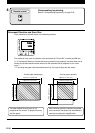
<When PC is selected for an input device>
<When video source is selected for an
input device>
<
When OHP is selected
>
Appears only
when PC is
selected as
an input device.
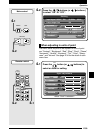
(or )
MENU
(or )
Appears only
when PC is
selected as
an input device.
Appears only
when video
source is selected
as an input device.
Main menu Menu
Image adjustment
Sync adjustment
Setting
Projection mode
Language selection
Memory
Quit
Volume
MENU
Setting Projection mode
Language selection
Quit
Image adjustment
MENU
Brightness
Red
Blue
Standard Quit
Image adjustment
0
0
0
Contrast
0
Video select
Quit
AUTO
PAL M
PAL N
PAL6 0
PAL B,G,H,I
NTSC3.58
SECAM
NTSC4.43
Floor
Rear
Quit
Projection mode
Quit
Volume
Image adjustment
Video adjustment
Setting
Projection mode
Language selection
Video select
Quit
Volume
MENU
Appears when
OHP is selected.
Appears only
when video
source is selected
as an input device.
Blue
Quit
Image adjustment
0
Red
0
Gamma
PHOTO TEXT
/
Standard
Phase
Horizontal
Vertical
Standard Quit
Sync adjustment
50
9
15
Clock
50
English
SvenskaDeutsch
Français
Italiano
Española
Quit
Language selection