


21
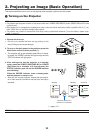
2. Installation and Connections
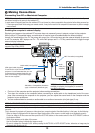
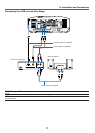
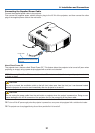
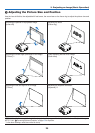
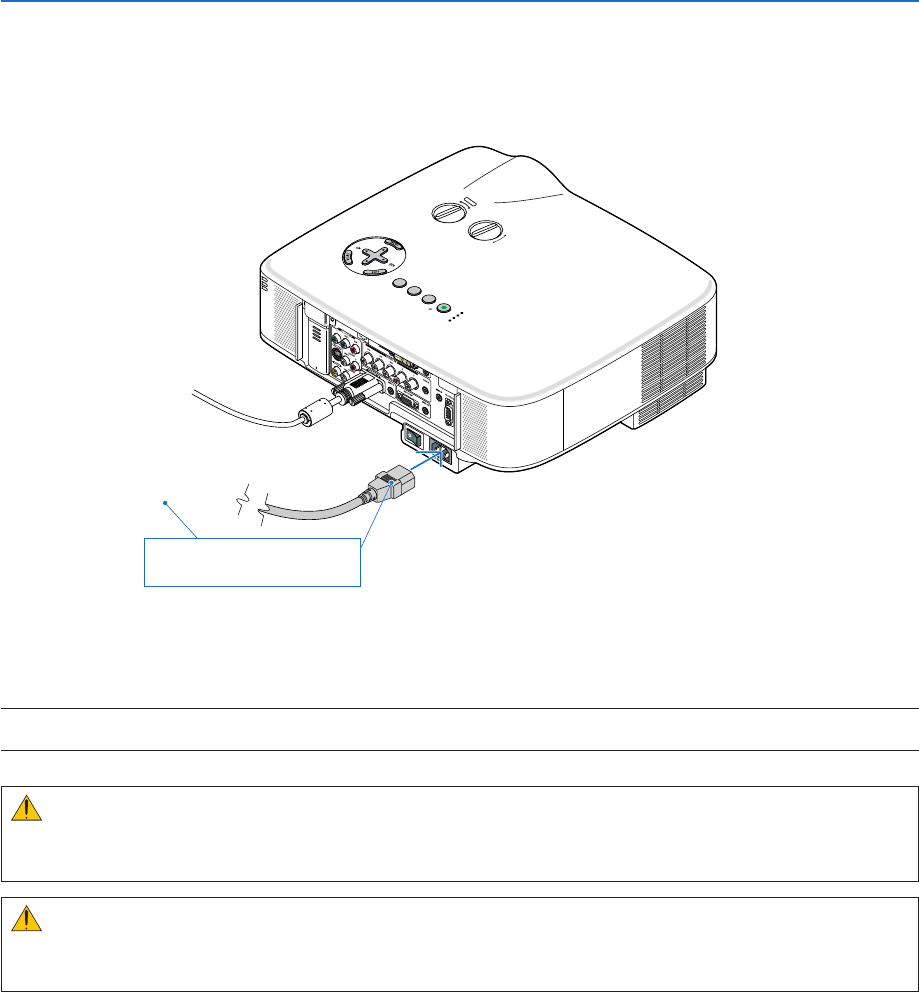
Connecting the Supplied Power Cable
Connect the supplied power cable to the projector.
First connect the supplied power cable’s three-pin plug to the AC IN of the projector, and then connect the other
plug of the supplied power cable in the wall outlet.
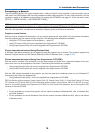
LAM
P
STATUS
POWER
O
N
/
S
T
A
N
D
B
Y
SOU
RCE
AUTO ADJUST
3
D REFORM
S
E
L
E
C
T
USB
LENS SHIFT
LEFT
RIGHT
DOWN
U
P
WIRELESS
WIRELESS
Make sure that the prongs are fully
inserted into both the AC IN and the
wall outlet.
To wall outlet
L
EN
S
S
HIF
T
LEF
T
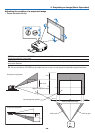
TIP: To turn off the AC power supply when the projector is powered on, use a power strip equipped with a switch and a breaker.
TIP: The projector can be unplugged during its cool down period after it is turned off.
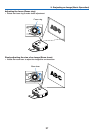
CAUTION:
Do not try to touch the ventilation outlet on the left front (when seen from the front) as it can become heated
white the projector is turned on and immediately after the projector is turned off.
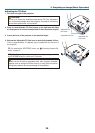
CAUTION:
Do not unplug the power cable from the wall outlet or projector when the project is powered on. Doing so can
cause damage to the AC IN connector of the projector and (or) the prong plug of the power cable.
About Direct Power Off
The projector has a feature called “Direct Power Off”. This feature allows the projector to be turned off (even when
projecting an image) using a power strip equipped with a switch and a breaker.
NOTE: Before using Direct Power Off, be sure to allow at least 20 minutes immediately after turning on the projector and starting
to display an image.