


43
3. Projecting an Image (Basic Operation)
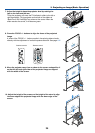
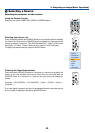
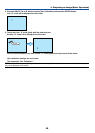
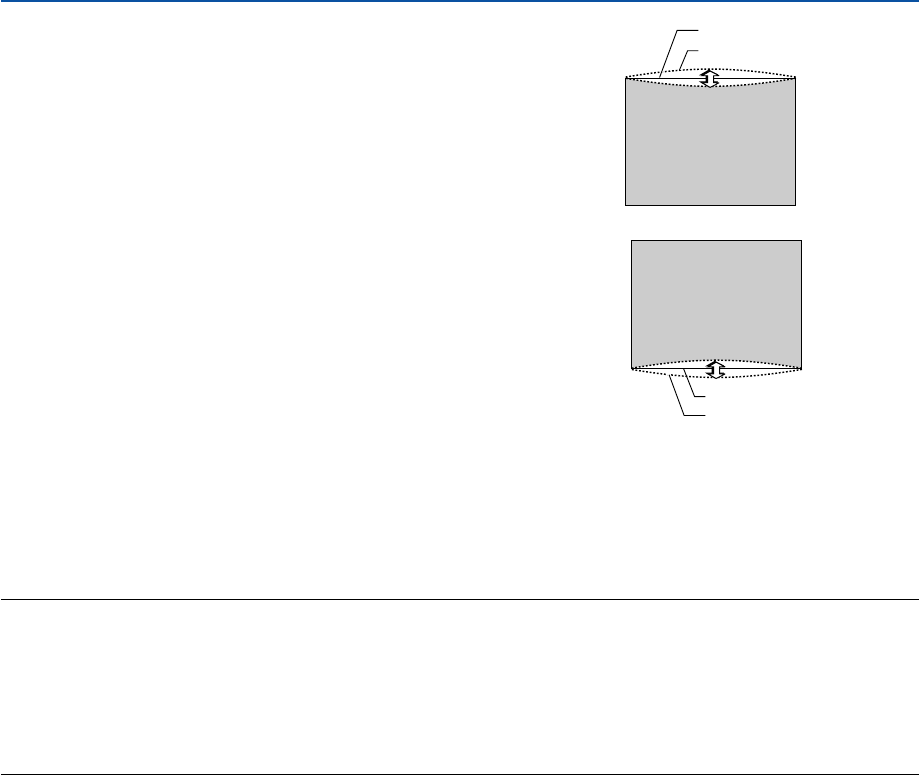
Screen (solid line)
Projected area (dotted line)
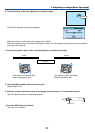
2. Press the ENTER button when [Pincushion] is completed.
Return to the menu.
3. Press the EXIT button a few times to make the menu disappear.
NOTE:
• In the [Pincushion] screen, when the [Top] adjustment value is "0", adjustment of [Bottom] will not be possible*.
Also note that when the adjustment value of the [Top] is a small value (on the order of +5), there will be almost no change of
the image even when the [Bottom] is adjusted.
• In the [Pincushion] screen, when the [Bottom] adjustment value is less than "0", a small portion can be lost at the bottom area
of the image. To display the lost portion, use the [Digital Zoom] function to reduce the size of the projected image*.
• When [Cornerstone] or [Keystone] has already been adjusted, selection of [Pincushion] will not be possible. To display
[Pincushion], return the adjustment values of [Cornerstone] or [Keystone] to the factory shipping conditions.
* Each note for [Top] and [Bottom] is reversed when the [Ceiling Rear] or [Ceiling Front] is selected in [Orienta-
tion] .
Reference
The [Pincushion] screen can also be displayed from the menu by going to [Setup] → [Basic].
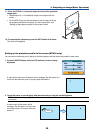
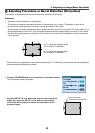
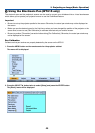
• Press the SELECT
̆
or
̄
button and align the cursor with
[Bottom], then press the SELECT
̇
or
̈
button to allow adjust-
ment of the protrusions and indentations of the lower edge of the
projected image.
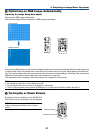
Screen (solid line)
Projected area (dotted line)
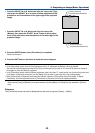
• Press the SELECT
̆
or
̄
button and align the cursor with [Top],
then press the SELECT
̇
or
̈
button to allow adjustment of the
protrusions and indentations of the upper edge of the projected
image.