Advanced
NetComm NB5 Ethernet/USB Modem Router YML717 Rev1
64 www.netcomm.com.au
To create a New Port Forward Rule:
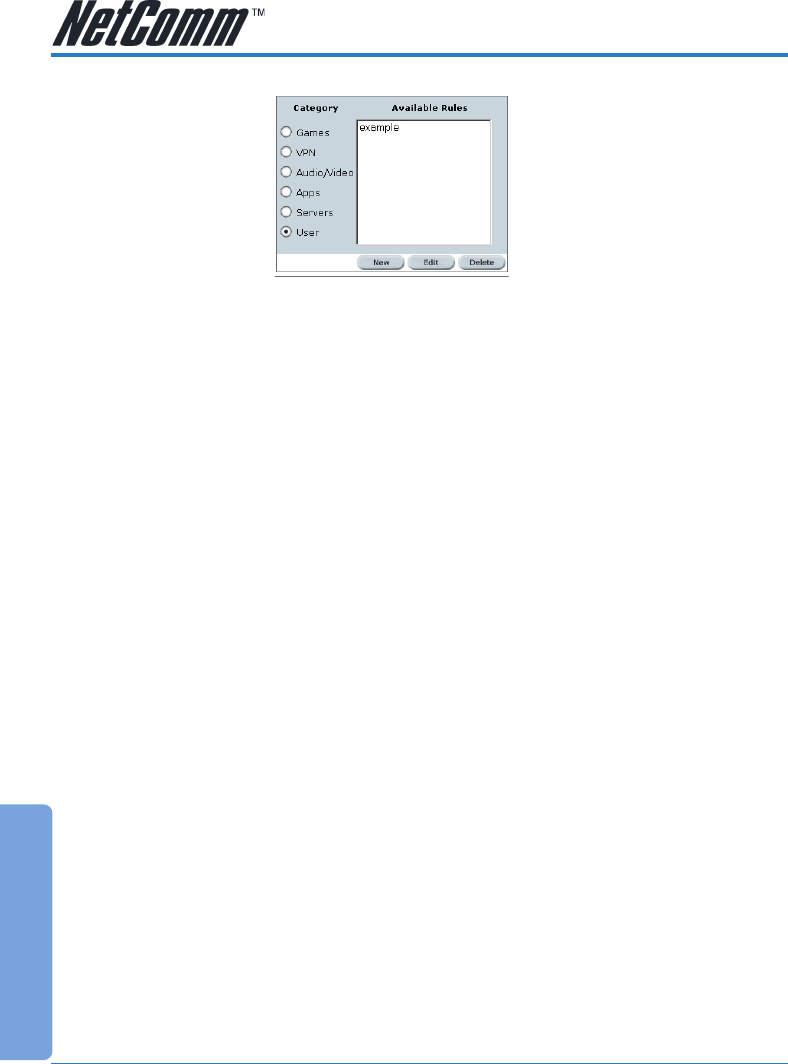
On the Port Forwarding page shown in the figure above, click on the User radio button, then on the
New Button.
Rule Name: enter a name that identifies the rule; for the sake of clarity this will usually be the name
of the application. The name must be unique, must not contain spaces and cannot begin with a
number.
Protocol: can be either TCP or UDP, or both.
Port start…port end: These will be the same if you are forwarding only a single port. If there is a
range, then port start is the first number in the range, and port end will be the last number.
Port Map: this is the port number that the data should be forwarded to on the specified LAN IP (i.e.
the inside port). This is usually the same as the port start figure.
TIP: It is possible to map outside port numbers, or ranges [i.e. port start…port end] to a different
inside port numbers [port map] for reasons of security or convenience.
Click 'Apply'
The Port Rule settings defined by this process will then be displayed in a table at the bottom of the
Rule Management panel.
If you wish to add more ports to this rule, leave the text name in the Rule Name field and enter the
new port settings. Click 'Apply' and the new settings will be added to the list.
Adding Custom Rules to Applied Rules List
When you have assigned all necessary ports to the Rule and they appear in the table, click on the
Port Forwarding menu item to return to the main Port Forwarding screen.
User-created rules will be shown in the Available Rules list when the User Category radio button is
selected. You can now apply the rule(s) by selecting it and clicking Add. This will add the rule to list
of applied rules.
Click on Save Settings on the left-hand menu to make changes permanent.
