


5-4 Network Interface
5.4 Configuring the e-mail environment
5.4.1 Time zone setting
The Time Zone is required as part of the e-mail header information when
sending Internet faxes.
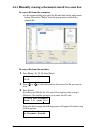
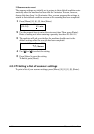
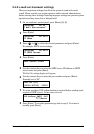
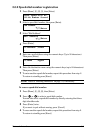
1
On your machine’s control panel, press [Menu], [9], [Enter].
[Program] No.9
9 User Install
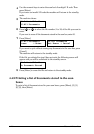
2
Press [Enter] repeatedly until the time zone setting is displayed.
Time Zone
+
00:00
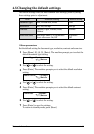
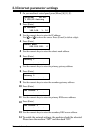
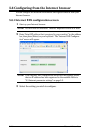
3
Use the numeric keys to enter your time zone.
To change + or –, press [
] or [ ]
.
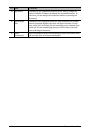
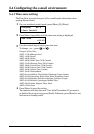
Example of Time Zone:
(GMT –11:00) Midway Island
(GMT –10:00) Hawaii
(GMT –09:00) Alaska
(GMT –08:00) Pacific Time (US & Canada)
(GMT –07:00) Mountain Time (US & Canada)
(GMT –06:00) Central Time (US & Canada)
(GMT –05:00) Eastern Time (US & Canada)
(GMT –04:00) Atlantic Time (Canada)
(GMT –03:30) Newfoundland
(GMT) Greenwich Mean Time: Dublin, Edinburgh, Lisbon, London
(GMT +01:00) Amsterdam, Berlin, Bern, Rome, Stockholm, Vienna
(GMT +01:00) Belgrade, Bratislava, Budapest, Ljubljana, Prague
(GMT +01:00) Brussels, Copenhagen, Madrid, Paris
(GMT +09:00) Osaka, Sapporo, Tokyo, Seoul
(GMT +10:00) Guam
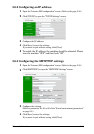
4
Press [Enter] to save the setting.
The machine will show the next “User Install” procedure. If you want to
go back to the previous step, press [Back]. Otherwise, press [Reset] to exit
and return to standby mode.