13
Chapter 2 Scan/Email Operations
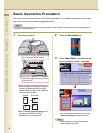
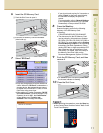
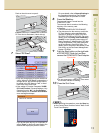
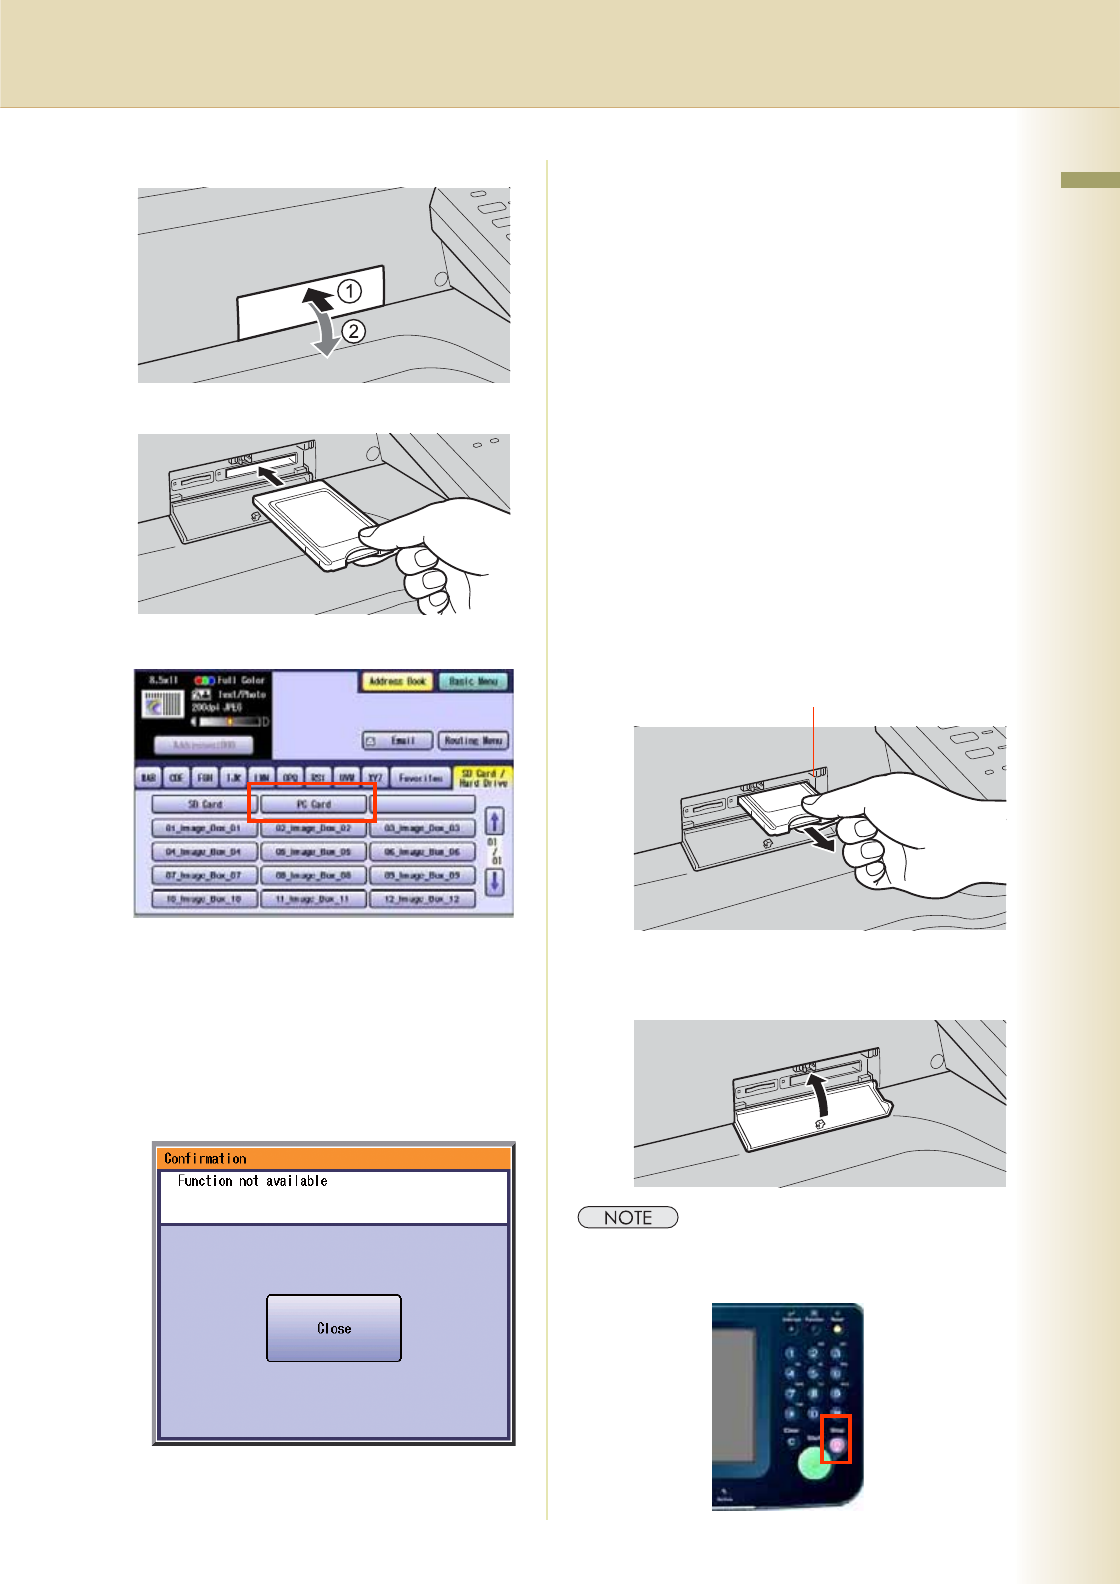
Push on the slot cover to open it.
Insert a PCMCIA/PC card into the PCMCIA/
PC Card slot as illustrated. (Label side up)
7
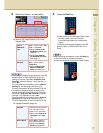
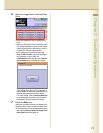
Select “PC Card”.
zOnly one storage device can be selected at
a time. When the “PC Card” is selected as a
storage device, the scanned image cannot
be saved to the SD Memory Card, or Hard
Disk Drive at the same time.
zIf the setting of Function Parameter “84 SD/
PC Card Function” (General Settings > Key
Operator) is set to “No”, the Confirmation
screen displays an “Function not available”
error message and beeps.
If you do not touch any key for 3 seconds, or
select “Close” on the touch panel display, the
machine will display the previous screen.
For more details, refer to General Settings in
the Operating Instructions (For Function
Parameters) on the provided CD-ROM.
8
Press the Start key.
The scanned image is saved into the
PCMCIA/PC Card.
The scanned data is saved on the following
directory of the memory card.
zDirectory:
\PRIVATE\MEIGROUP\PCC\DI\IMAGE
zThe data saved on the memory card in the
PC Card Adapter can be printed by this
machine or another DP-C354, DP-C264,
DP-C323, DP-C263 or DP-C213. For more
details, refer to Printing from SD Memory
Card/PC in the Operating Instructions (for
Basic Operations). When printing PDF data,
or high-compression PDF data, install and
set up the Memory Card Print Utility. For
details, refer to the Help of the Memory Card
Print Utility on the Document Management
System CD-ROM.
9
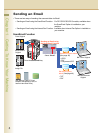
Push the Eject button on the right side
of PCMCIA/PC Card slot, and then
remove the PCMCIA/PC Card Adapter.
zDo not remove the PCMCIA/PC Card while
the Access Indicator is flashing.
10
Close the Slot Cover.
zWhen canceling the operation, press the Stop key
on the Control Panel, and then select “Yes” on the
Touch Panel Display.
Eject button


