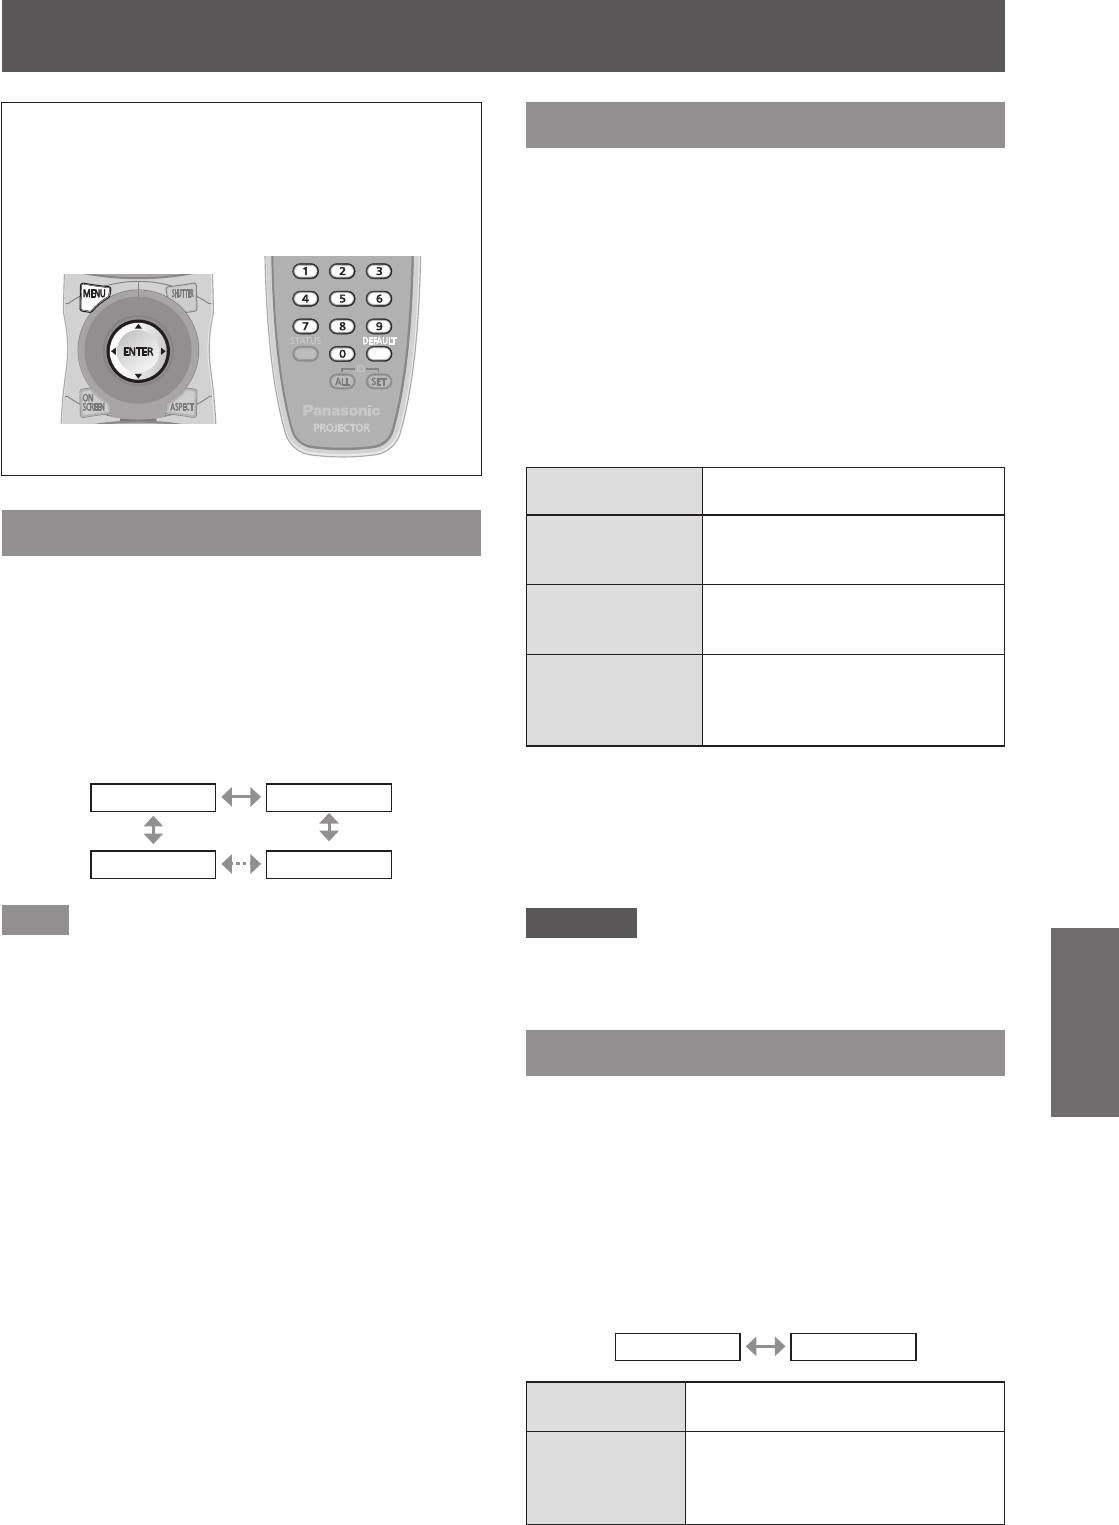
[PROJECTOR SETUP] menu
ENGLISH - 61
Settings
[PROJECTOR SETUP] menu
Select [PROJECTOR SETUP] from the main
menu, and select the item from the sub-menu.
Refer to
“
Navigating through the menu
”
(
page 41) regarding the operation of the menu
screen.
z
After selecting the item, press to set.
[PROJECTOR ID]
The projector has an ID number setting function, and
simultaneous control or individual control is possible
with one remote control when multiple projectors are
used side by side.
1) Press
▲▼
to select [PROJECTOR ID].
2) Press ◀▶ to switch [PROJECTOR ID].
z
The setting will change as follows each time
you press the button.
[ALL] [1]
[64] [2]
Note
z
The ID number can be set to [ALL] or [1] through
[64].
z
The ID number of the remote control needs to be
matched with the ID number of the projector when
the ID number is specied.
z
When the ID number is set to [ALL], the projector
will operate regardless of what number it is set on
the remote control or the computer.
If multiple projectors are used and some of
them have their IDs set to [ALL], they cannot be
c
ontrolled separately from the projectors with other
ID numbers.
z
Refer to
“
Setting Remote control ID numbers
”
(
page 20) regarding the method to set the ID
number on the remote control.
[PROJECTION METHOD]
You can set the projection method in accordance with
the installation status of the projector.
Change the projection method if the screen display is
upside down or inverted.
1) Press
▲▼
to select [PROJECTION
METHOD].
2) Press the <ENTER> button.
z
The [PROJECTION METHOD] screen is
displayed.
3) Press
▲▼
to select the projection
method.
[FRONT/FLOOR]
When installing on the desk, etc.,
in front of the screen
[FRONT/CEILING]
When installing using the
ceiling mount bracket (optional
accessories) in front of the screen
[REAR/FLOOR]
When installing on the desk,
etc., behind the screen (using a
translucent screen)
[REAR/CEILING]
When installing using the
ceiling mount bracket (optional
accessories) behind the screen
(using a translucent screen)
4) Press the <ENTER> button.
5) When the conrmation is displayed,
select [OK] or [CANCEL], and press
the <ENTER> button.
Attention
z
When [PROJECTION METHOD] is changed,
conrm that [COOLING CONDITION] (
page 62) is
set correctly.
[HIGH ALTITUDE MODE]
If you use the projector at elevations (1 400 m
(4 593 ft) to 2 700 m (8 858 ft)), the [HIGH ALTITUDE
MODE] setting needs to be [ON].
1) Press
▲▼
to select [HIGH ALTITUDE
MODE].
2) Press ◀▶ to switch [HIGH ALTITUDE
MODE].
z
The setting will change as follows each time
you press the button.
[OFF] [ON]
[OFF]
When using at a place lower than
1 400 m (4 593 ft) above sea level
[ON]
When using at a high altitude
(1 400 m (4 593 ft) or higher and
lower than 2 700 m (8 858 ft) above
sea level)


