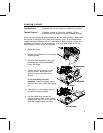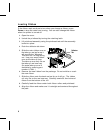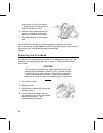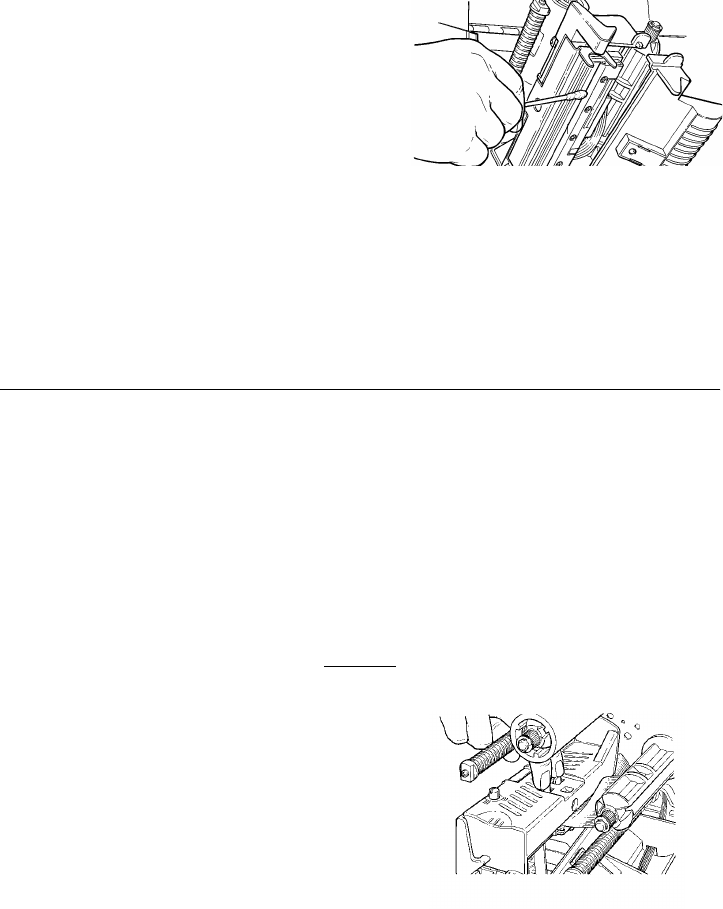
cotton swab or dry cloth across
it. Make sure the platen roller is
clean all the way around.
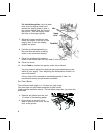
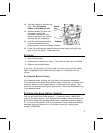
6. Rub the cotton swab across the
peel bar, printhead, and supply
sensor to remove any build-up.
7. Clean the build-up in the supply
path.
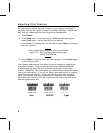
Let the printer dry before you reload supplies, close the exit cover,
turn on the printer, press Feed to position the supply under the printhead,
and resend your format/batch/graphic/check digit
packets.
Replacing the Printhead
You may have to replace the printhead if it is damaged or worn-out. For
example, you may see 616 (bad dot or dots) or 768 (printhead failure)
error codes.
CAUTION
The printhead is sensitive to static electricity, which can
damage the printhead or reduce its life. Ground yourself
by touching some metal, such as the printer’s metal base,
before touching the printhead. Clean the printhead to
remove any salt or oil left from handling prior to operation.
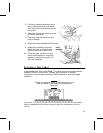
1. Turn off the printer.
2. Open the cover.
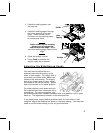
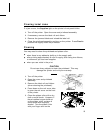
3. Unlock the printhead by turning the
retaining latch.
4. Press forward and down on the
two latches on top of the printhead
assembly as shown. The
printhead will drop down.
Printhead
10


