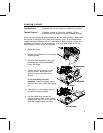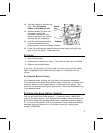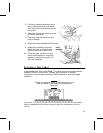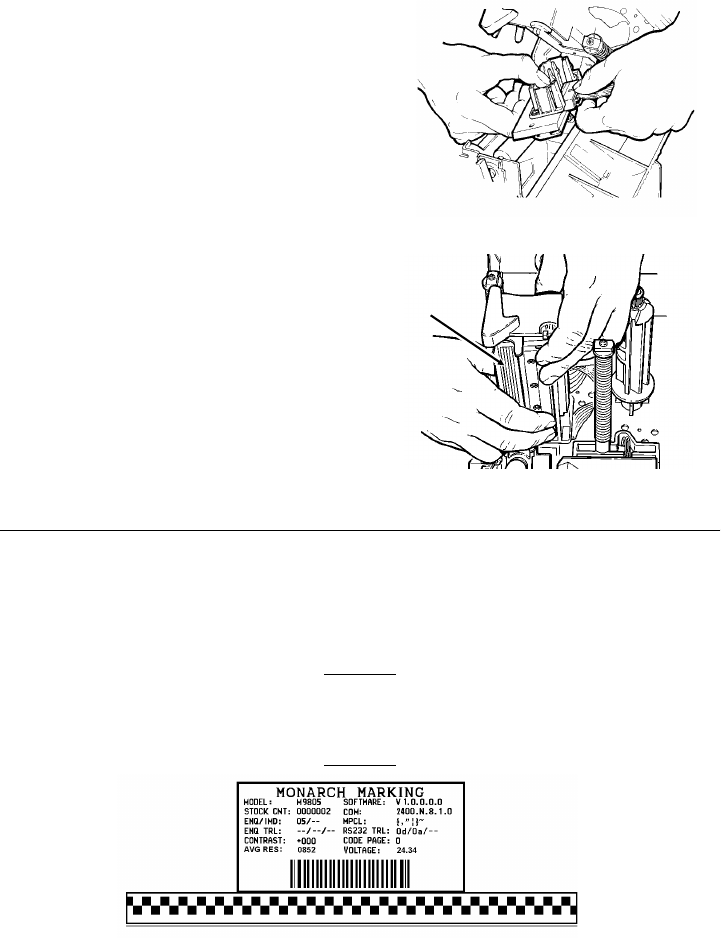
5. Lift the printhead assembly using
the printhead tab and push back
until the printhead assembly clicks
into place.
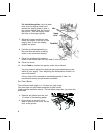
6. Carefully unplug the cable from the
printhead as shown.
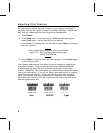
7. Carefully plug the cable into the
new printhead.
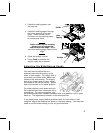
8. Align the new printhead with the tabs.
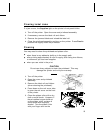
9. Snap the printhead into place.
Make sure the printhead cable
does not touch the ribbon roll.
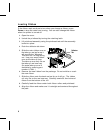
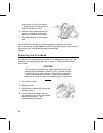
10. Clean the new printhead with a
cotton swab dipped in isopropyl
alcohol to remove any salt or oil
left from handling.
Printing a Test Label
Press Pause and then press Feed. The label shows the model number,
software version, stock count, voltage, print contrast, printhead
resistance, communication settings, ENQ characters, and code page
selection.
If using on-demand mode, a test label prints only
after all labels in the batch are printed and
removed.
If you turn off the printer, you must wait 10-15 seconds (until the power
light is completely dim) before turning it back on; otherwise, an error
occurs.
Do not
touchhere
11


