


EN
36
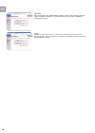
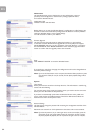
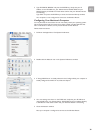
5 In the Adapter drop-down list, make sure your Ethernet adapter is selected.
6 If ‘Obtain an IP address automatically’ is already selected, your computer is
already configured for DHCP. If not, select this option and click ‘Apply.’
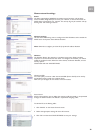
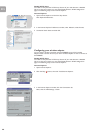
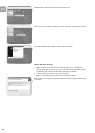
7 Click the DNS tab to see the primary and secondary DNS servers.
Record these values, and then click ‘Remove.’ Click ‘Apply’, and then ‘OK.’
8 Windows may copy some files, and will then prompt you to restart your system.
Click Yes and your computer will shut down and restart.
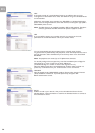
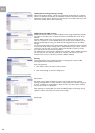
Disable HTTP Proxy
You need to verify that the ‘HTTP Proxy’ feature of your web browser is disabled.
This is so that your browser can view the Wireless Router’s HTML configuration
pages (refer to ‘Internet Explorer’).
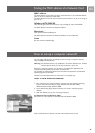
Obtain IP Settings from Your Wireless Router
Now that you have configured your computer to connect to your Wireless Router, it
needs to obtain new network settings.
By releasing old DHCP IP settings and renewing them with settings from your
Wireless Router, you will verify that you have configured your computer correctly.
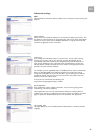
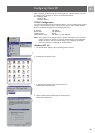
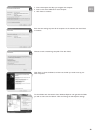
1 On the Windows desktop, click Start/Programs/Command Prompt.
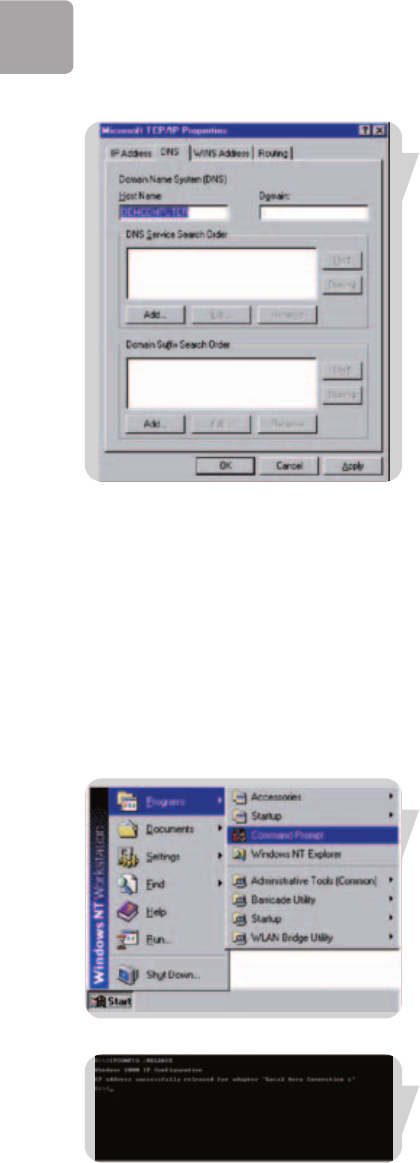
2 In the Command Prompt window, type ‘IPCONFIG /RELEASE’ and press the
ENTER key.
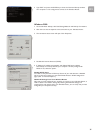
3 Type ‘IPCONFIG /RENEW’ and press the ENTER key. Verify that your IP
Address is now 192.168.1.xxx, your Subnet Mask is 255.255.255.0 and your
Default Gateway is 192.168.1.2.
These values confirm that your Wireless Router is functioning.