Installation
22 Planar PD7170 Installation/Operation Manual
PREL
I
MINA
R
Y
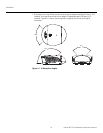
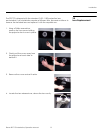
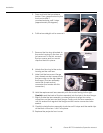
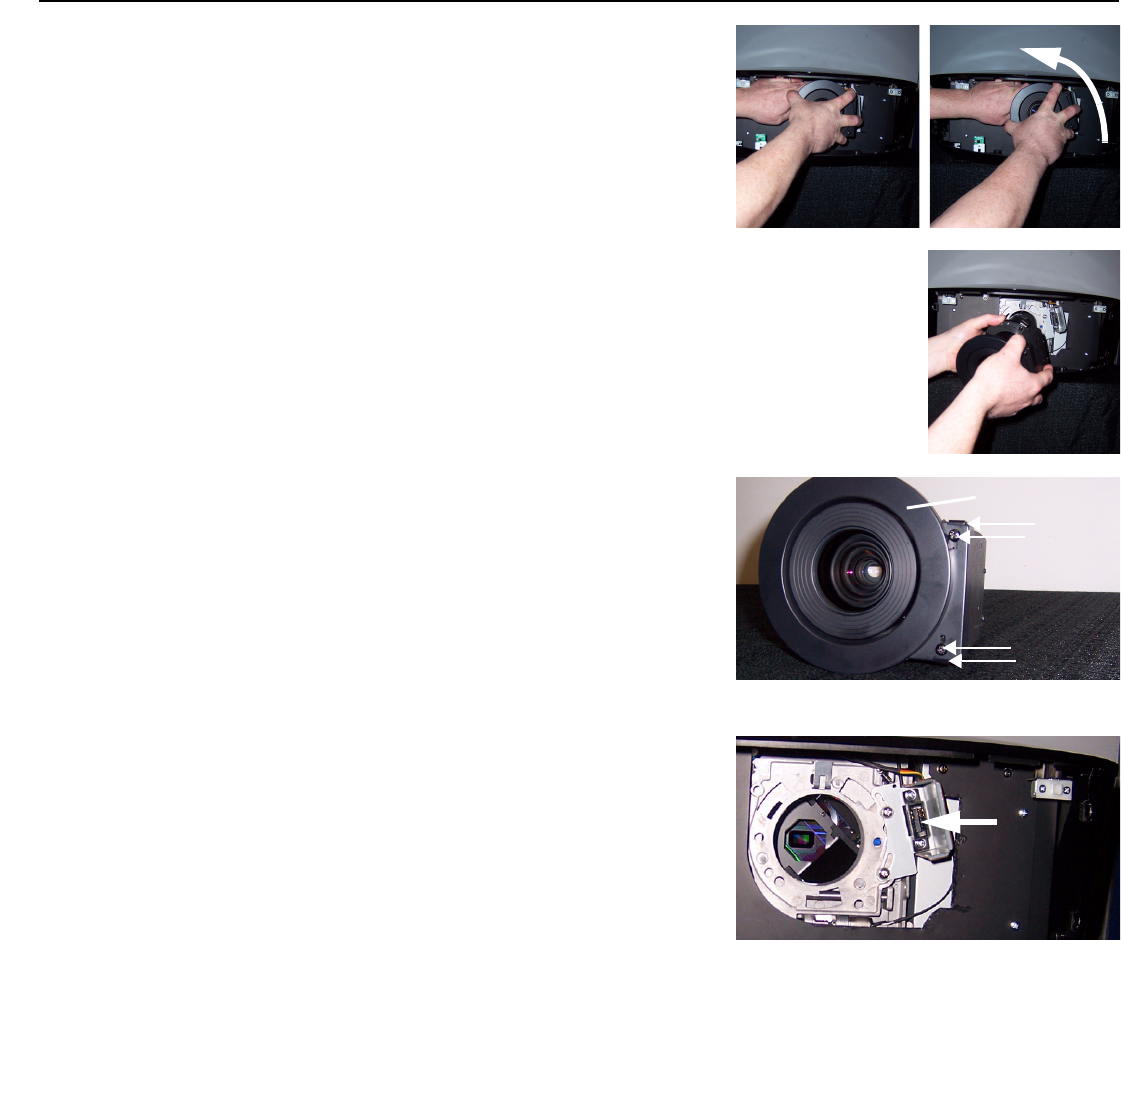
5. Press and hold the lens release
button. Then, grasp the lens by the
front and rotate it
counterclockwise until it stops
(approximately 30 degrees).
6. Pull the lens straight out to remove it.
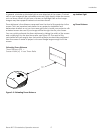
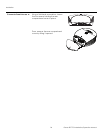
7. Remove the trim ring attached to
the motor housing on the lens you
just removed. To do this, remove
the two screws and two metal
clips that hold it in place.
8. Attach the trim ring to the motor
housing on the new lens.
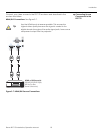
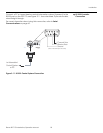
9. Note that the lens mount flange
has a female socket connector for
the lens motor on the right side of
the flange. (The lens assembly
motor has a male socket
connector that mates with this
connector.)
10. Hold the replacement lens assembly with the motor facing to the right.
Carefully insert the back of the lens assembly into the hole in the lens flange.
11. Slightly rotate the lens assembly counterclockwise to align the motor
connectors on the lens and lens flange. Gently push the lens assembly in
until it is seated flush against the flange and the motor connectors have
seated.
12. Carefully rotate the lens assembly clockwise until it stops and the metal clips
at the back of the lens “click” into place.
13. Replace the projector front cover.
Trim Ring
Lens Motor
Connector


