20 Supplies and Driver Settings
Once the sensor "sees" the paper it will automatically
feed it into position and will begin to print.
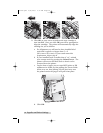
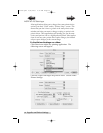
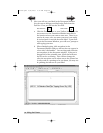
c. The printer will print a purge pattern where swaths of
each color are printed to clean the jets of the cartridge.
A series of diagonal lines are printed in each color of
both cartridges. By examining this pattern you can tell
if the cartridge is firing all jets or if the cartridge is
dirty and requires further cleaning. While the blocks
of color may not print solidly, it is important that the
diagonal lines be continuous. Repeat this process until
all diagonal lines print without breaks.
Change Cartridge(s)
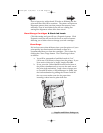
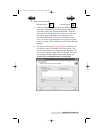
Click the Change Cartridge(s) button to move the cartridges
into position for easy access for replacement. For more
information on this see Section 2-C. When installing
cartridges you will be prompted to align your cartridges
as described earlier in this section.
Sensor Type
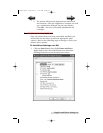
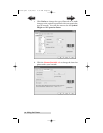
Sensor Type refers to the method the printer will use to center
the print image on your label material. If you are using
standard die-cut labels or Through-hole label material where a
hole is punched through each label for alignment purposes use
the Through-hole/Die-Cut setting. Use Reflective for black
stripe sensing label material where a pre-printed line indicates
the break between labels. If you have continuous stock with
no die-cut or reflective mark, set the sensor type to
Continuous.
Rewinder Mode
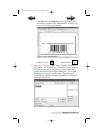
This defaults to No. When set t no, the printer will align your
labels with the tear off bar for easy removal. This mode can be
set to Yes when using the printer with an automatic rewinder.
510910.qxd 9/26/2005 2:32 PM Page 20
TOC
INDEX


