


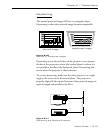
2–8 • User’s Guide
Chapter 2 • Detailed Setup
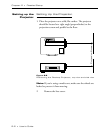
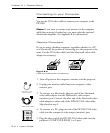
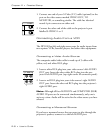
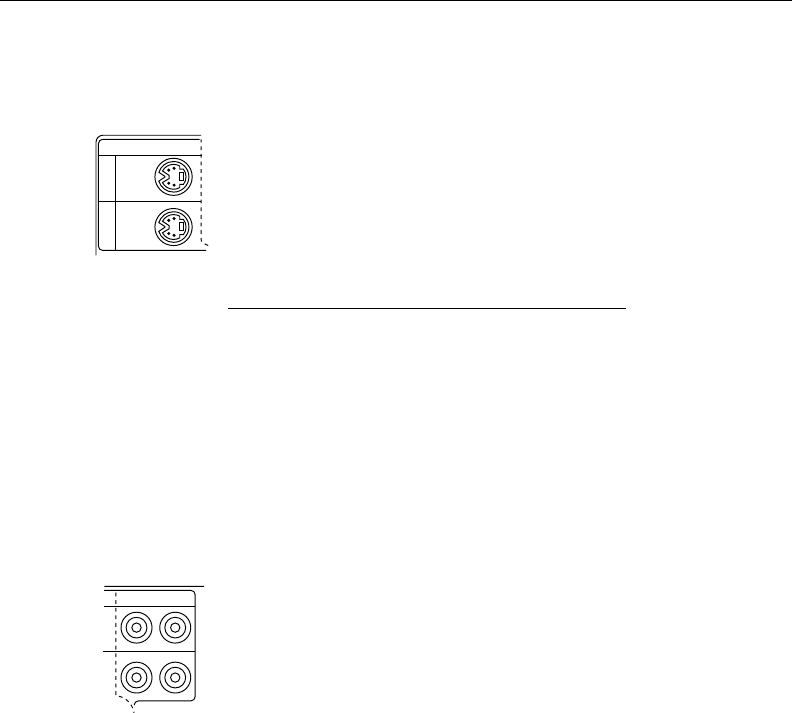
1. Connect one end of your S-Video (Y-C) cable (optional) to the
port on the video source marked VIDEO OUT, TO
MONITOR, or something similar. The cable has identical
round 4-pin connectors on either end.
2. Connect the other end of the cable to the projector's port
labelled S-VIDEO 1 or 2.
Connecting Audio from a VCR
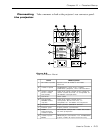
The DP5100 has left and right stereo ports for audio inputs from
two separate VCRs, laserdisc players, and other video equipment.
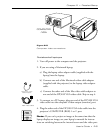
Connecting a Video Audio Source
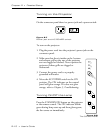
The composite audio/video cable is made up of 3 cables with
yellow, red, and white RCA plugs.
1. Insert a white RCA plug into your video source’s left AUDIO
OUT port. Insert the other white RCA plug into the pro-
jector's left AUDIO port (top right corner of connector panel).
2. Insert a red RCA plug into your video source’s right AUDIO
OUT port. Insert the other red RCA plug into the projector's
right AUDIO port.
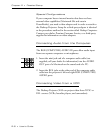
Note: Although all four AUDIO IN and COMPUTER (RGB)
AUDIO IN ports can be connected simultaneously, only one is
active at a time. Audio will be active for the video source you have
selected.
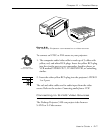
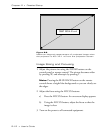
Connecting a Monaural Source
If you have a monaural source that you want to play through the
projector’s speaker, connect it to the left AUDIO port.
AUDIOLR
1
2
S–VIDEO