Draft
Hardware Installation
Hardware Installation
IB0056101-00 G.02 Preliminary 4-9
A
Hardware Installation
This section contains hardware installation instructions for the QLE7240,
QLE7280, QLE7140, QHT7040, and QHT7140.
Hardware Installation for QLE7240, QLE7280, or QLE7140
with PCI Express Riser
Installation for the QLE7240, QLE7280, and QLE7140 is similar. The following
instructions are for the QLE7140, but can be used for any of these three adapters.
Most installations will be in 1U and 2U chassis, using a PCIe right angle riser card.
This results in an installation of the adapter that is parallel to the motherboard.
This type of installation is described first. Installation in a 3U chassis is described
in “Hardware Installation for the QHT7140 Without an HTX Riser” on page 4-16.
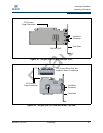
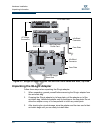
Installing the QLogic QLE7140 in a 1U or 2U chassis requires a PCIe right angle
riser card.
A taller riser card can be used if necessary. The QLE7140 can connect to any of
the standard compatible PCI Express riser cards.
Dual Adapter Installation
If you have a motherboard with dual PCIe slots, dual adapters can be installed.
The adapters must match. For example, on a motherboard with two x16 slots,
dual QLE7280 adapters can be installed, but not a QLE7240 adapter and a
QLE7280 adapter. Check the design of your motherboard to see how riser cards
can be used.
Follow the instructions in “Installation Steps” on page 4-9.
See the Using MPI section in the QLogic HCA and QLogic OFED Software Users
Guide for information on using the IPATH_UNIT environment variable to control
which HCA to use.
Installation Steps
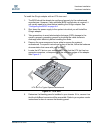
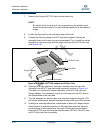
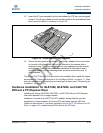
To install the QLogic adapter with a PCIe riser card:
1. The BIOS should already be configured properly by the motherboard
manufacturer. However, if any additional BIOS configuration is required, it
will usually need to be done before installing the QLogic adapter. See
“Configuring the BIOS” on page 4-4.
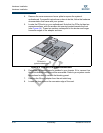
2. Shut down the power supply to the system into which you will install the
QLogic adapter.
3. Take precautions to avoid electrostatic damage (ESD) to the cards by
properly grounding yourself or touching the metal chassis to discharge static
electricity before handling the cards.


