Chapter 8 Managing Drives and Disks
Working with Drive Pools
StorNext User’s Guide 202
4 Select from the Select Drive IDs list the drives you want to include in
the new drive pool, and then click Apply. A message window warns
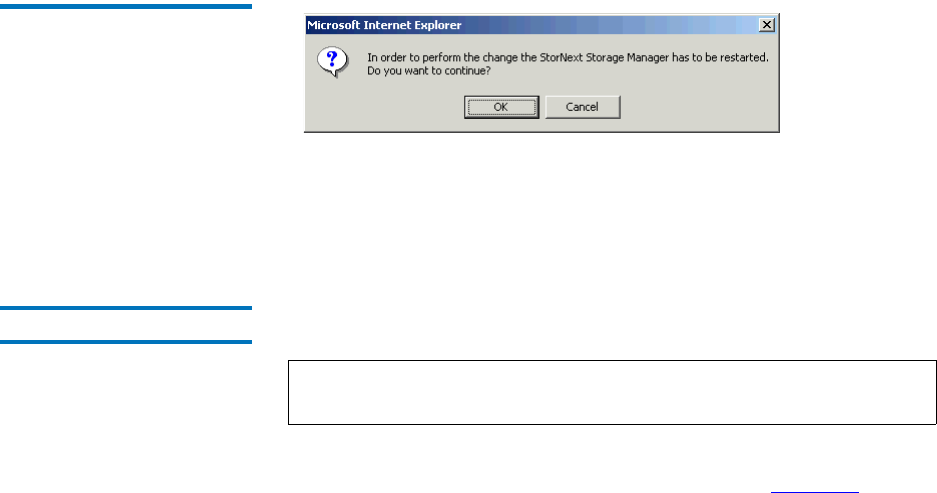
you that continuing with the task restarts the Storage Manager.
Figure 143 Warning Message
Window
5 Click OK to close the message window and continue.
6 After the Status screen informs you that the drive pool was
successfully added, click Close.
Modifying a Drive Pool 8
Use this procedure to modify a drive pool.
1 From the SNSM home page, choose Config Drive Pool from the
Admin menu. The Configure Drive Pools screen (figure 141
on
page 201) appears.
2 Select from the Select Drive Pool list the existing drive pool you
want to change, and then click Modify. The Modify Drive Pool
screen appears.
Note: This procedure requires restarting the Storage Manager
component.
