CARE AND
M
AINTENANCE
8.5
CARE AND
M
AINTENANCE
CARE AND
M
AINTENANCE
CARE AND
M
AINTENANCE
CARE AND
M
AINTENANCE
CARE AND
M
AINTENANCE
CARE AND
M
AINTENANCE
CARE AND
M
AINTENANCE
Self testing
When you want to test if the machine is working correctly, you can check it by running self test.
1
Press
Menu
repeatedly until
MAINTENANCE
appears, and press
OK
.
2
Scroll to
Self Test
by pressing
Left/right arrow
buttons, and press
OK
.
• The machine runs self test and prints a report which shows the current status of the machine.
Print cartridge maintenance
The print cartridge life is very sensitive to the content of the received fax or a copy you made. To increase its
life, we recommend you follow the instructions below:
• DO NOT unpack the cartridge until you are ready to use it.
• Store it in the same environment as the printer.
• If you have unpacked the cartridge but are not using it, store it in a storage unit. If you do not have a storage unit,
store the cartridge in an airtight plastic bag.
• DO NOT leave it exposed for an extended period.
• DO NOT refill the cartridge. The warranty will not cover damage caused by using refilled cartridges.
Cleaning the cartridge
To maintain good printing quality, we recommend you occasionally wipe the Print Nozzles and Contacts as
described below:
Wiping the print nozzles and contacts
When the print is not clear or dots are missing, the problem may be caused by dried ink on the:
• Print cartridge nozzles
• Print cartridge contacts
• Print cartridge carrier contacts
1
Press
Cartridge Change
.
2
Open the Control Panel and Cartridge Compartment Cover and remove the cartridge.
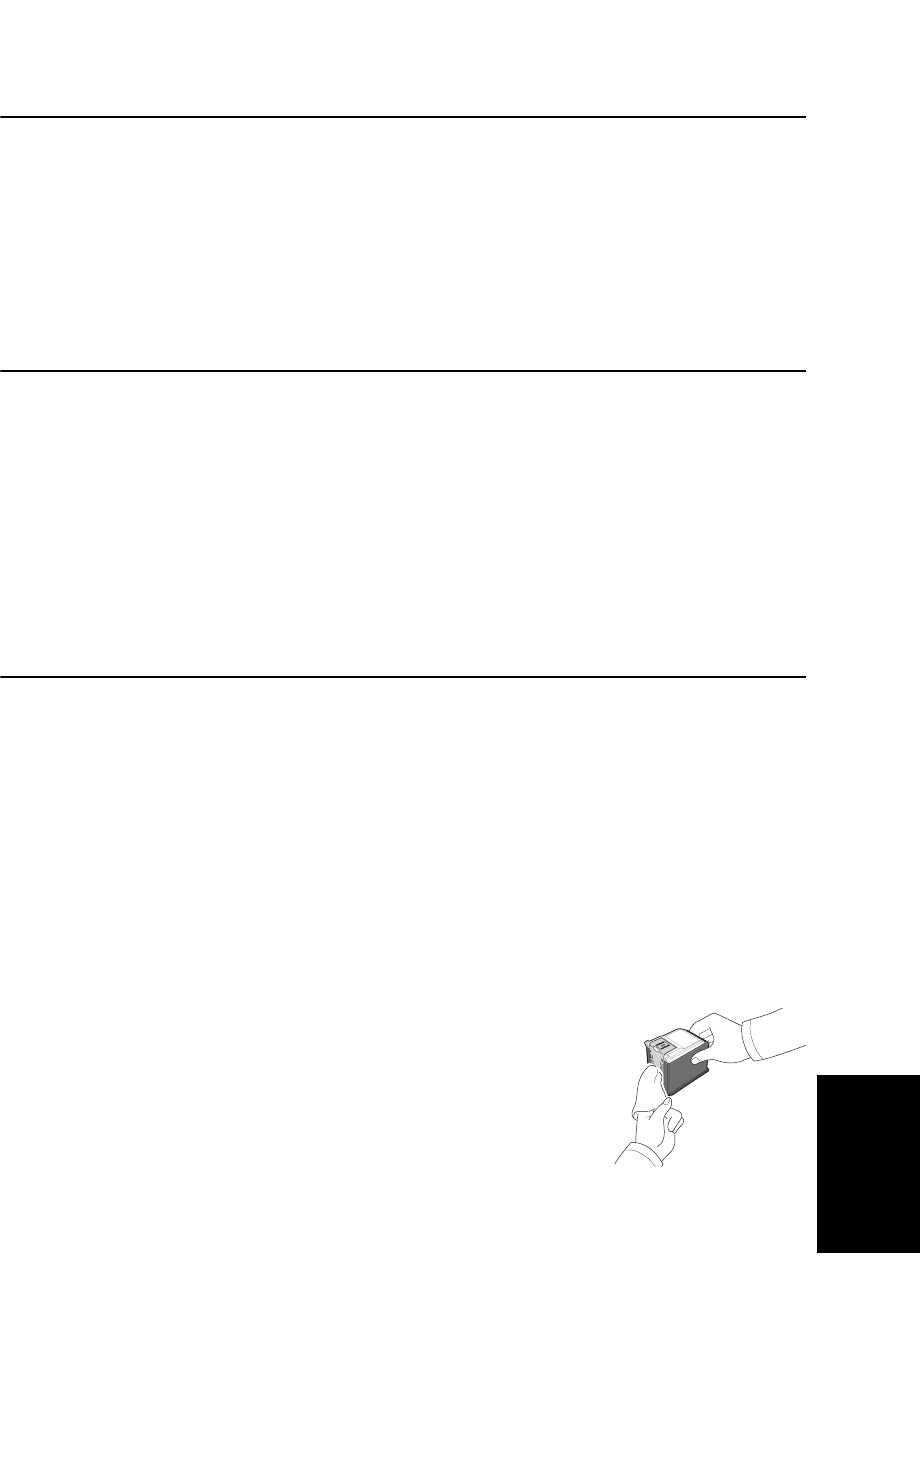
3
Gently blot and wipe the contacts and nozzles dry.
•
BE CAREFUL!
Use a clean cloth dampened with water only to gently clean the
entire copper-colored area, including the nozzles and contacts.
• To dissolve any dried ink, hold the damp cloth against the nozzles for about three
seconds.
4
Reinstall the cartridge and close the Cover and Panel.
• If you spend a long time cleaning the cartridge, the cartridge carrier may have moved back to the original position.
If so, press
Cartridge Change
again to move the carrier to the install position.
5
Press 1 for new cartridge, or 2 for the old one.
• If the line is still broken, clean the Cartridge Carrier contacts. For more information, see "Cleaning the cartridge
carrier contacts" on page 8.6.


