KVM Switch KVM2132P, KVM2116P, KVM1116P User Manual 88
Panel Array Mode
Click the Panel icon on the toolbar to start Panel Array Mode. The screen is divided into up to 42 panels:
• Each panel represents one of the switch's ports beginning with Port 1 at the upper left, and going
from left to right; top to bottom.
• Click Show More Ports, and Show Fewer Ports symbols on the panel array toolbar to select the
number of panels in the array.
• Panel Array scans each of the ports previously selected with the Filter function (see “Filter” on
page 40). The panel’s border is highlighted while that port is the focus of the scan.
• Only ports accessible to the user are displayed. Blank panels display for ports that are not
accessible.
• If the server connected to a port is on line the screen displays in the panel, otherwise the panel is
blank.
• Move the mouse over a panel to display information about the port (port name, online status, port
access status, and resolution).
• Access a server connected to a port by moving the mouse pointer over its panel and clicking. You
switch to the server exactly as if you had selected it from the Port Access page.
Panel Array Toolbar
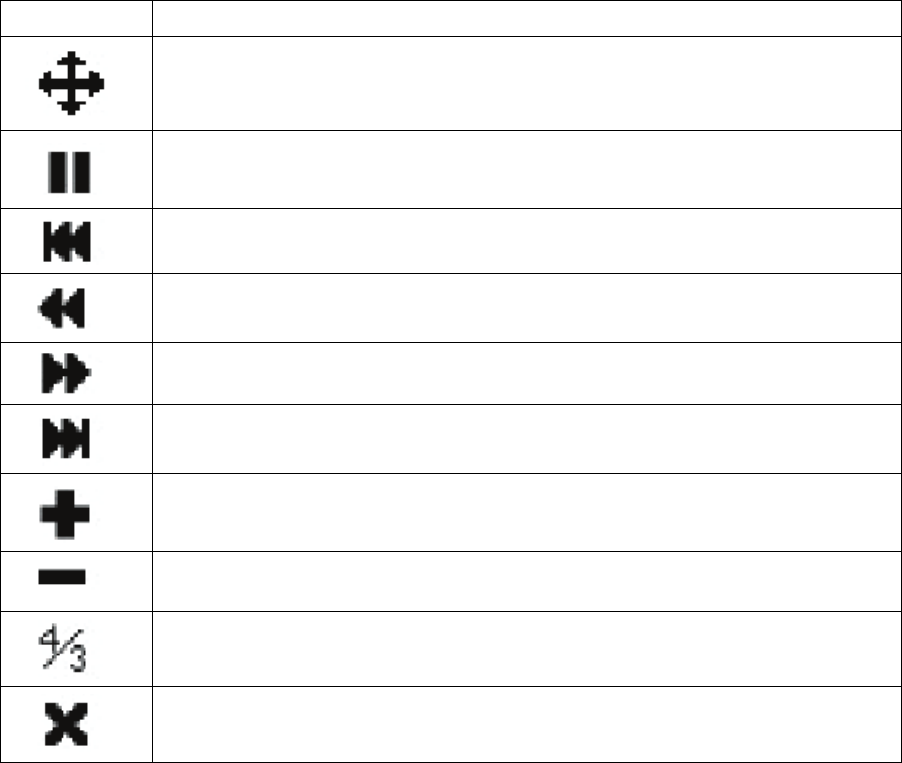
The panel array toolbar provides shortcut navigation and control of the panel array. The toolbar can be
dragged anywhere on the screen. Move the mouse over an icon to show a "tooltip" ( a short description
of the icon's function).
Icon Purpose
Click and drag to move the toolbar.
Note: This icon is only available with the Windows Clients. To move the Java Client
toolbars, click on any empty space and drag.
Pause panel scanning, leaving the focus on the panel that currently has it.
Move back four panels.
Move to the previous panel.
Move to the next panel.
Move ahead four panels.
Show More Ports: Increase the number of panels in the array.
Show Fewer Ports: Decrease the number of panels in the array.
Toggle 4/3 aspect ratio.
Exit Panel Array mode.
