Unit description 15
English
4.3 Unwind brakes
Tighten the supply brake so that it applies sufficient tension to laminate. Turning the
knurled collar in a clockwise direction increases the breaking tension applied on the
laminate. Turning the collar counter-clockwise decreases the tension. The best setting for
the brake tension is determinate by the materials you are using and is learned through
experience.
4.4 Roller nip settings
Whenever you mount onto a board, etc., it is important to adjust the rollers to create a gap
nearly equal to the thickness of the board being used. This is done so that anything
passing between the rollers will receive the right amount of pressure and prevent damage
to the roller’s rubber surface (and possibly the board).
How to set the nip:
Determine the thickness of the board that you will use for mounting.
Adjust the nip setting. Grasp the nip-knob with your right hand and push in approximately
¼” (6mm) to the left. Once the knob has disengaged from the stop, it may be rotated
forward or backward (clockwise or counter-clockwise, as viewed from the right hand side
of the unit), until the desired value is opposite the window at the base of the knob.
Releasing the knob so that it moves back to the right and clicks into place will set the
rollers for use. The measurements on the knob correspond to the ‘Pouch board’ thickness.
There is also fully closed stop for film only applications.
Note:
For non-standard substrate thickness, select the next lowest nip-setting
i.e.; 7mm board – select ¼” (6mm) nip.
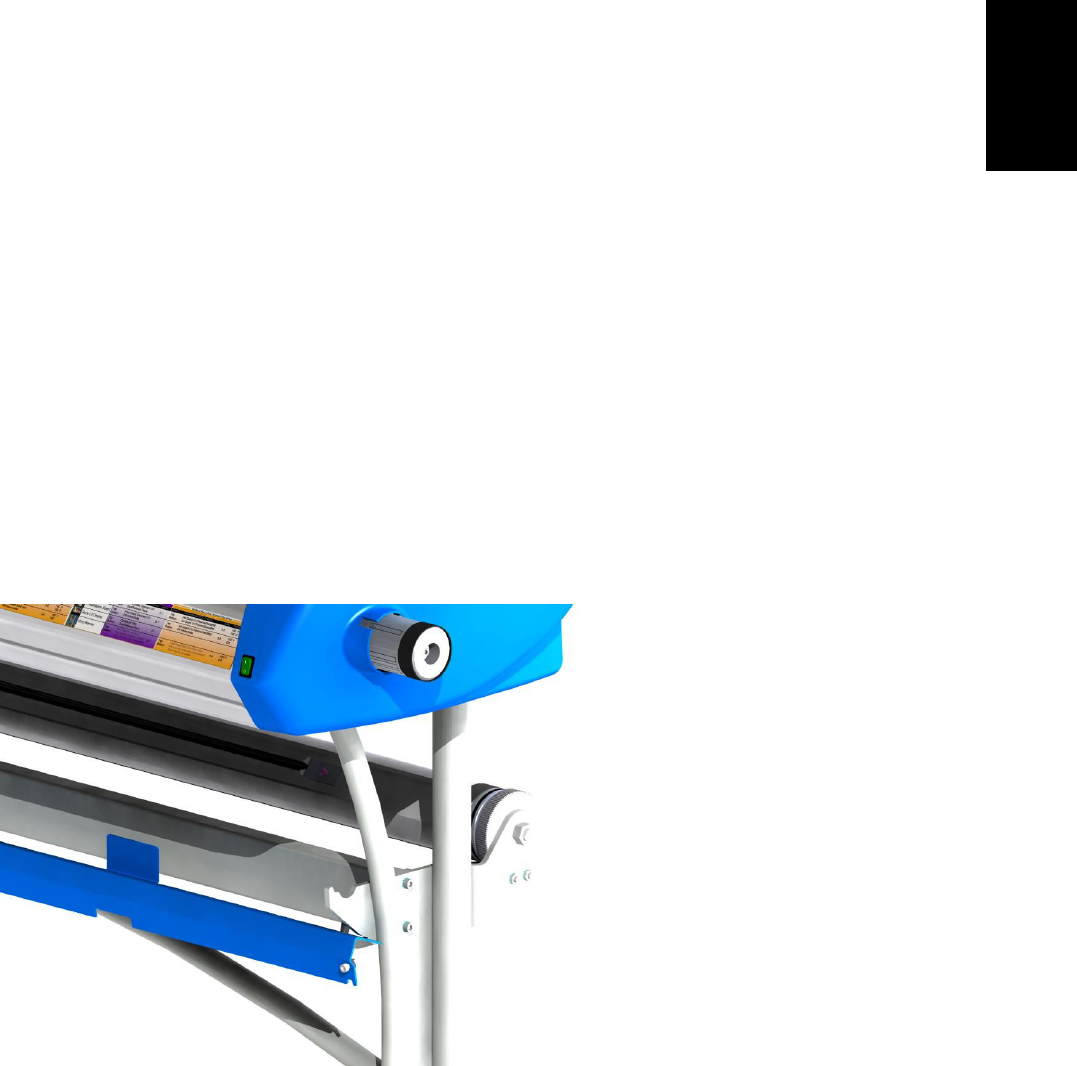
4.5 Image guide storage place.
When not in use, the Image Guide can be stored in the stand.
Figure 9


