


49
CONVENIENT COPY FUNCTIONS
3
1
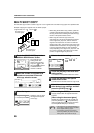
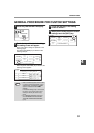
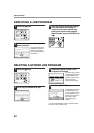
Touch the key and then touch the
[COVER] key in the special modes
menu screen.
The cover setting screen
will appear.
The cover icon ( , etc.)
will also appear in the
screen to indicate that
the function is turned on.
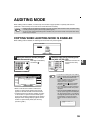
2
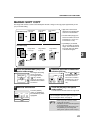
Select the cover(s) that you wish to
add.
To add only a front cover, touch the [FRONT] key. To
add only a back cover, touch the [BACK] key. To add
both a front and back cover, touch the
[FRONT+BACK] key.
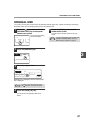
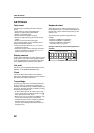
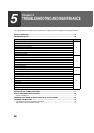
3
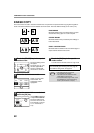
Specify whether or not the front cover
is to be copied on.
Select [YES] or [NO] in
the touch panel. If
[YES] is selected, the
first page of the
document will be
copied onto the front
cover sheet.
4
Touch the [OK] key in the cover
setting screen.
Return to the special modes screen.
5
Touch the [OK] key in the special
modes screen.
You will return to the main screen of copy mode.
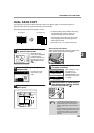
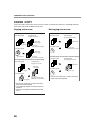
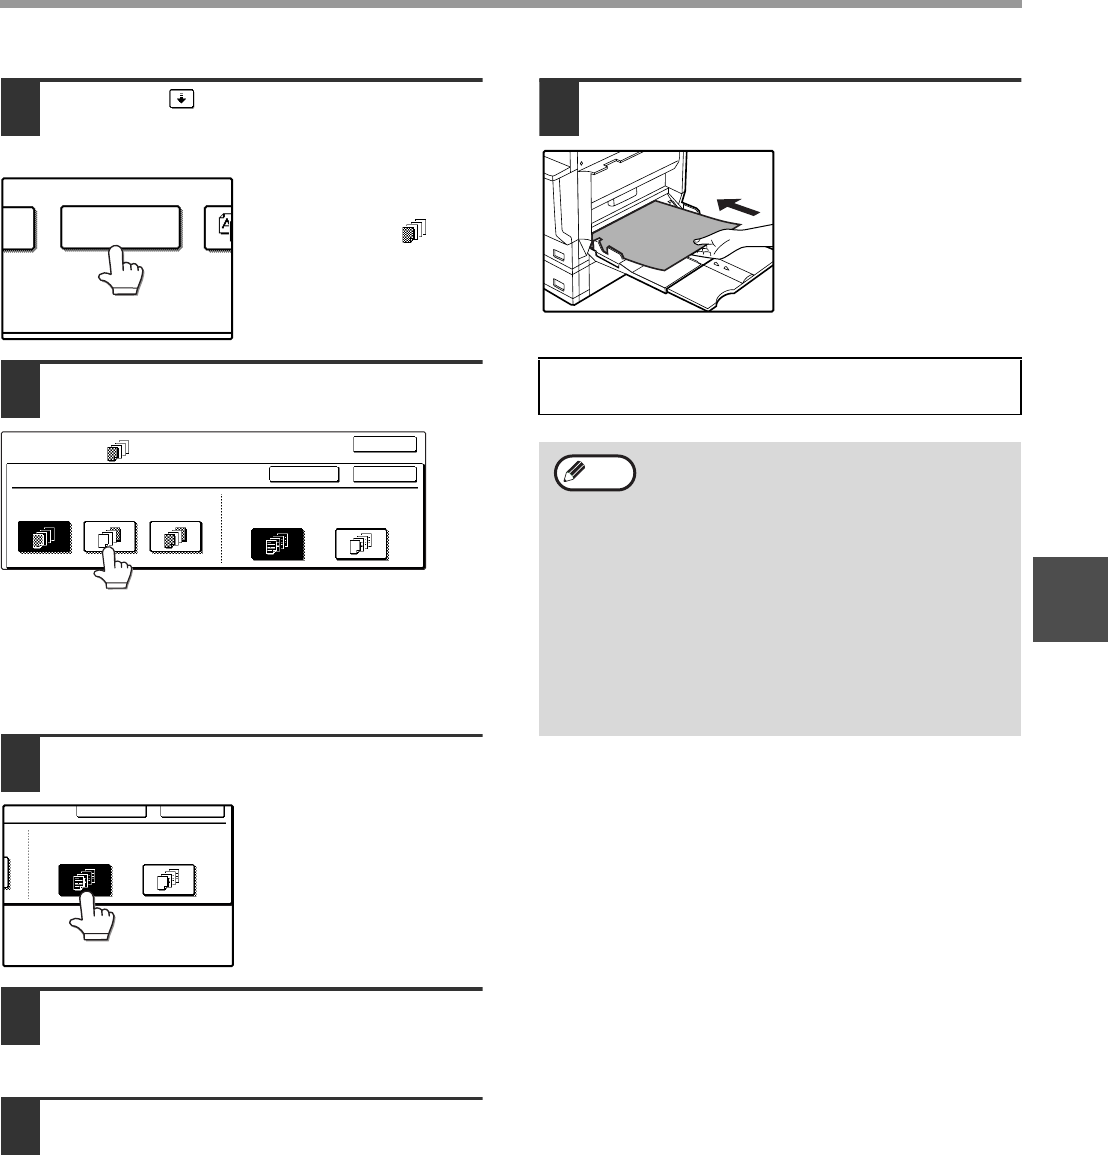
6
Load the cover paper to be used into
the bypass tray.
Load the same size of
paper as the paper to
be used for the copy
job.
L
COVER
COVER
SPECIAL MODES
FRONT
BACK FRONT+BACK
PRINT ON FRONT COVER?
YES
NO
OK
CANCEL
OK
CK
PRINT ON FRONT COVER?
YES
NO
OK
CANCEL
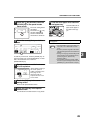
About the steps that follow
See page 23.
• It is not possible to copy on the inside of a
front cover, nor on either side of a back
cover.
• Be sure to place the originals in the RSPF.
The document glass cannot be used for this
function.
• During cover copying, stream feeding mode
will not function even if enabled in the key
operator programs. (See the "Key
operator’s guide".)
• To cancel the cover copy function, select
the cover copy function again and touch the
[CANCEL] key. (See the screen of step 2.)
Note